With work and other commitments, the D90 crawler project has come to a standstill, a lot of work has happened but we are still quite far from the finish line. Thought I would upload a number of images I have taken.
With work and other commitments, the D90 crawler project has come to a standstill, a lot of work has happened but we are still quite far from the finish line. Thought I would upload a number of images I have taken.
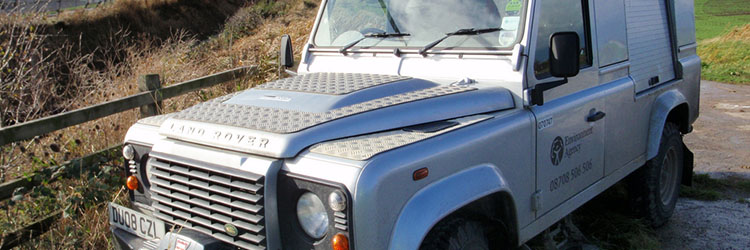
After some searching on the internet I have found a number of Defender D90’s which use the van / box backend type of look. I really like the look of the environmental agency vehicles with their side sliding entrance sections.
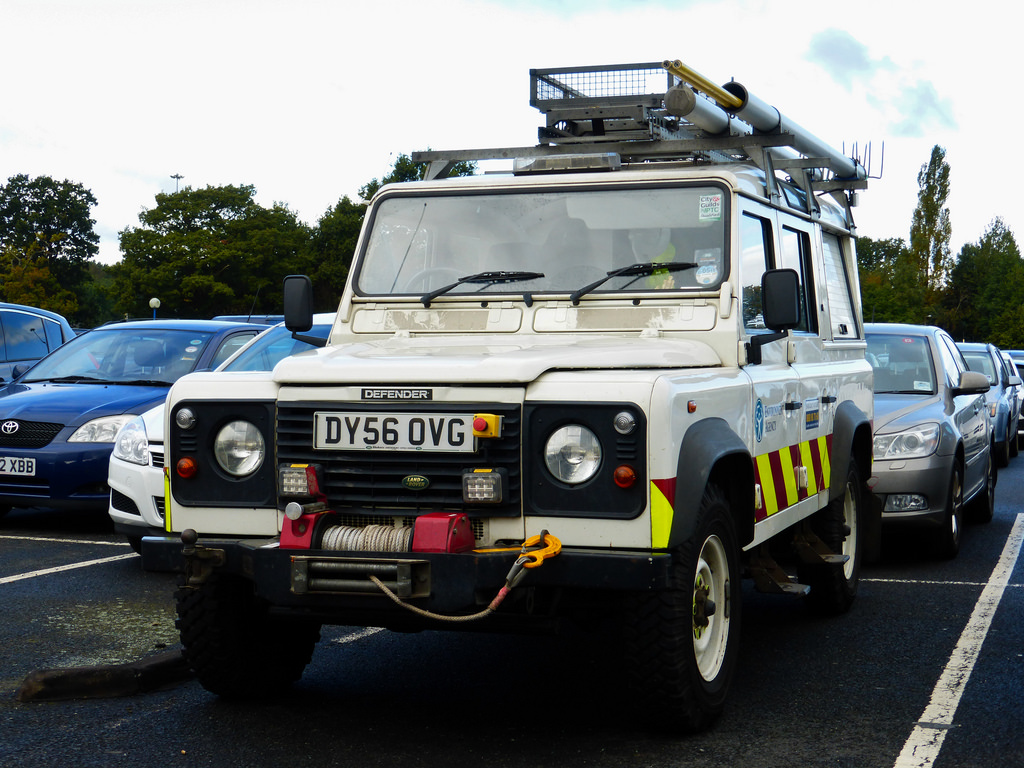

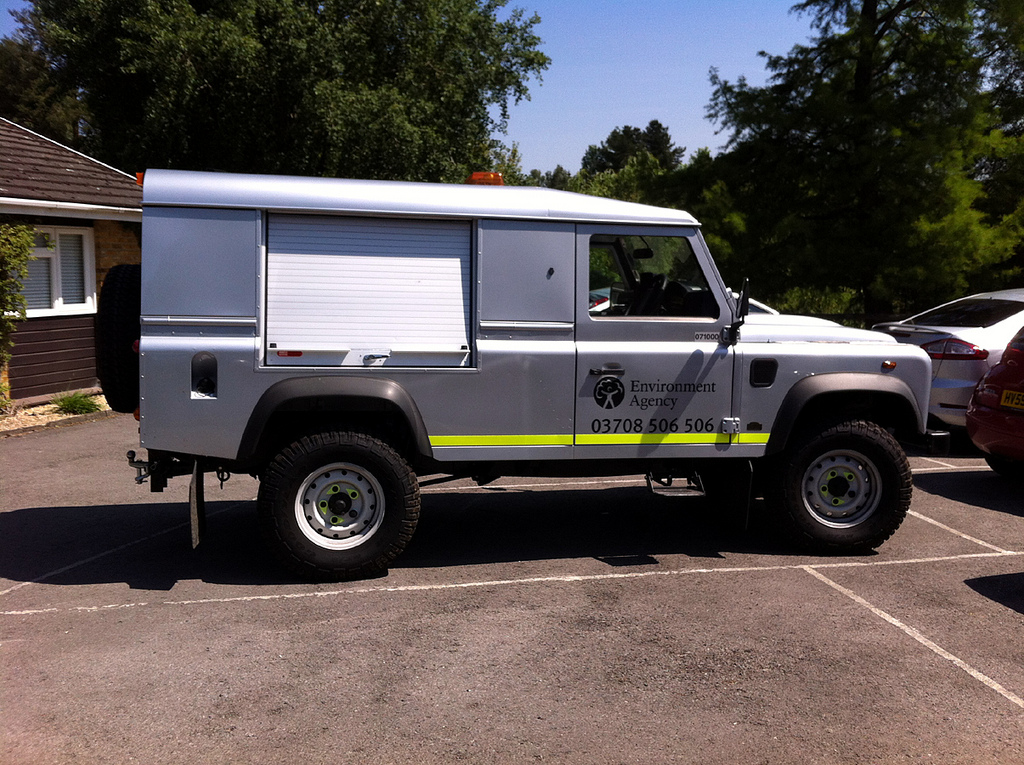
Decided I am going to be aiming for something based on these images with my own touches. Have the ascender looking good in no time, after its little accident… Take a look.
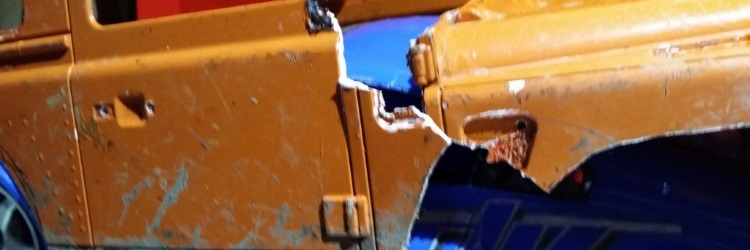
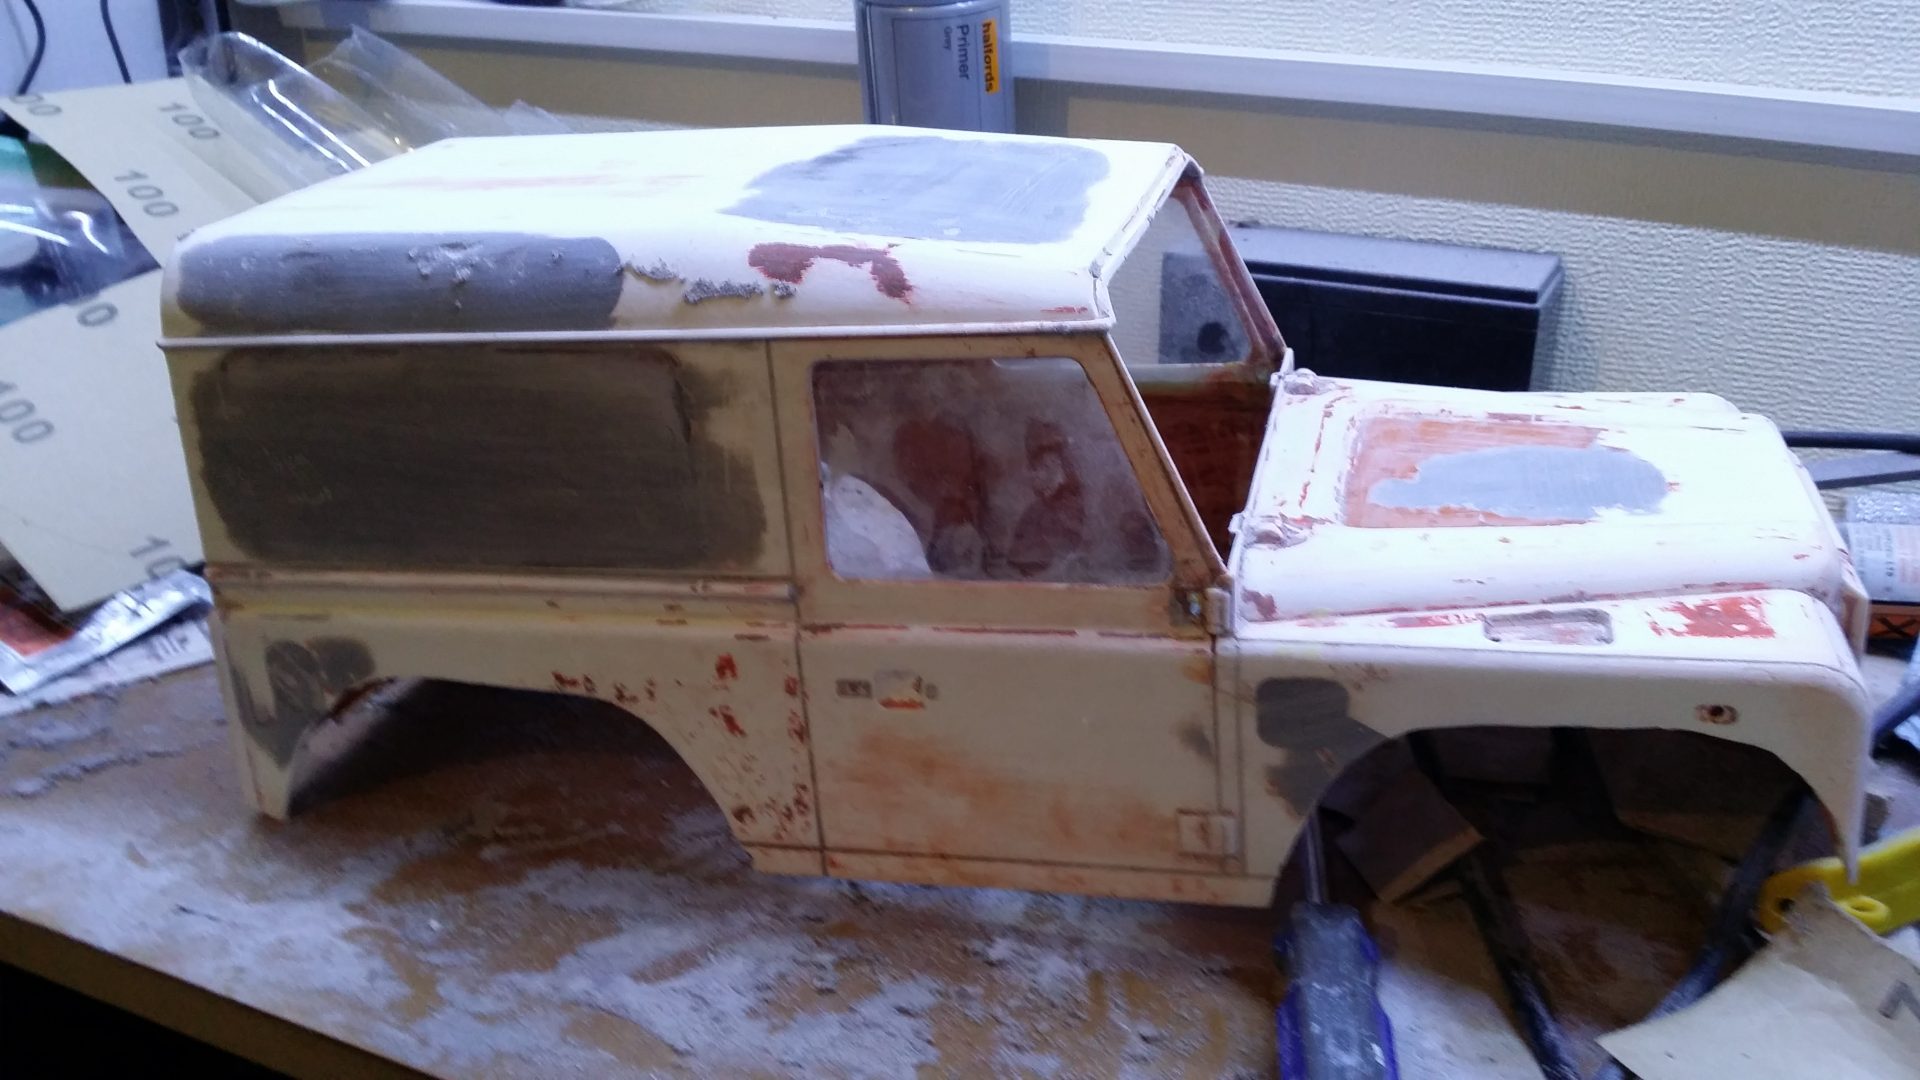
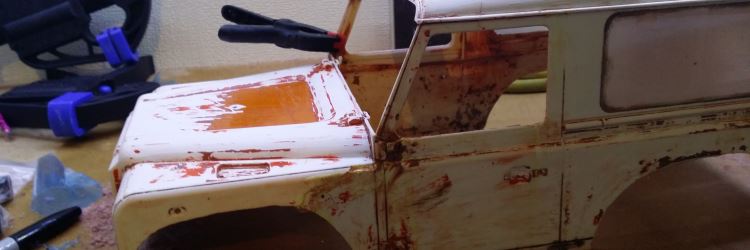
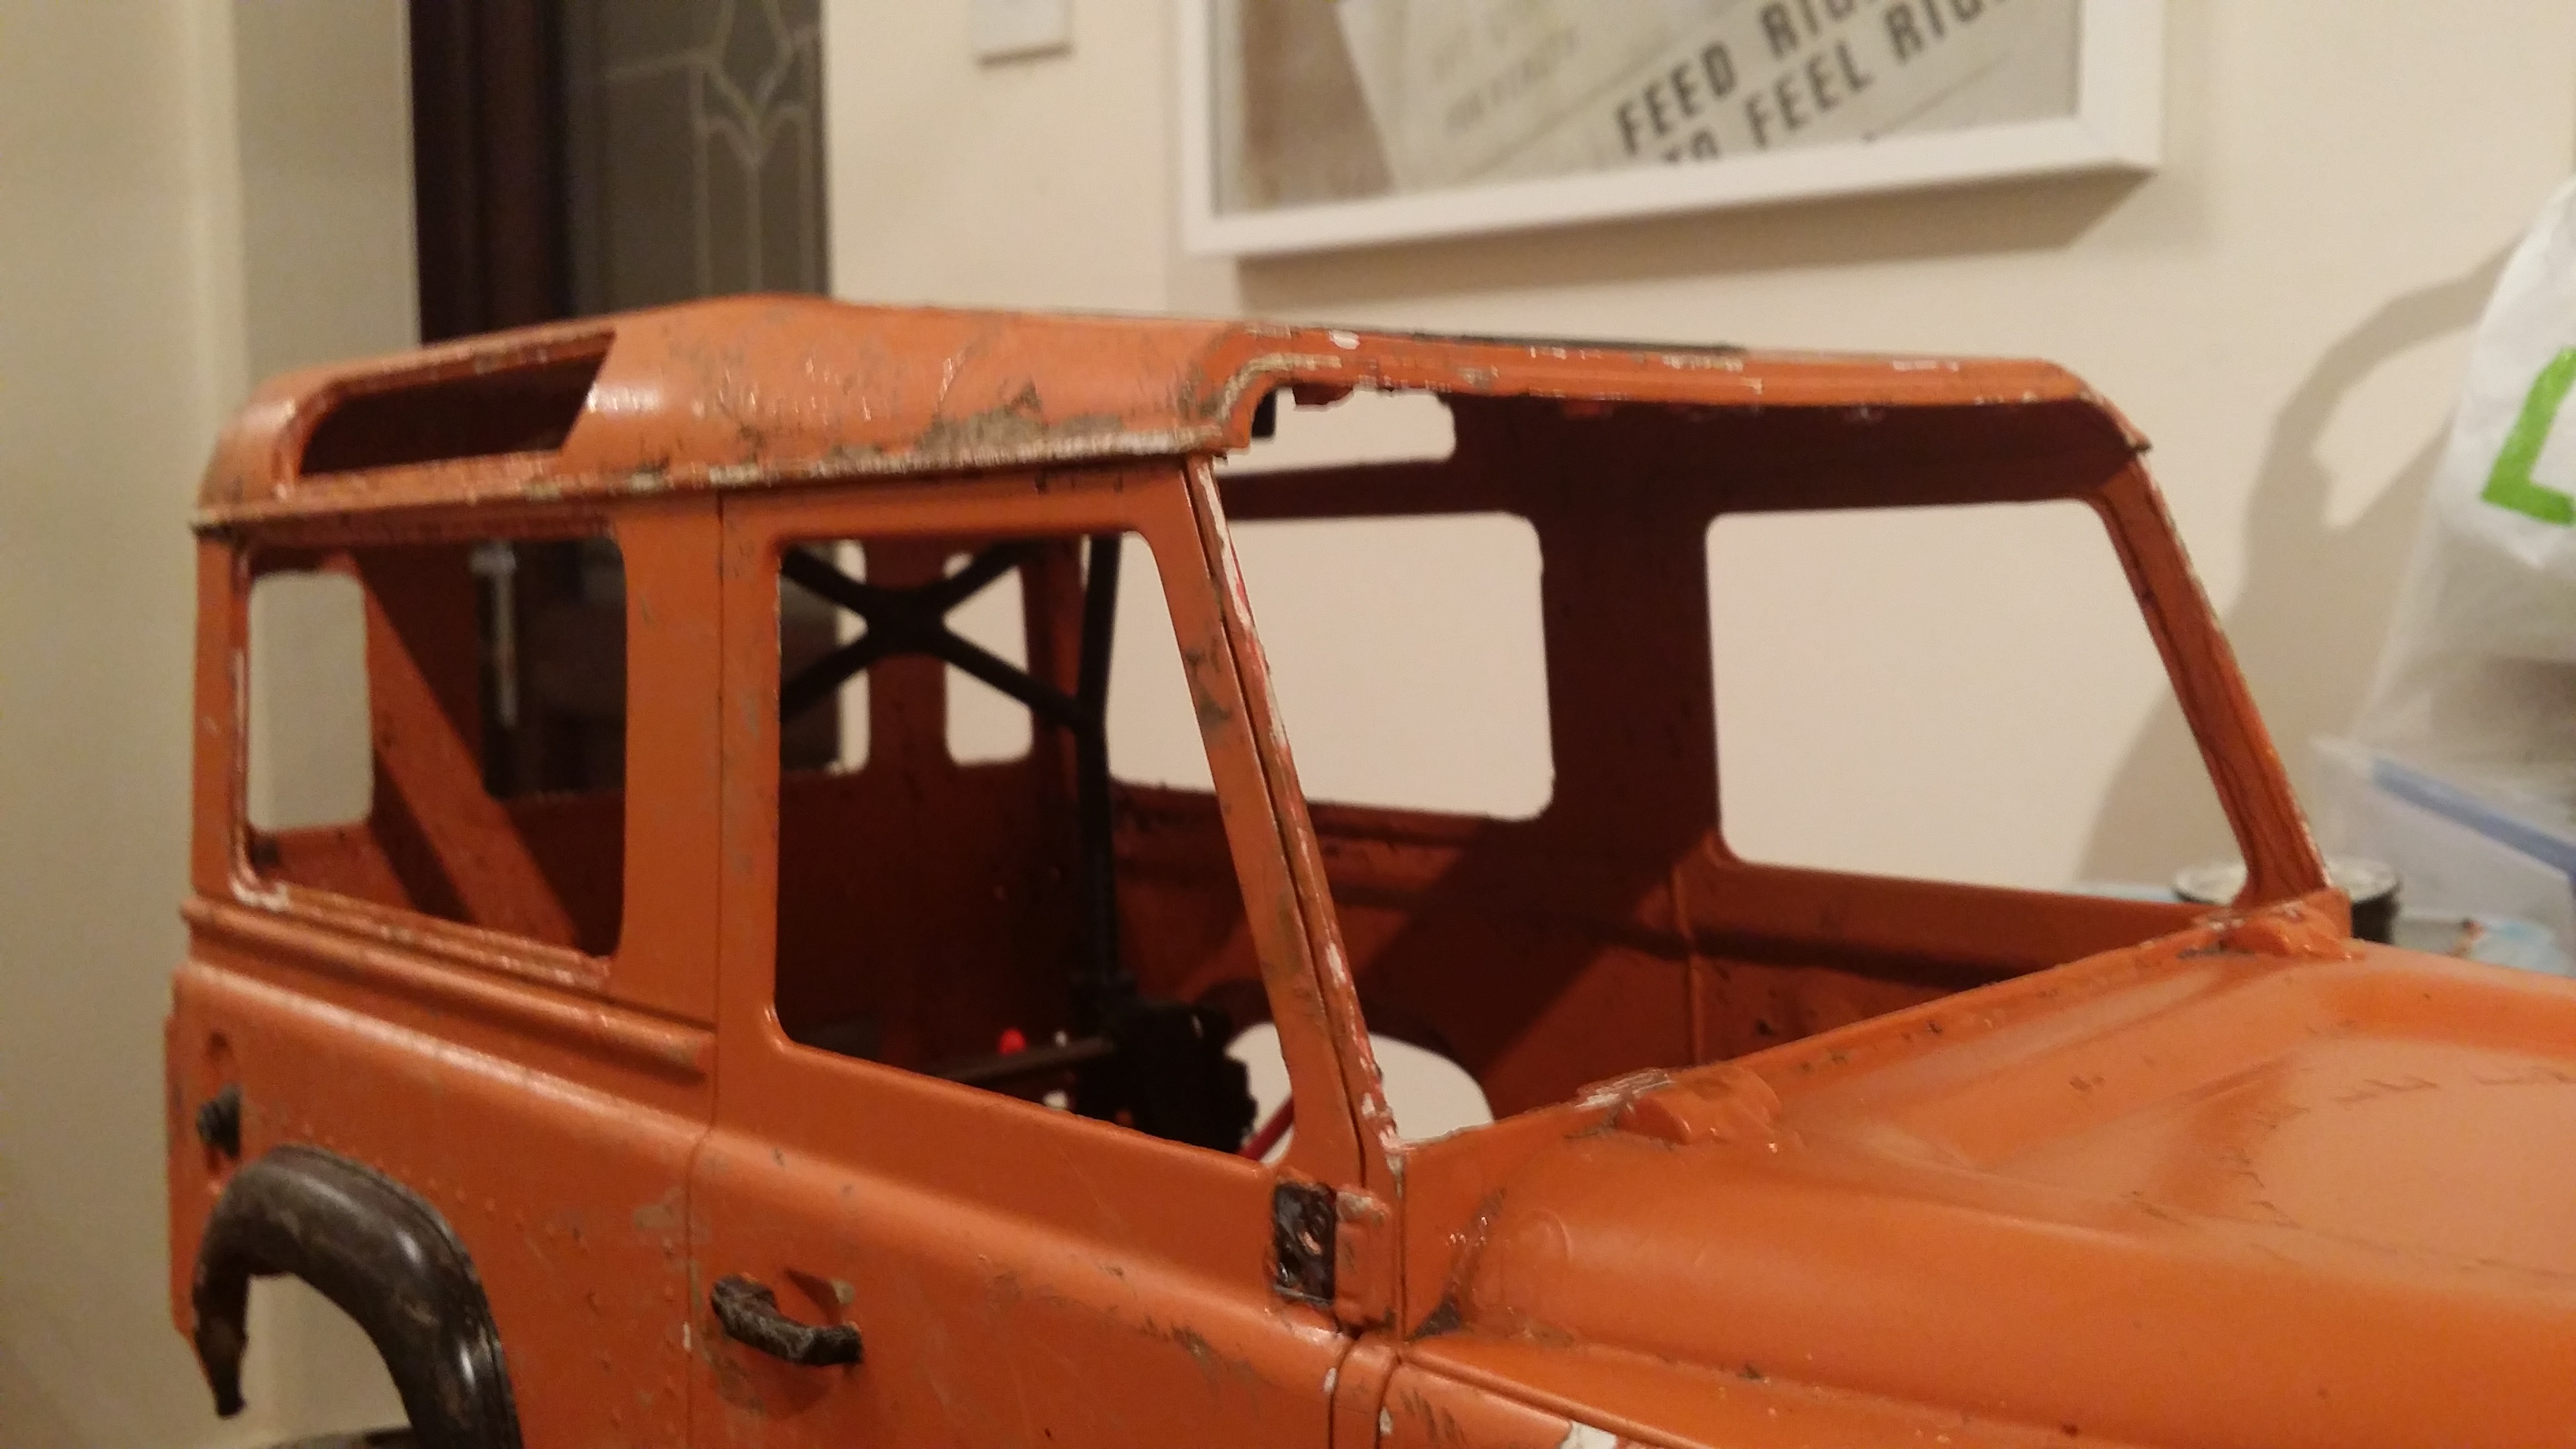
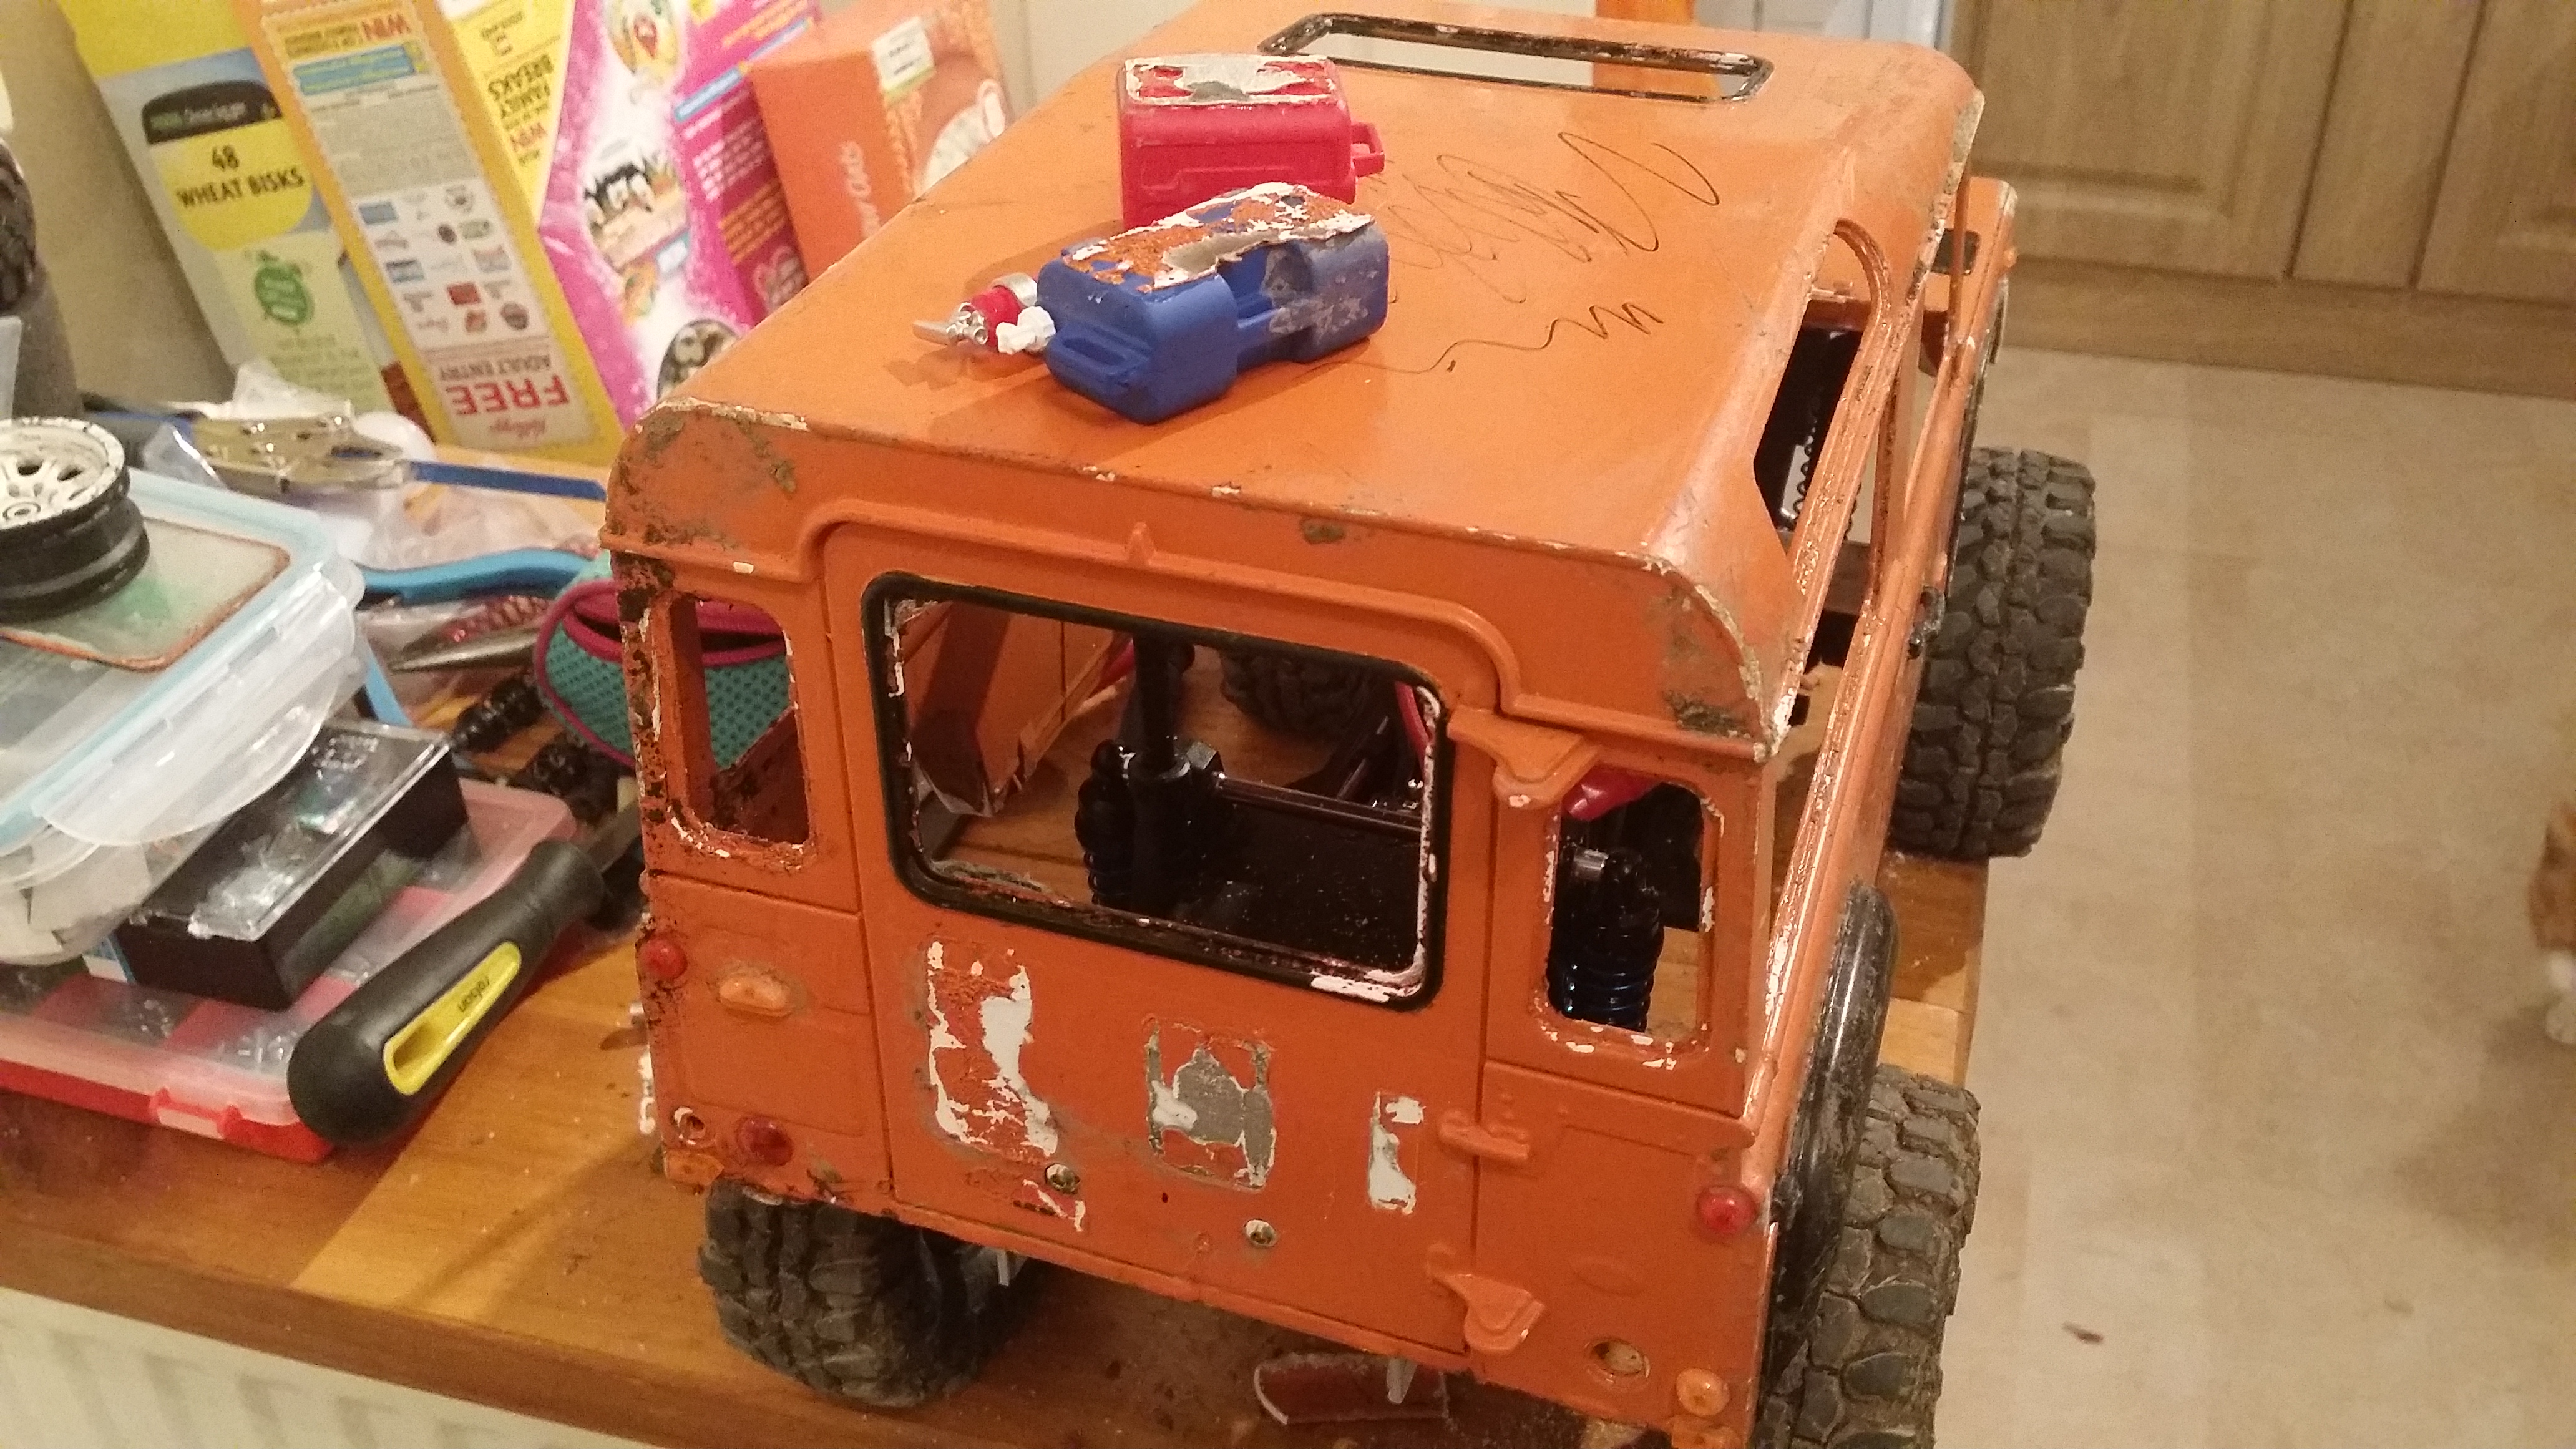
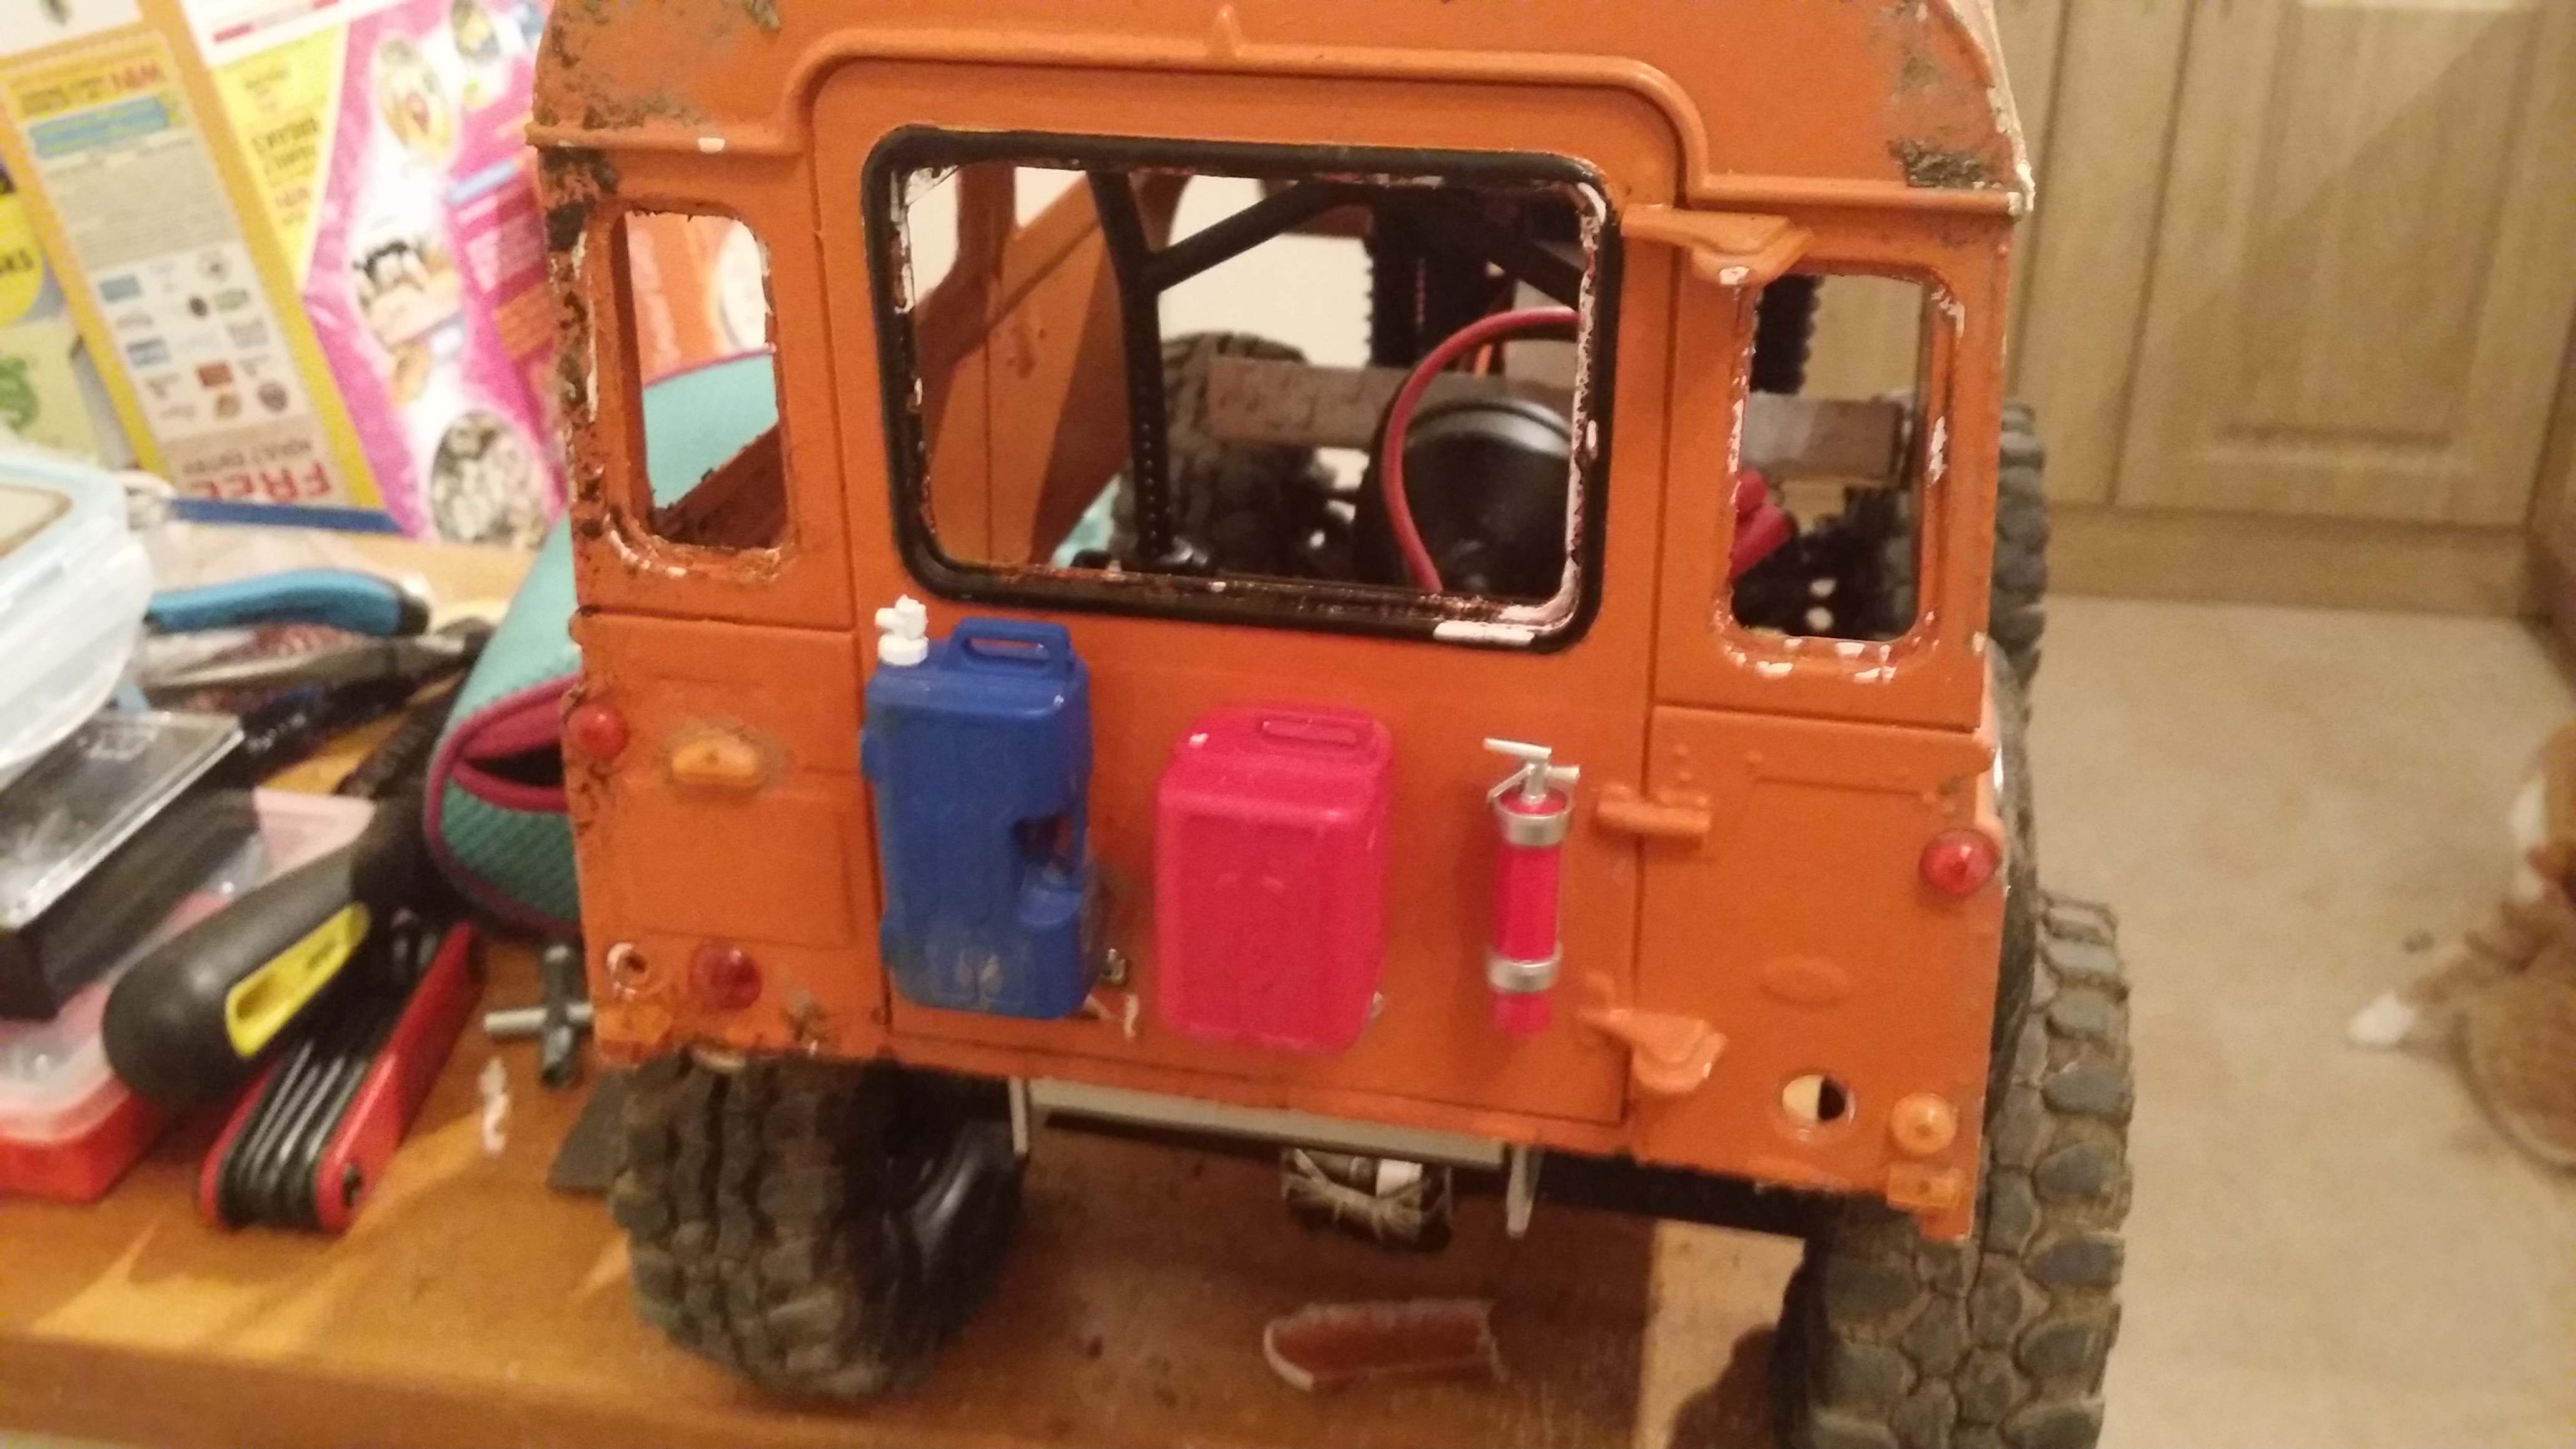
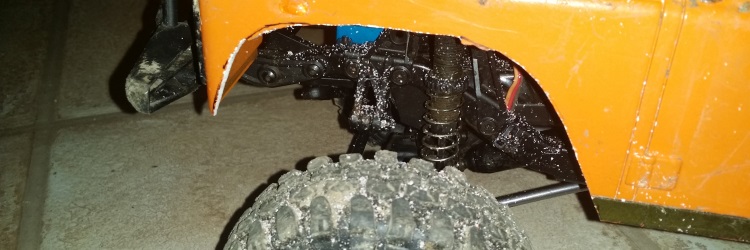
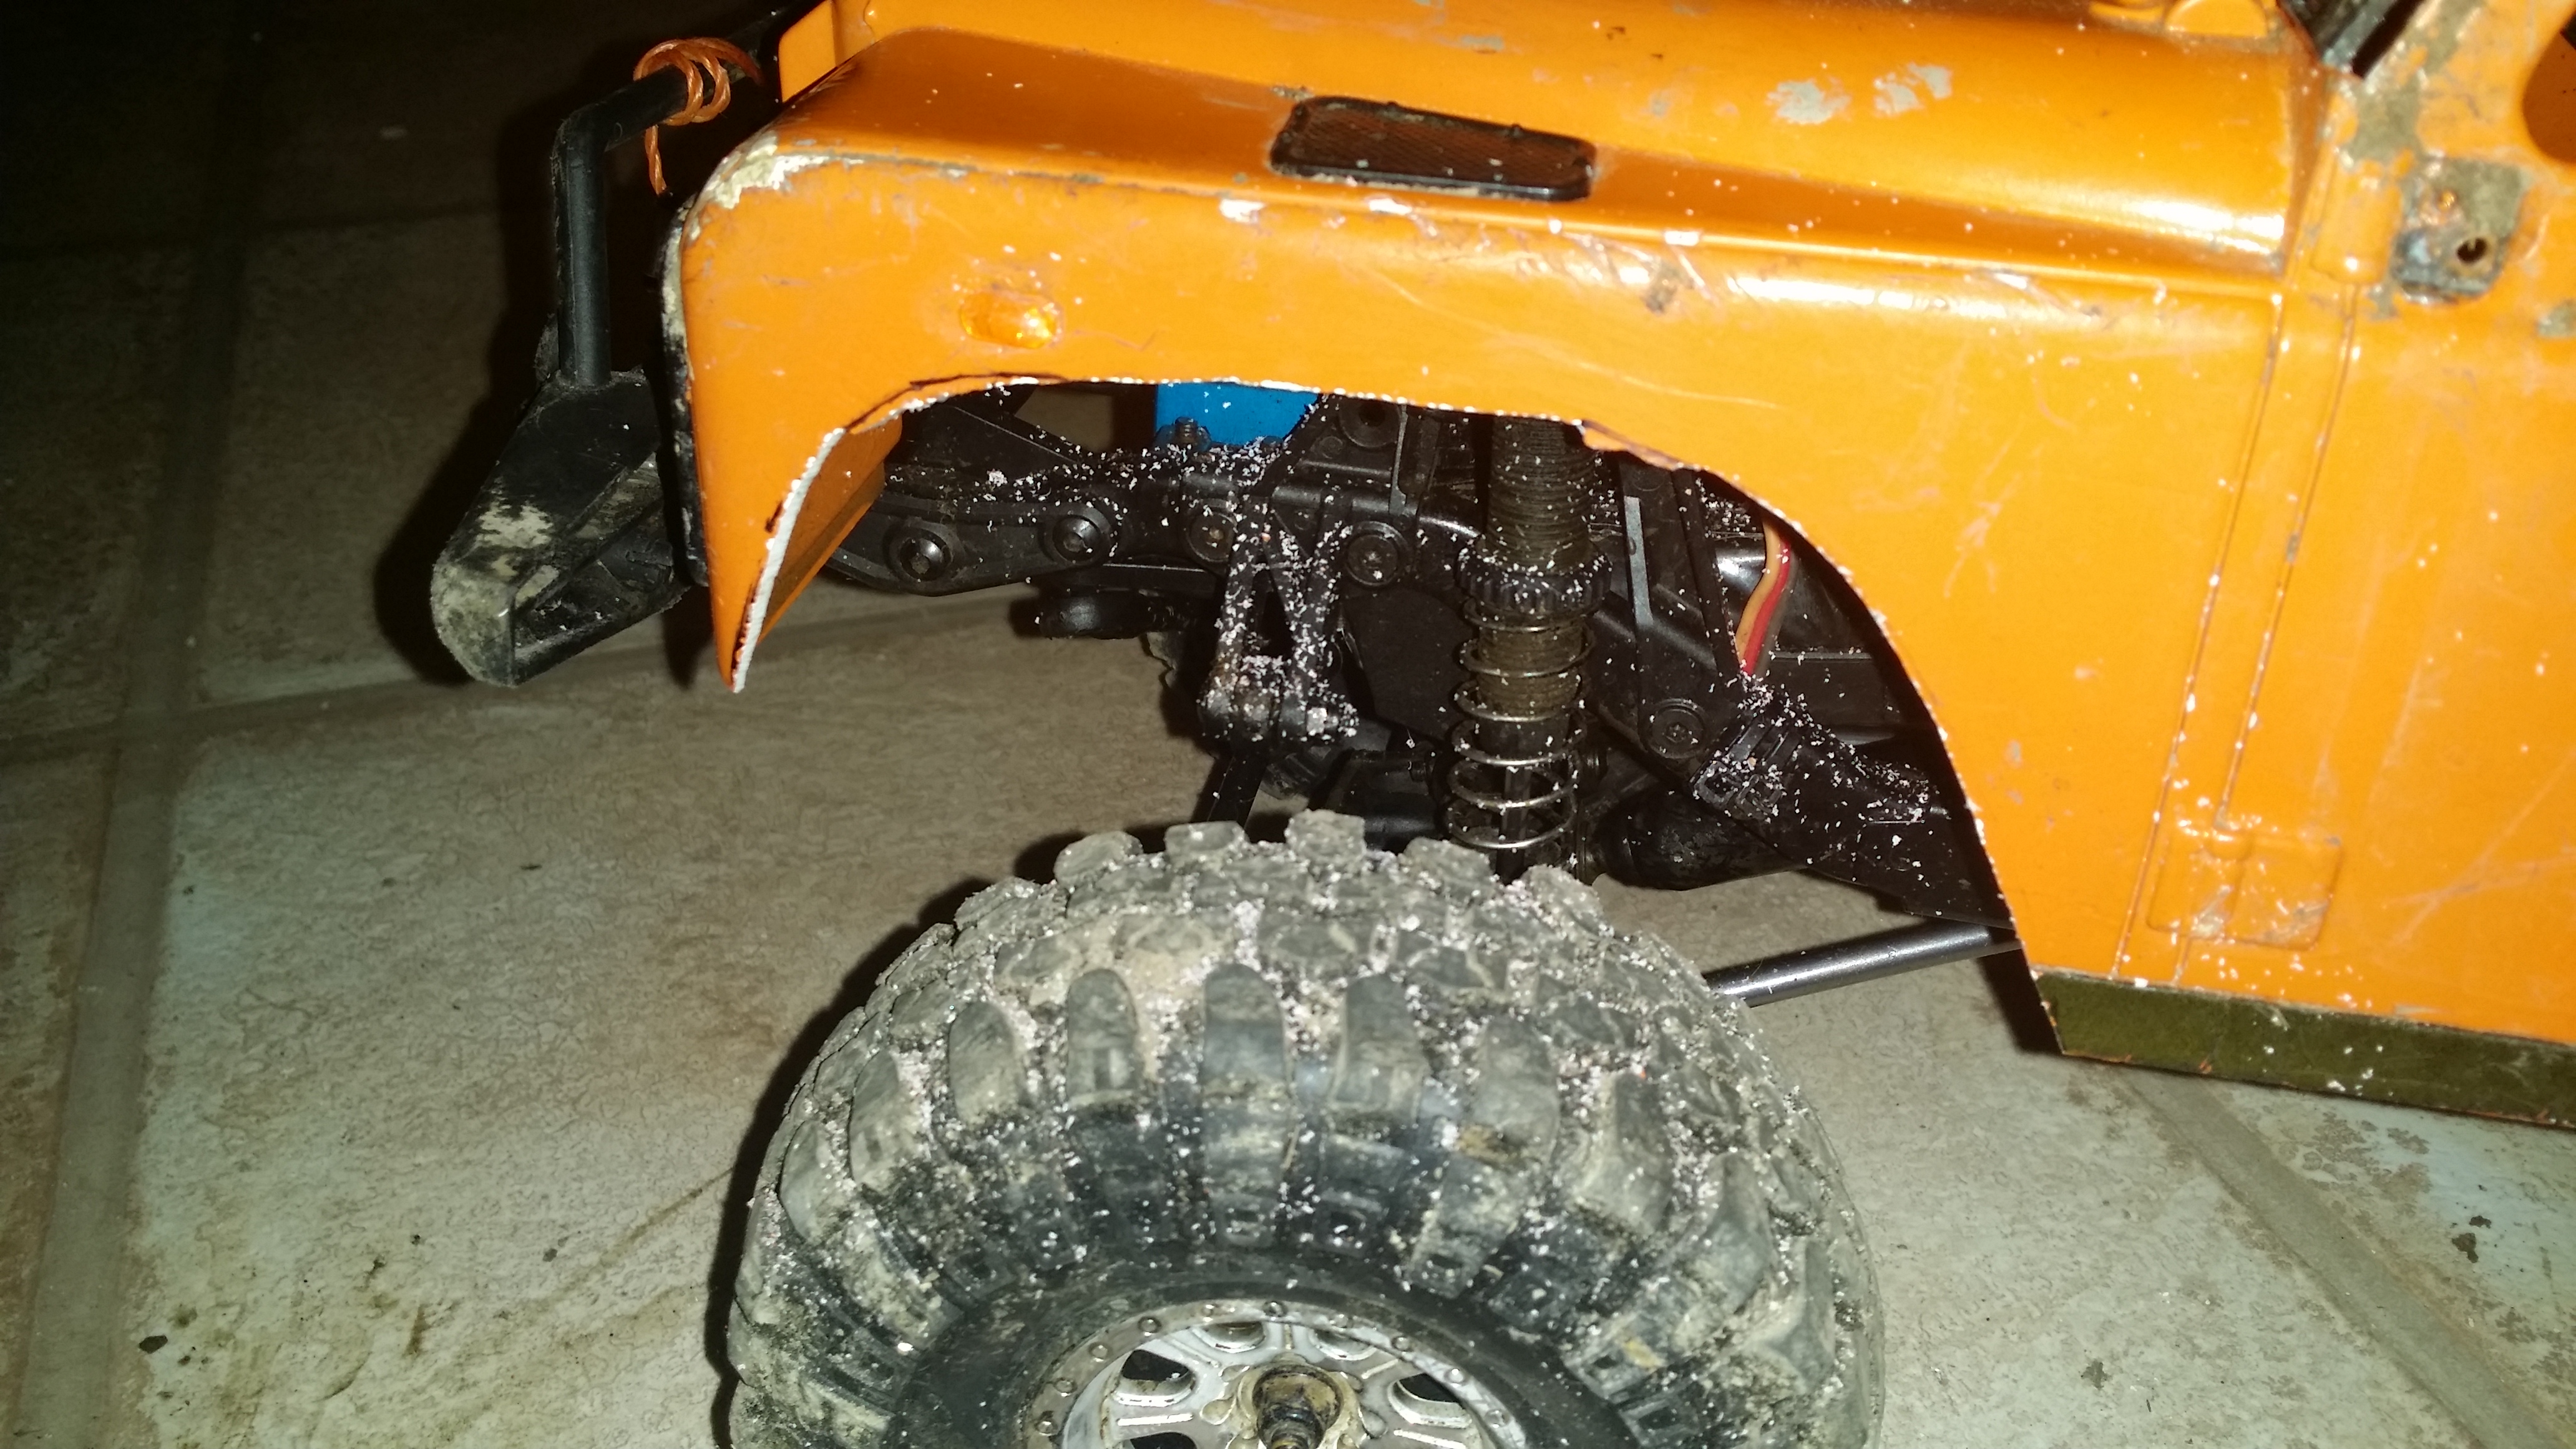
Thought I would upload a damage report from the other week, simply put the truck looked like it had been involved in an explosion. Hope you like the images and video, was a good crawl but now back to the workbench. Since I need to piece the shell back together including strengthing the major cracks I have decided to close off the back section making a van, after looking online I am going to be aiming for somthing along the lines of an environment agency vehicle.


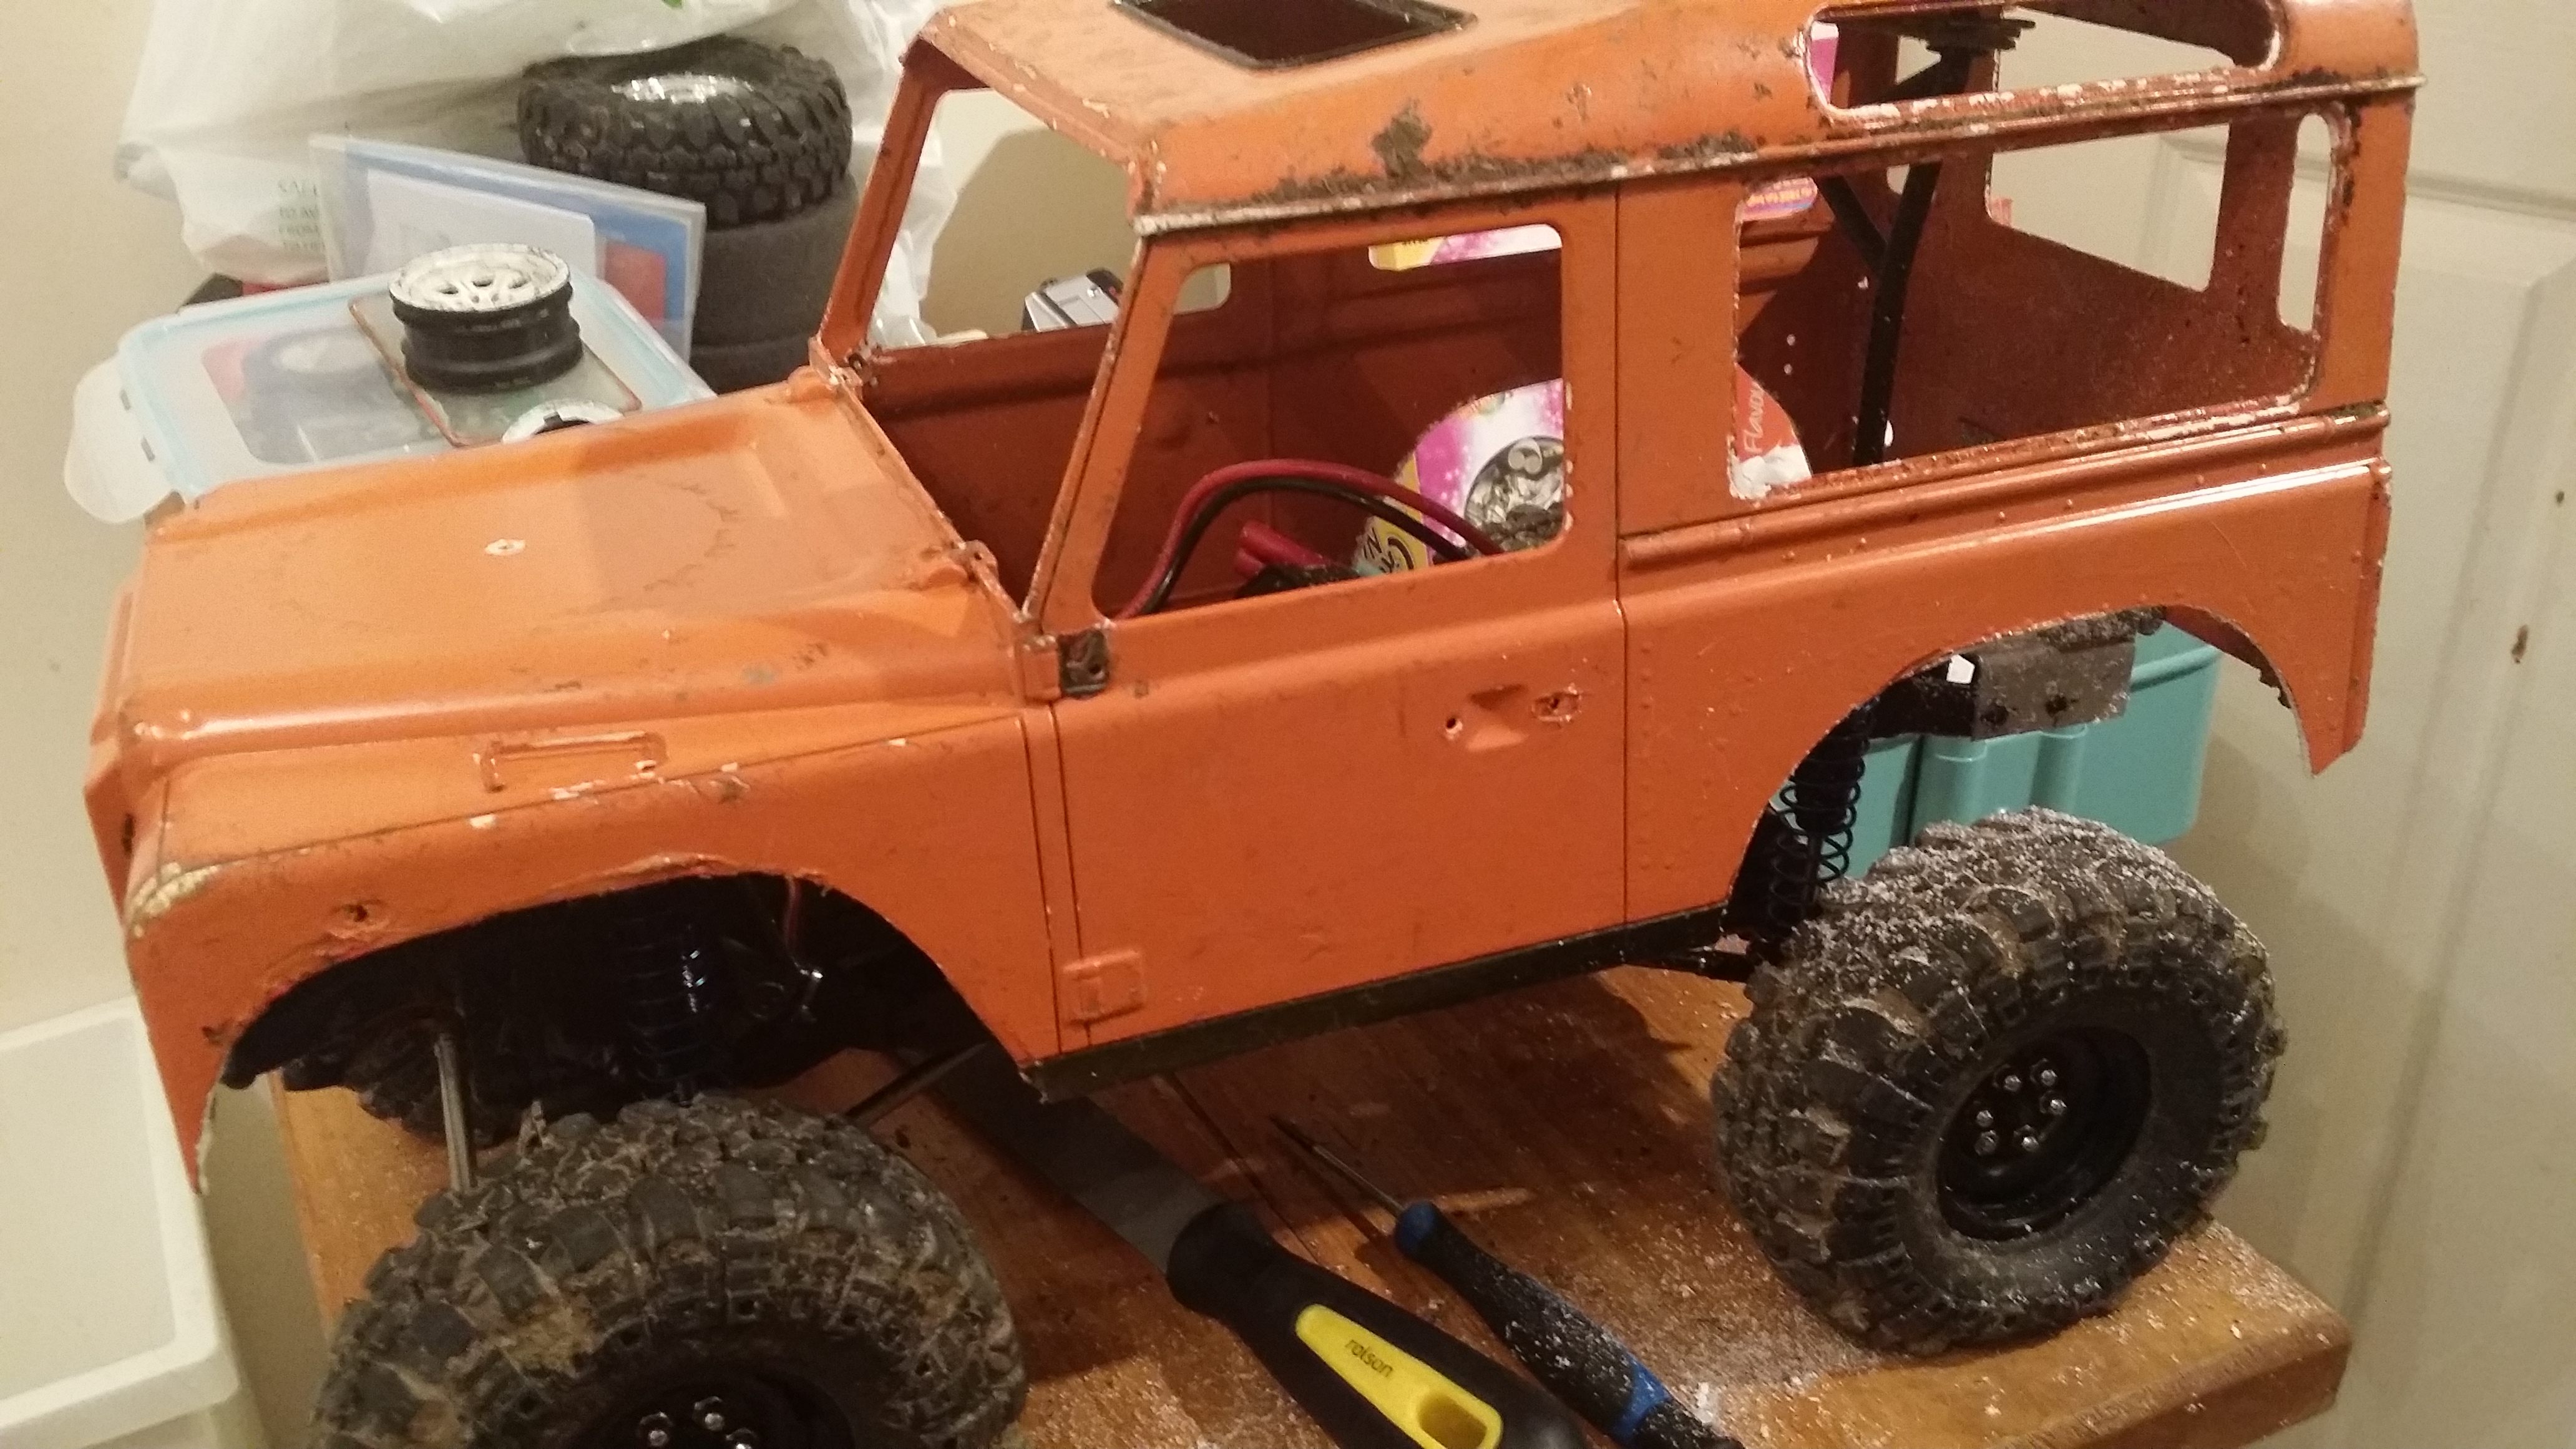
Took the Land Rover D90 using a Vattera Ascender chassie out for a crawl last week, unfortunately there was an accident and the D90 took a bit of damage. I am now debating starting again and getting another D90 shell. Anyways hope you enjoy the video it was a good day and I would recommend going to Twywell Hills and Dales Country Park if you are in Northamptonshire area and want to go for a crawl, or looking for a new crawling area.
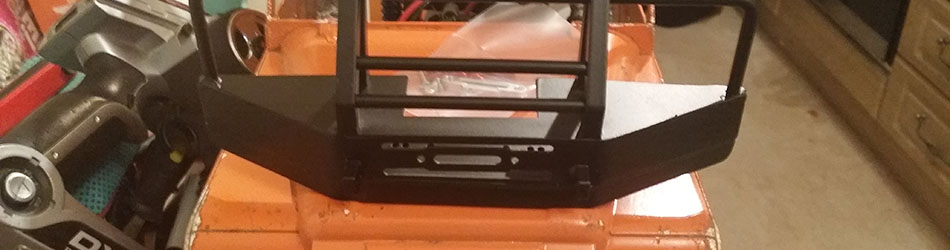
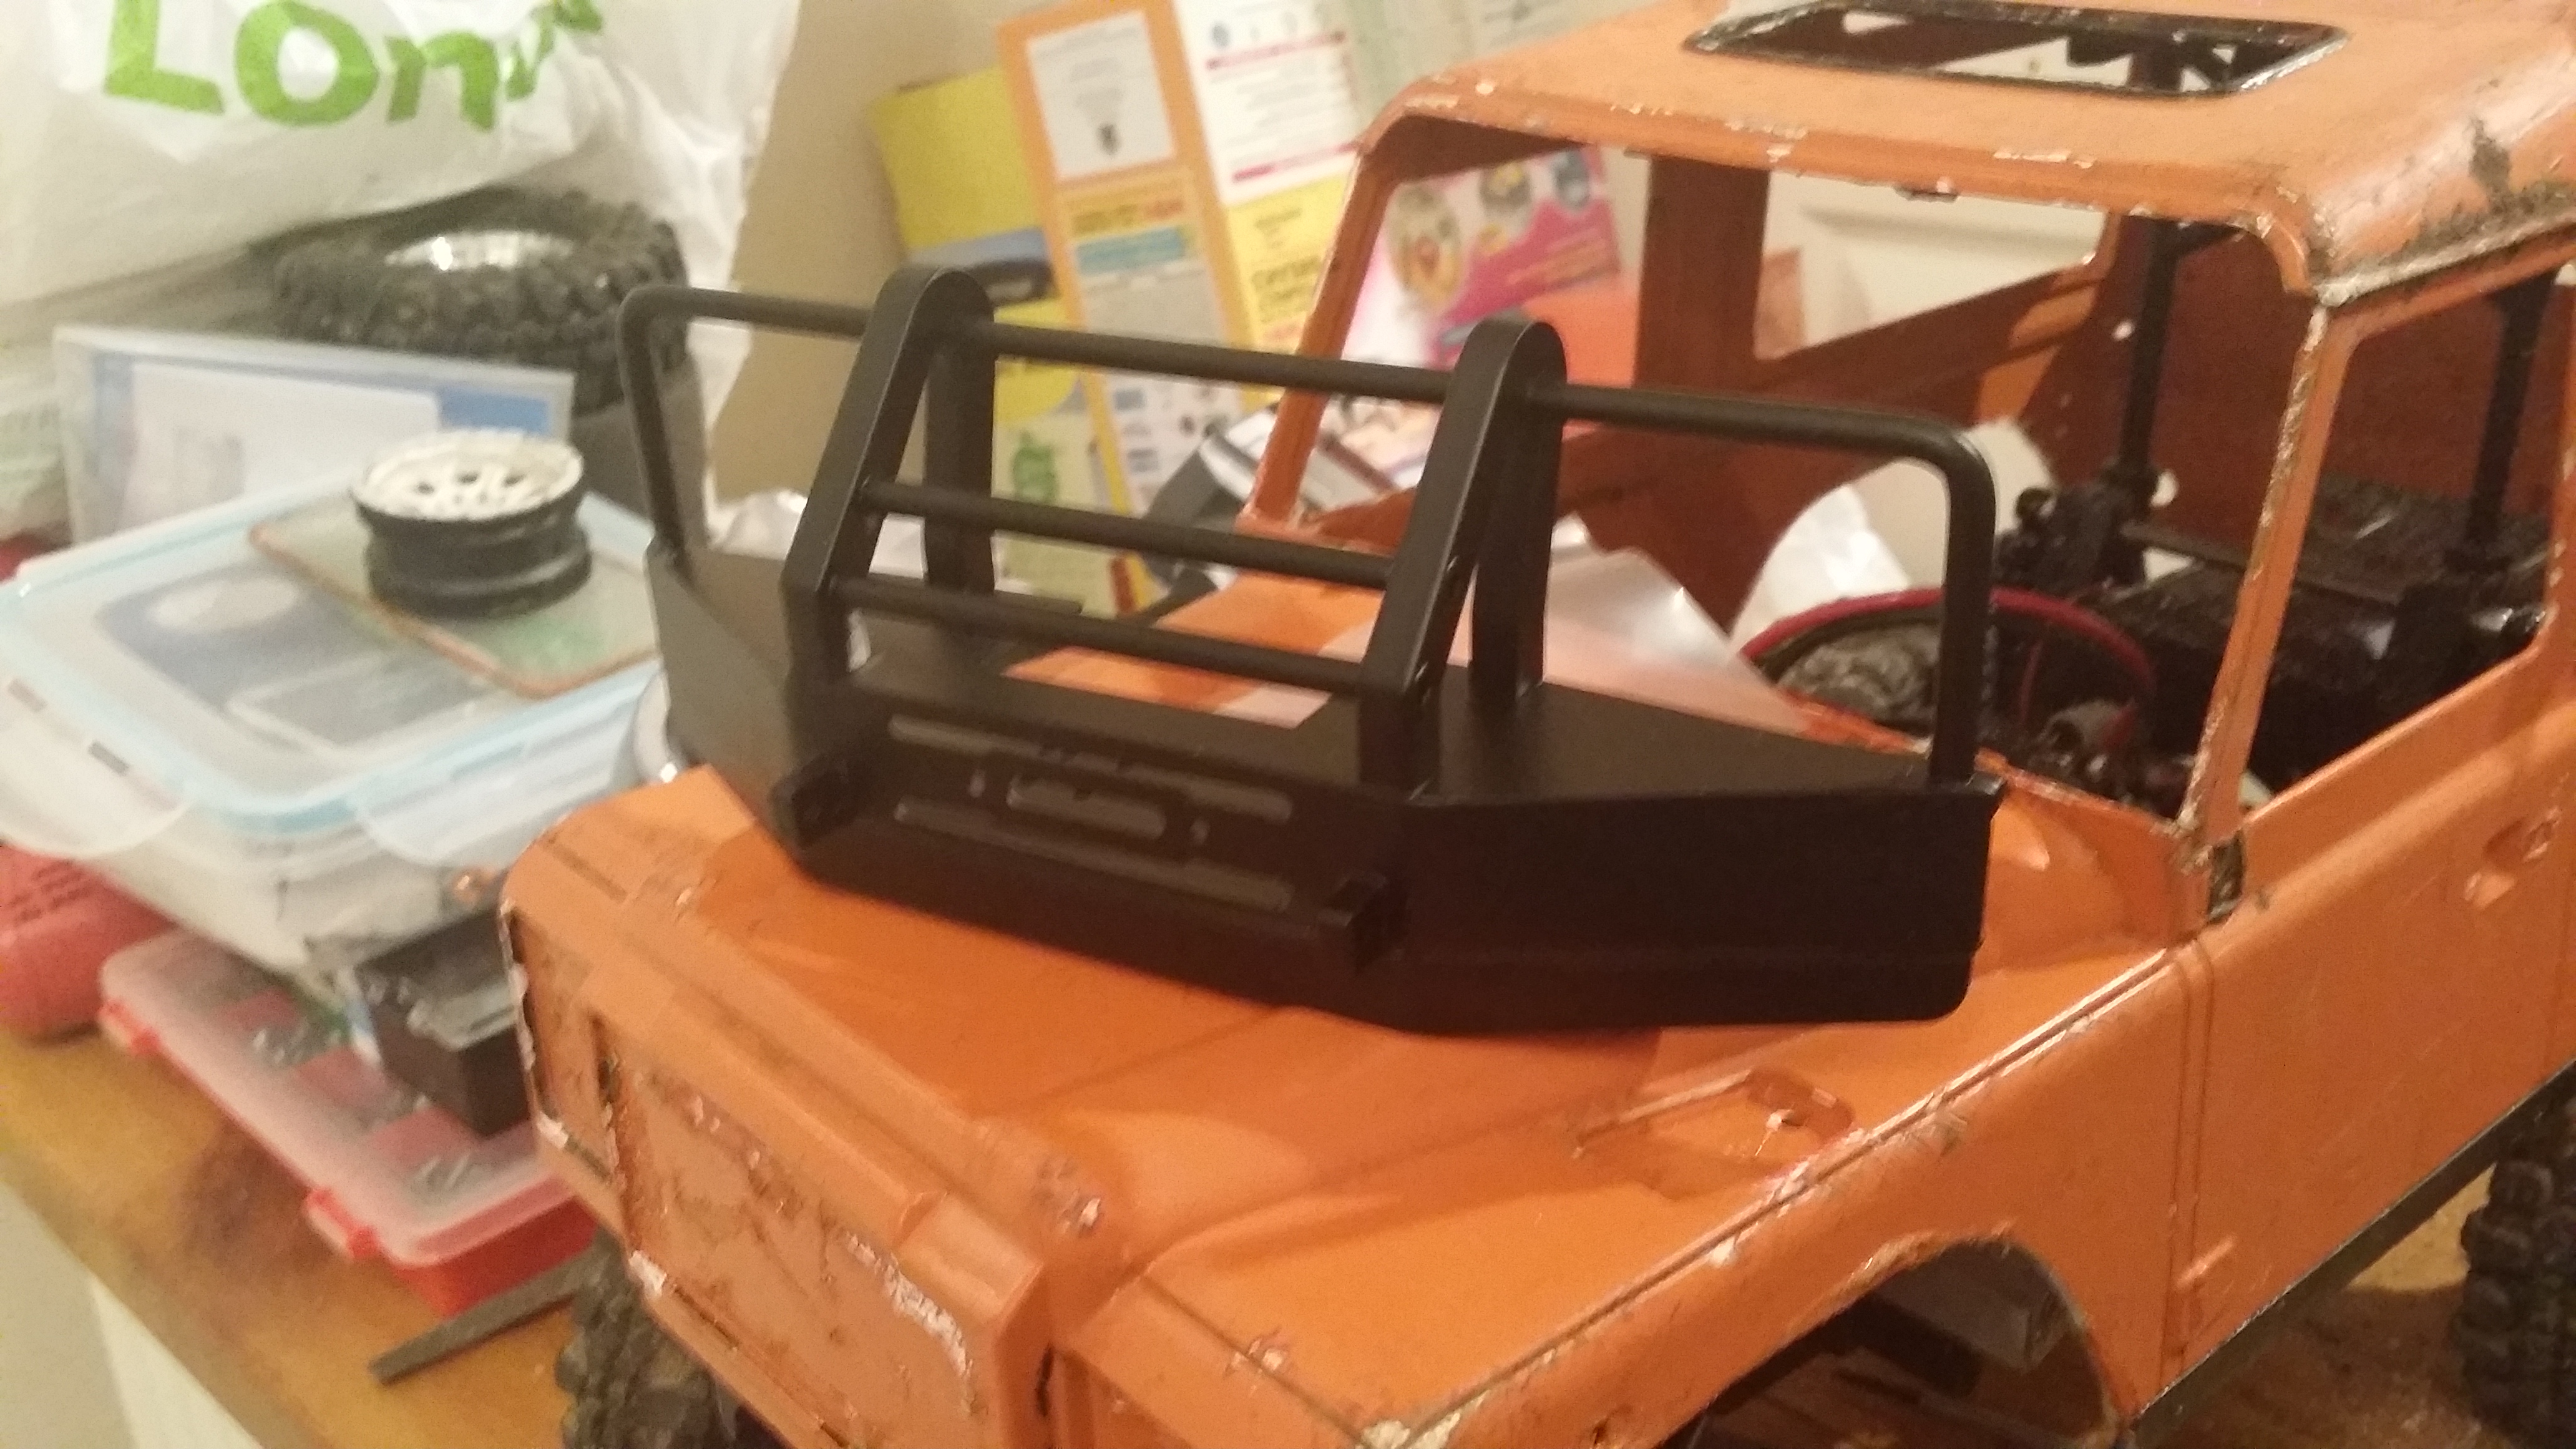
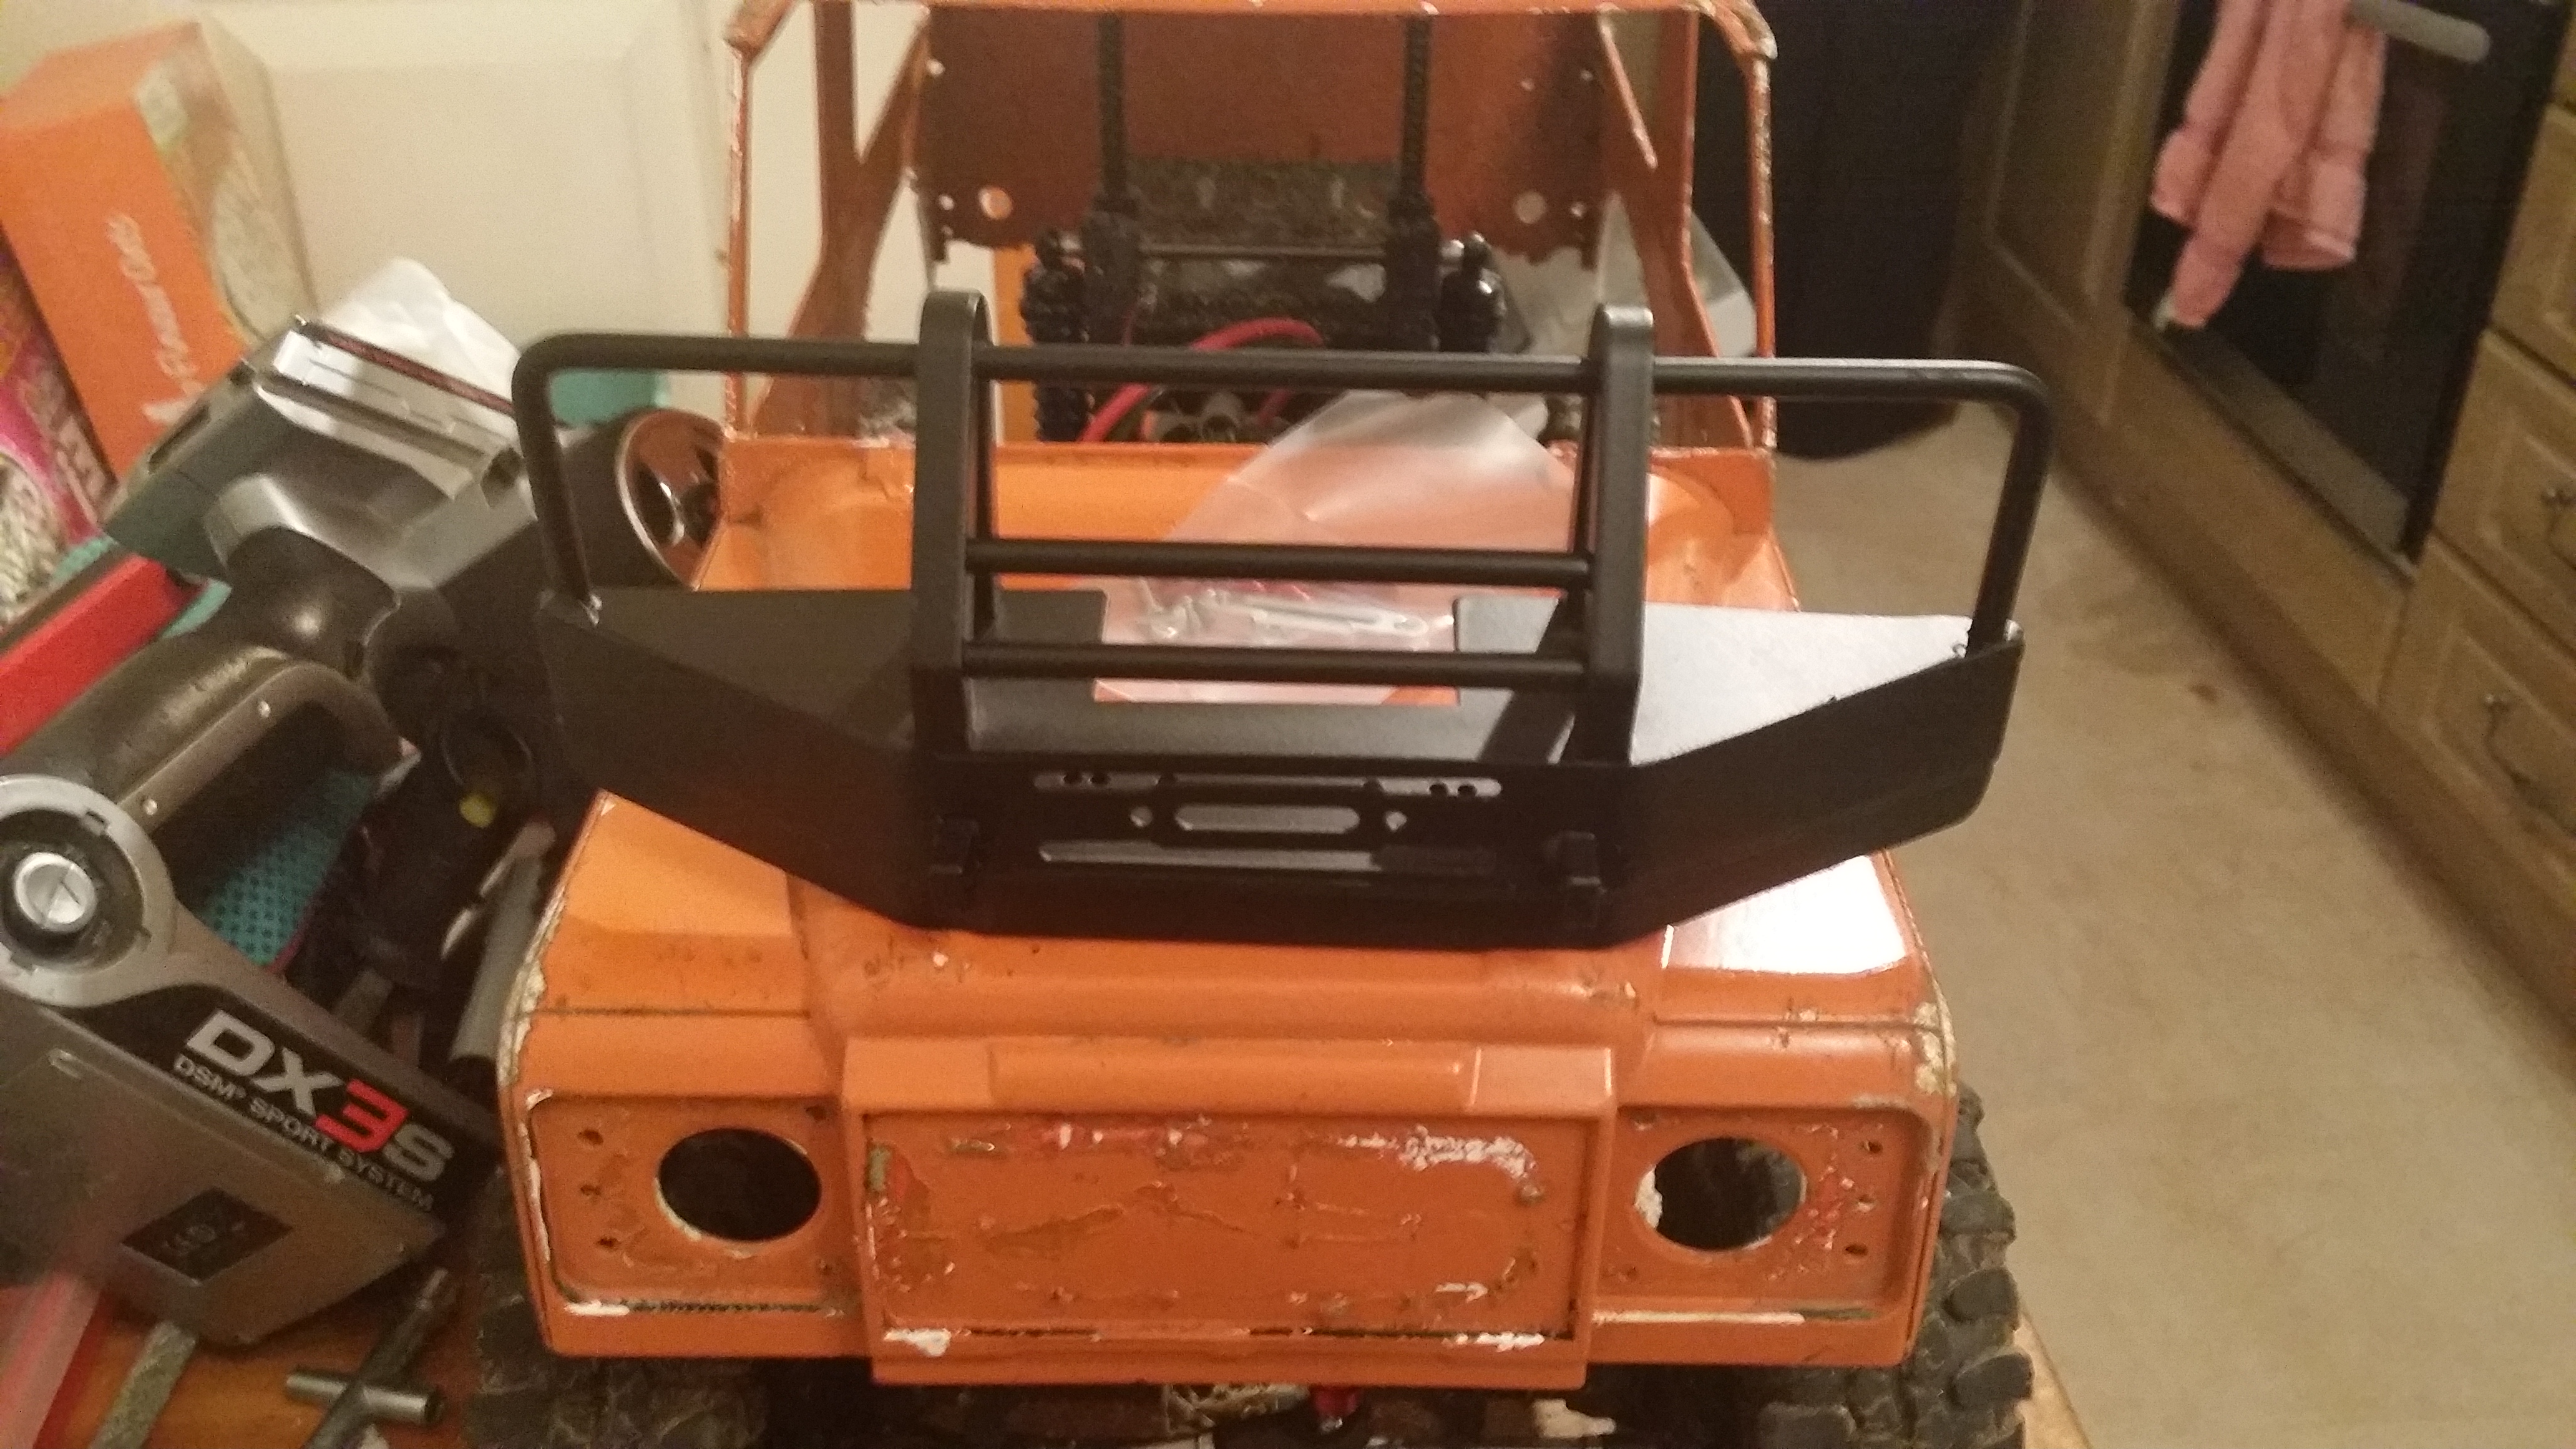
Today the new front bumper arrived, big and chunky to go with the build and should fit in really well. Not bad for £30 off ebay, took a while to arrive nearly 3 weeks. I will be uploading a post shortly of how I will be fitting this, possibly bolt it to the stock bumper posts.
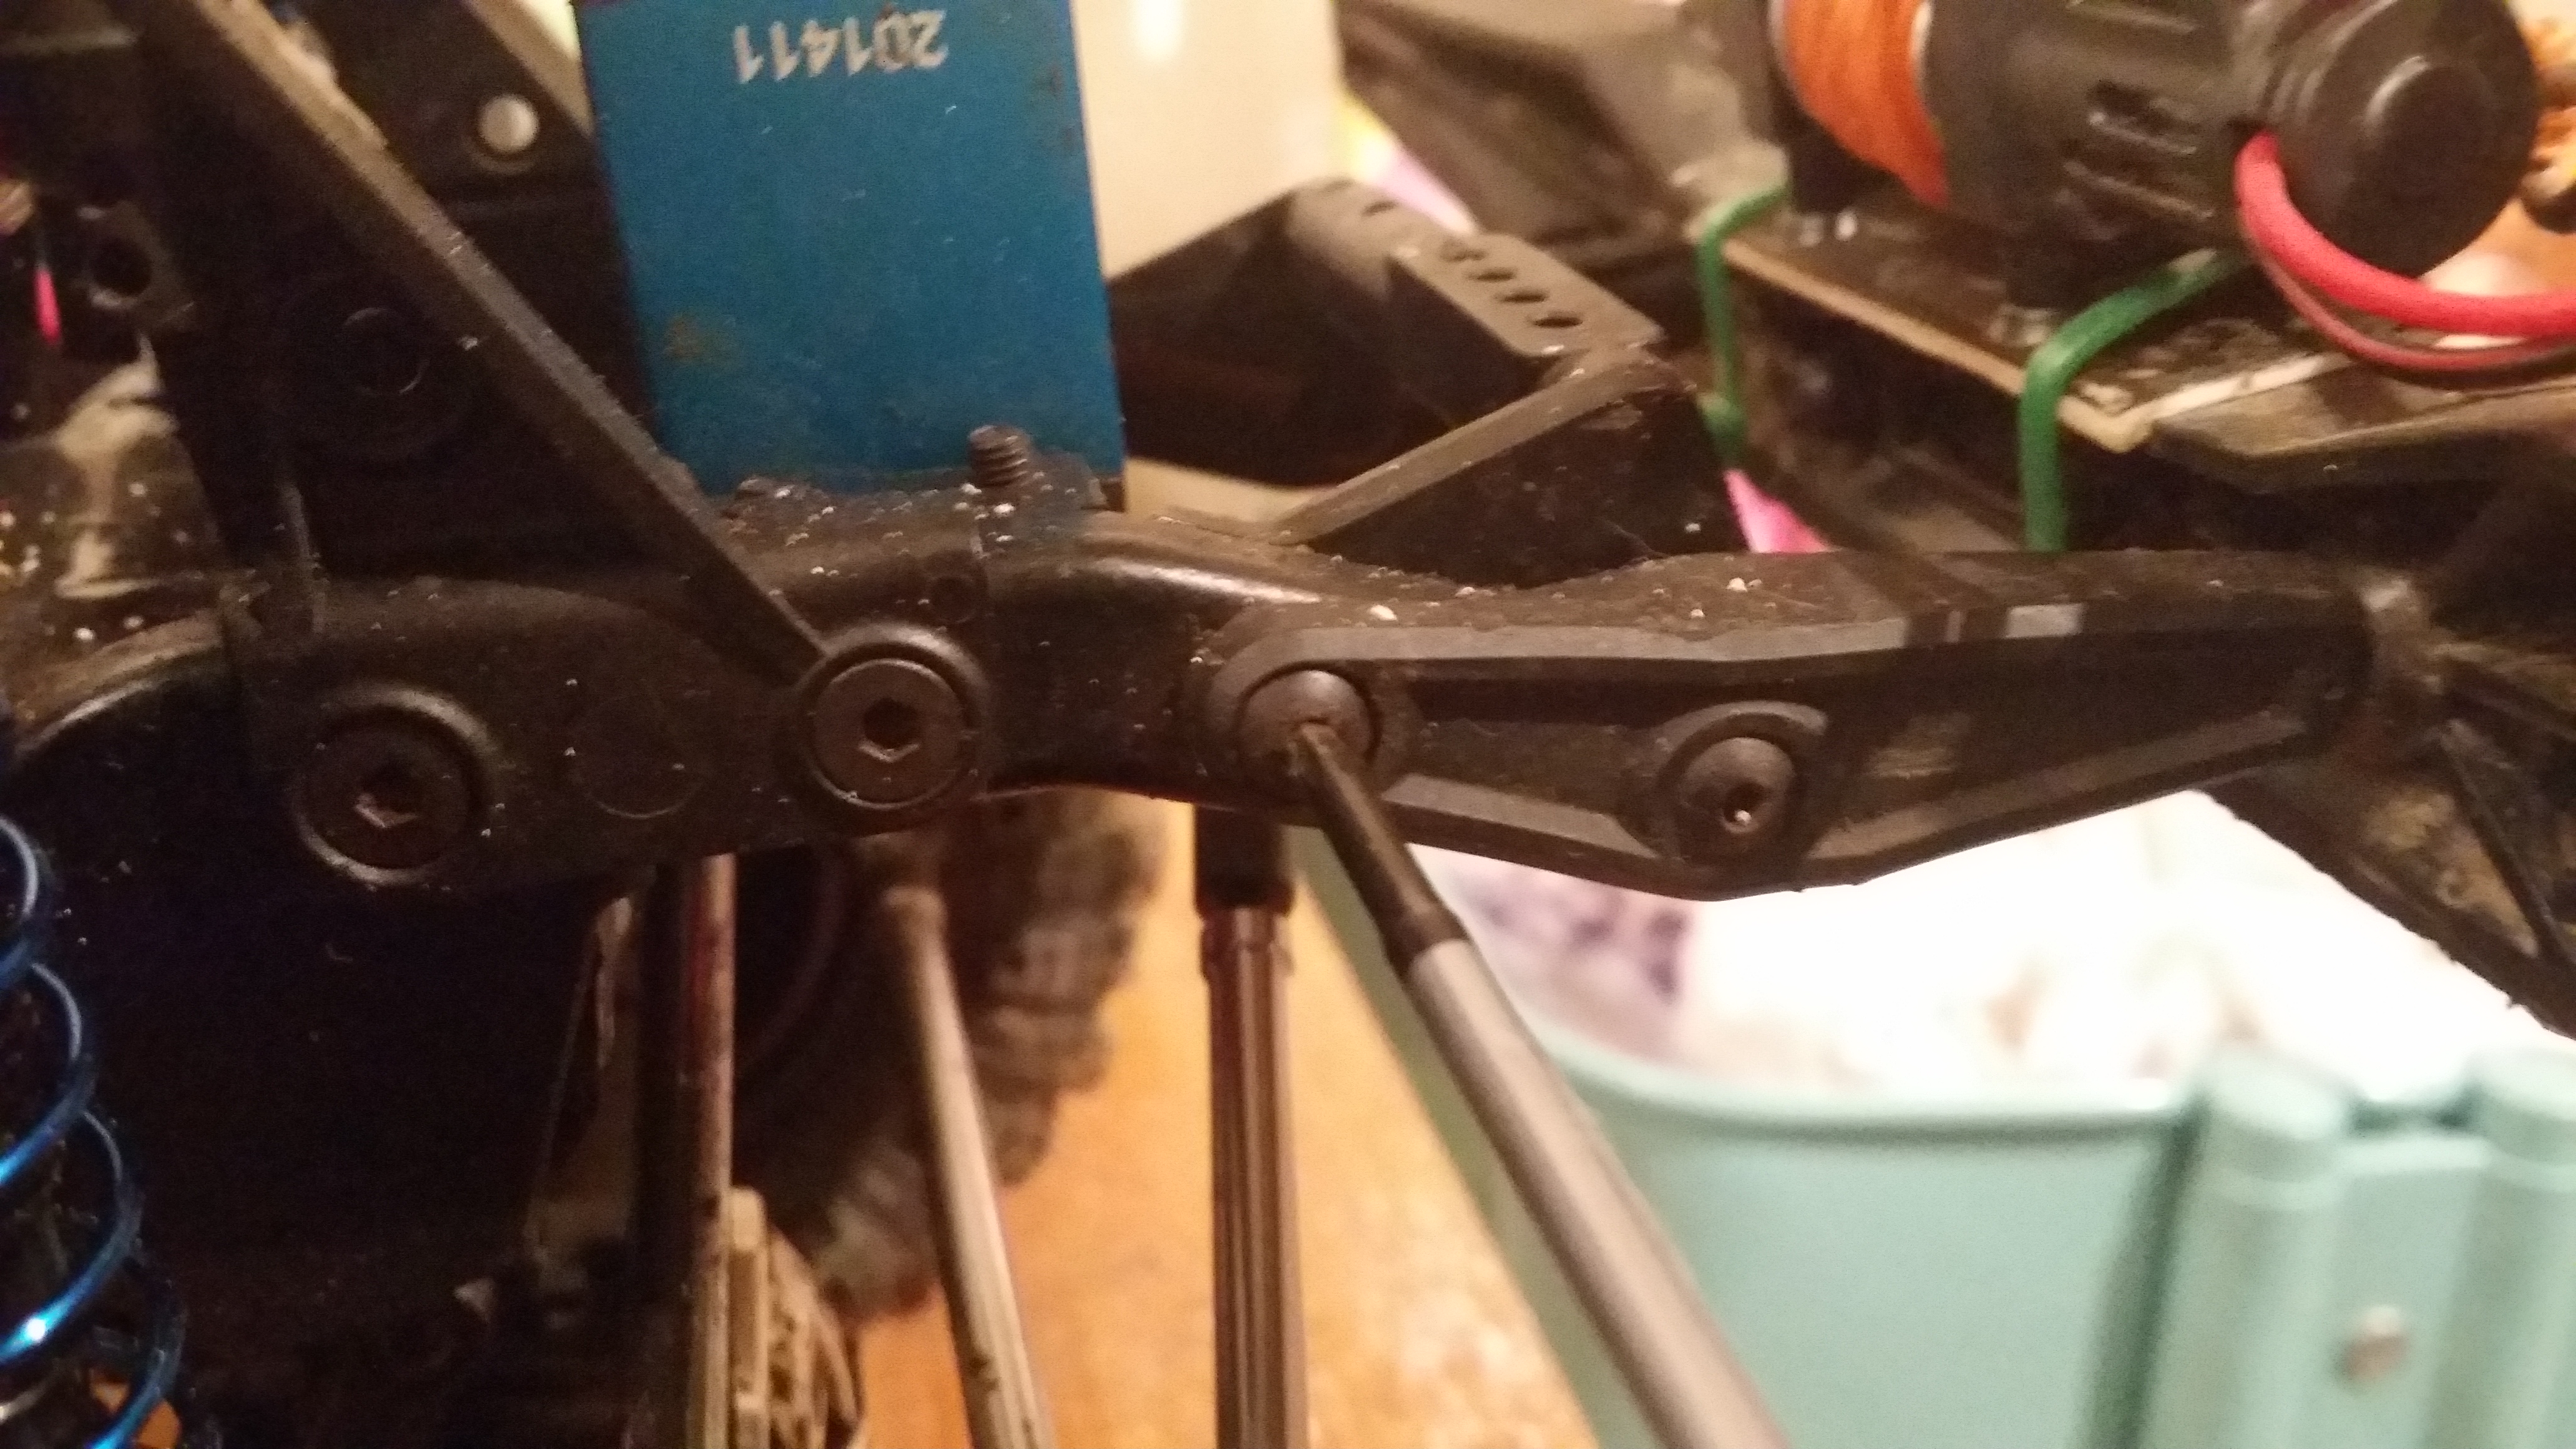
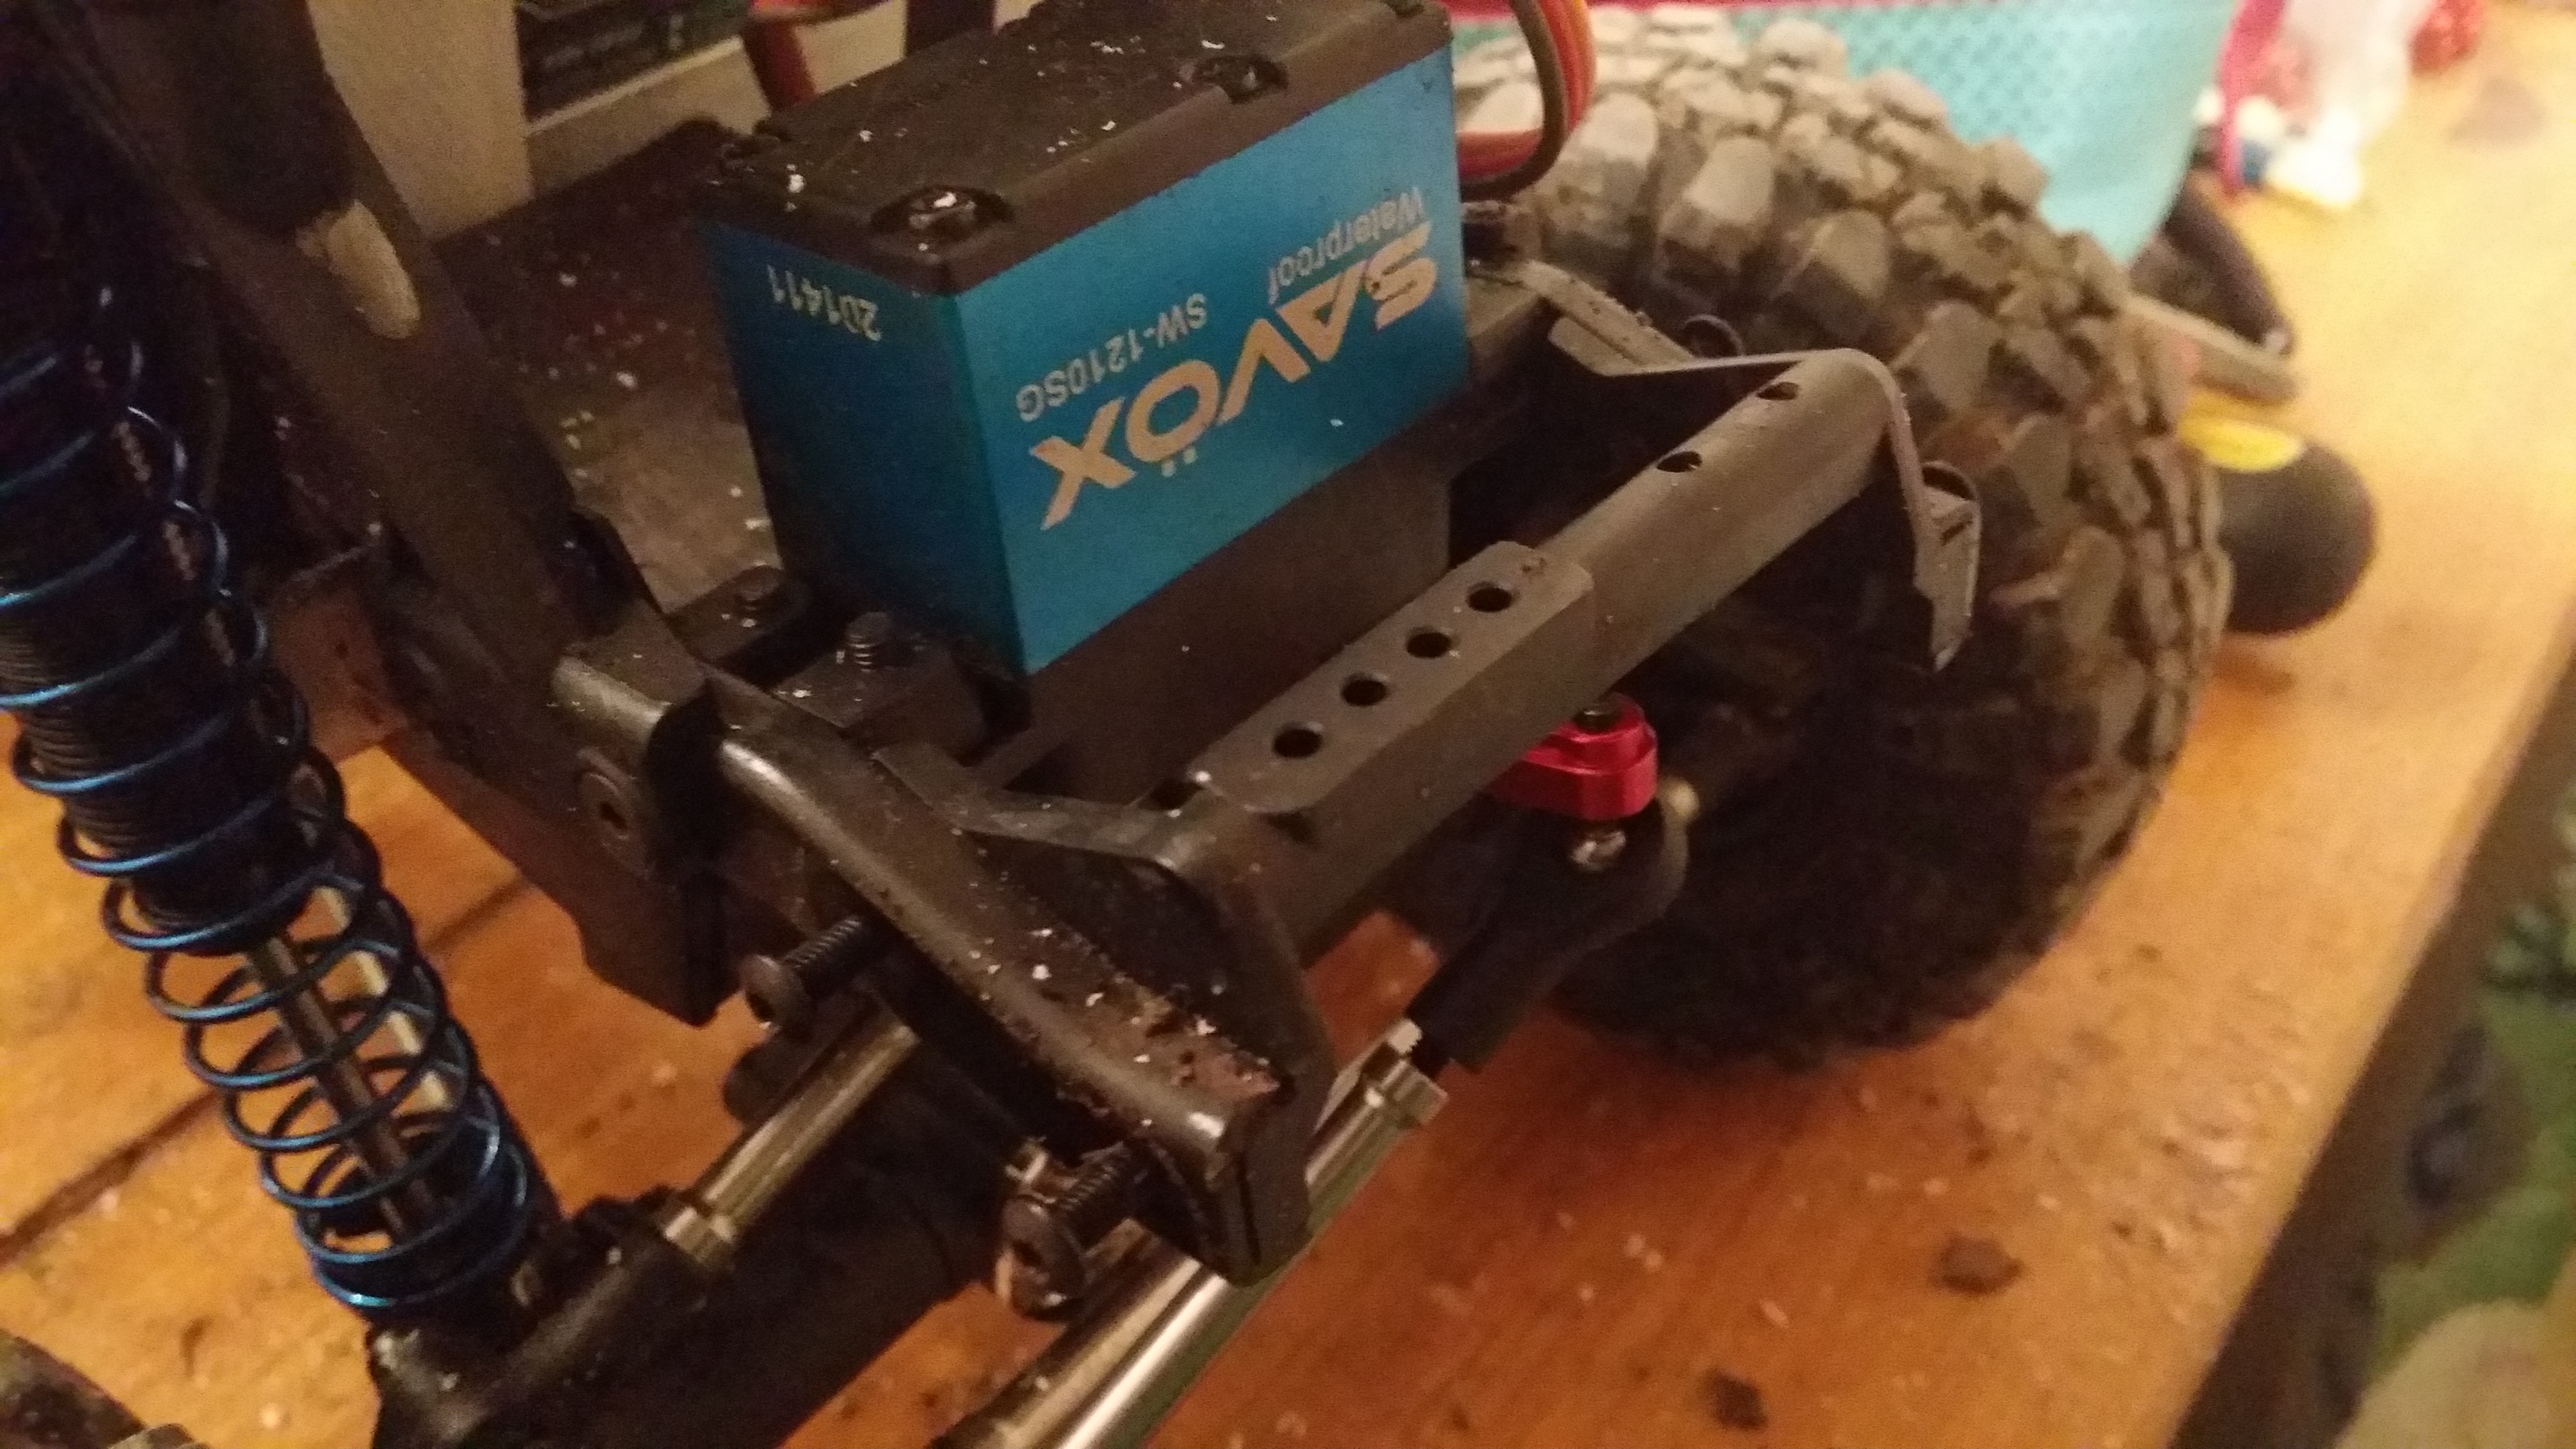
Lets take off the stock front bumper while we are here, first we want to undo the screws on either side of the bumper posts.
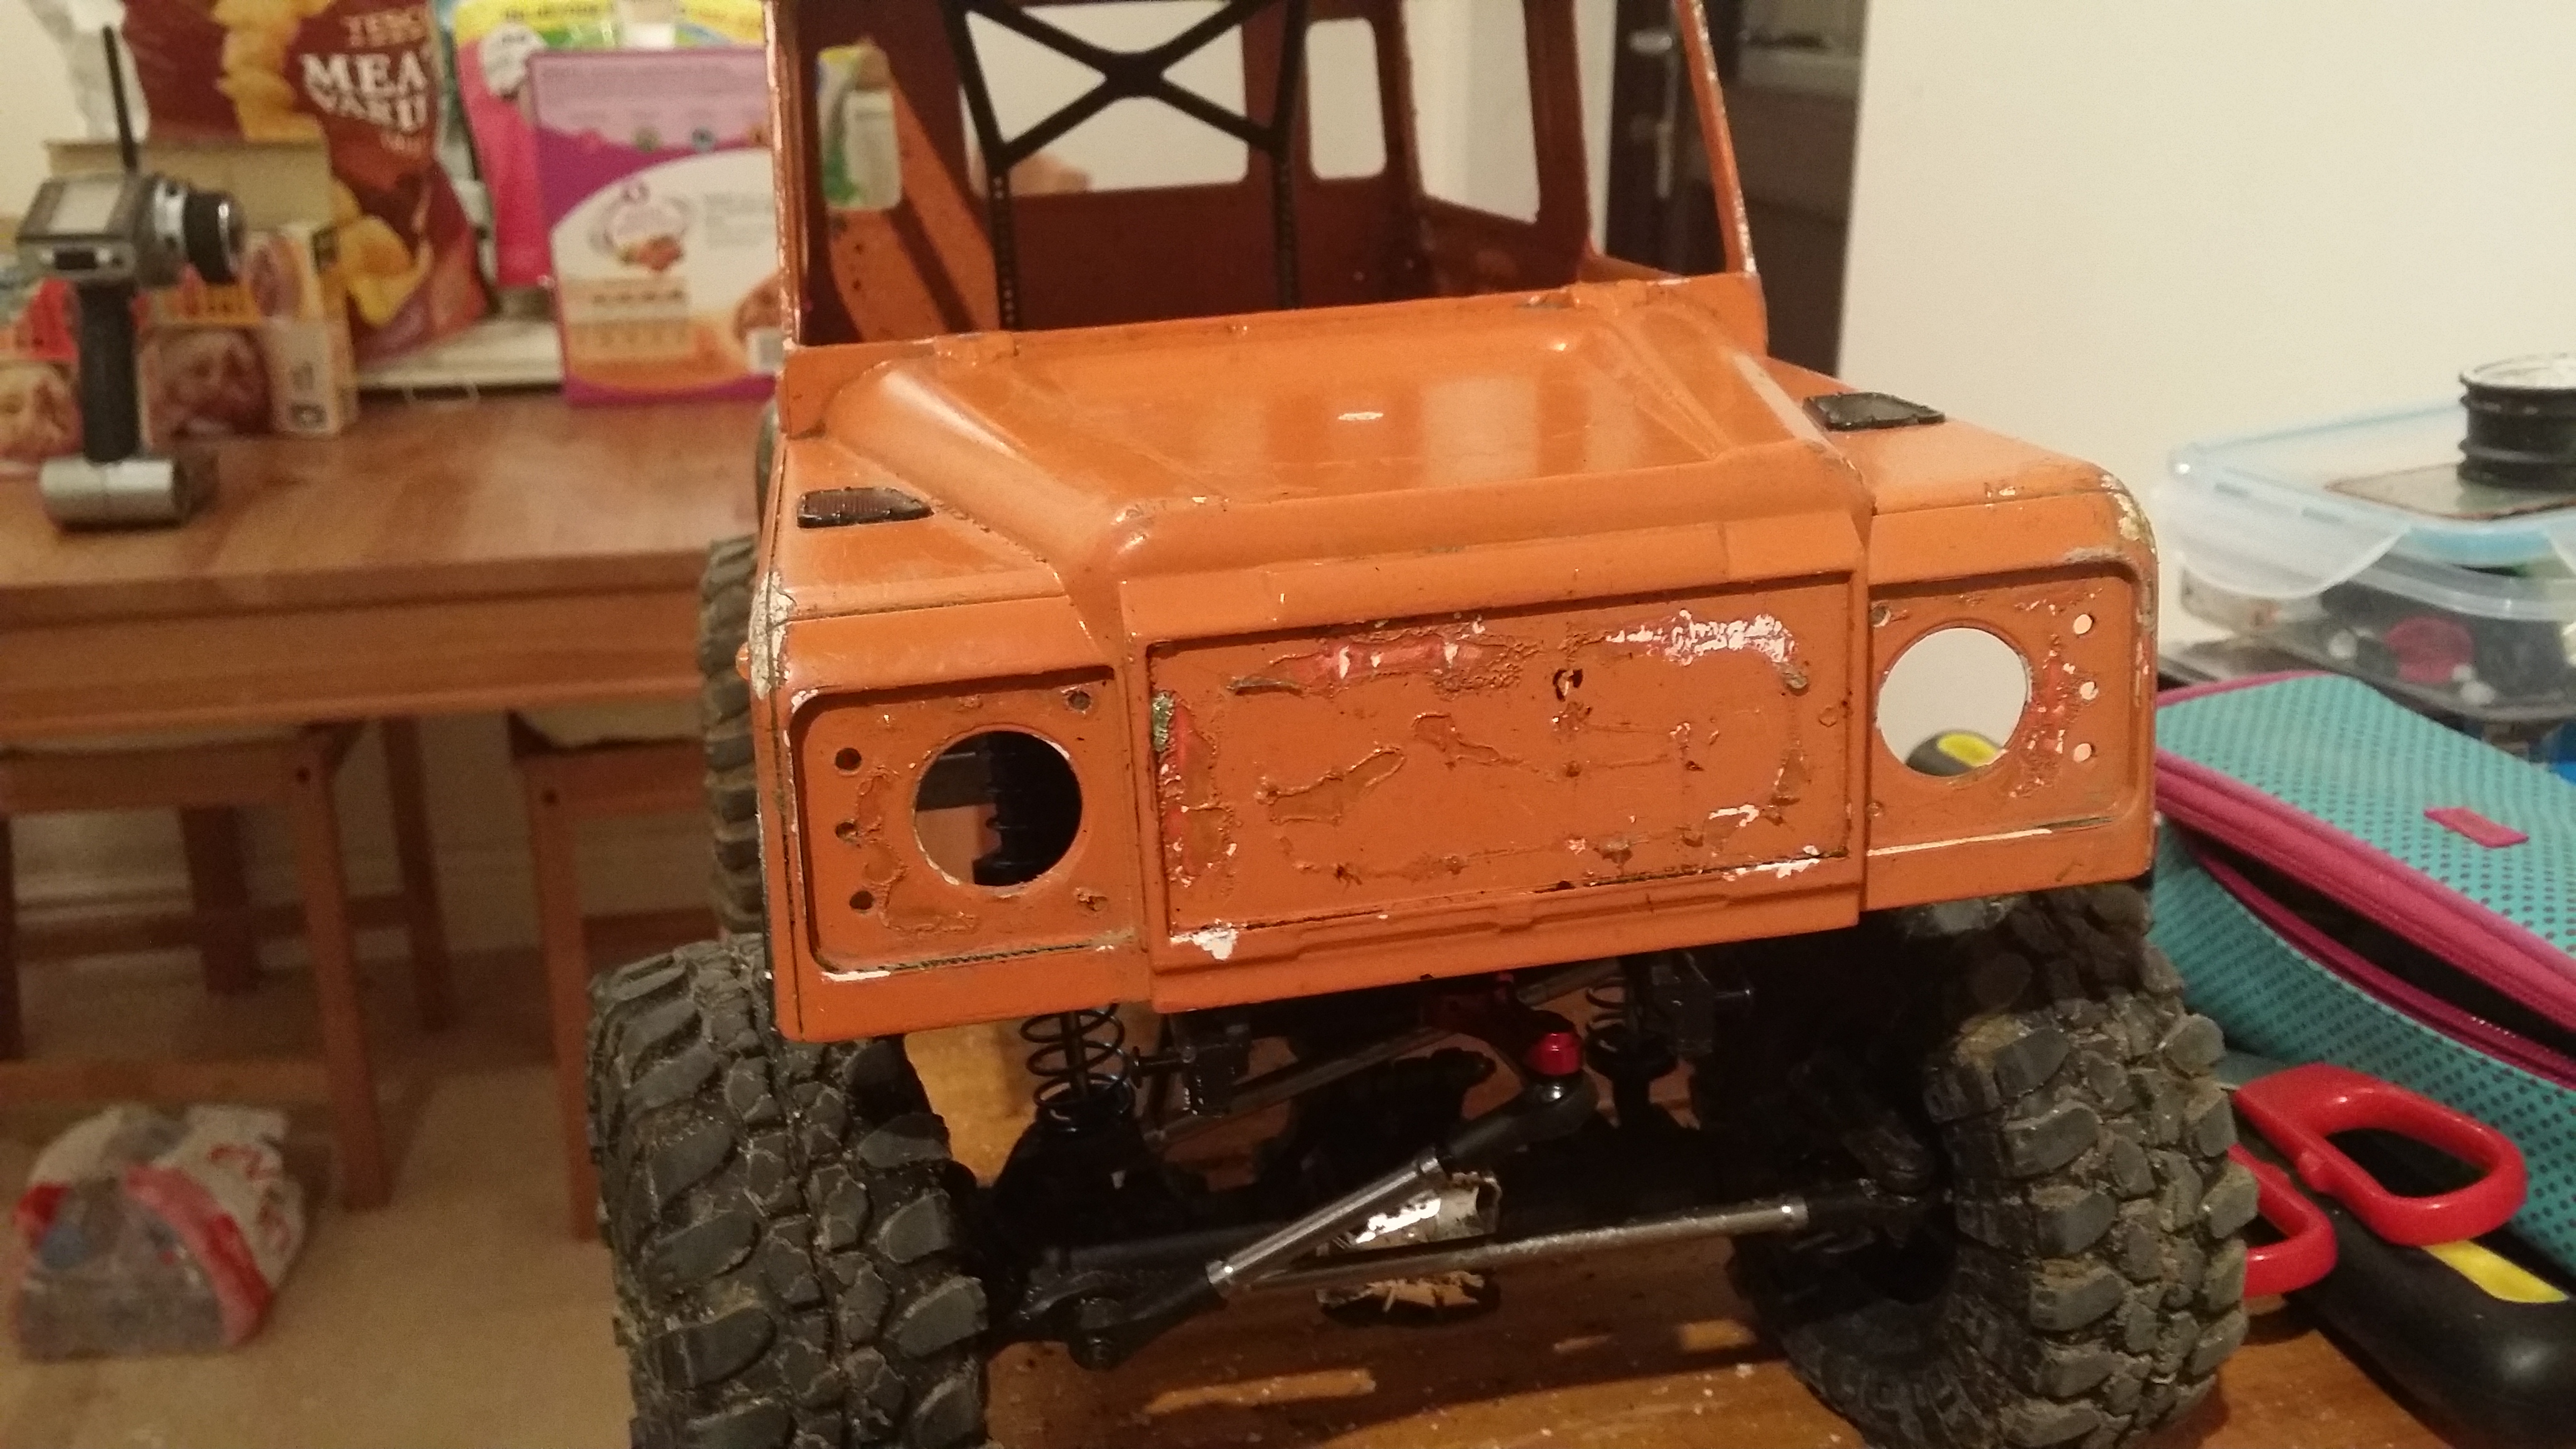
 Thats it, front bumper is now removed.
Been browsing eBay and found some awsum looking items from a seller called “DJ Designs”, email him enquirying he provided me with a link to his website. Got some awsum stuff for D90 trucks as well as other trucks and scale items. I will be placing a order very shortly for the project.
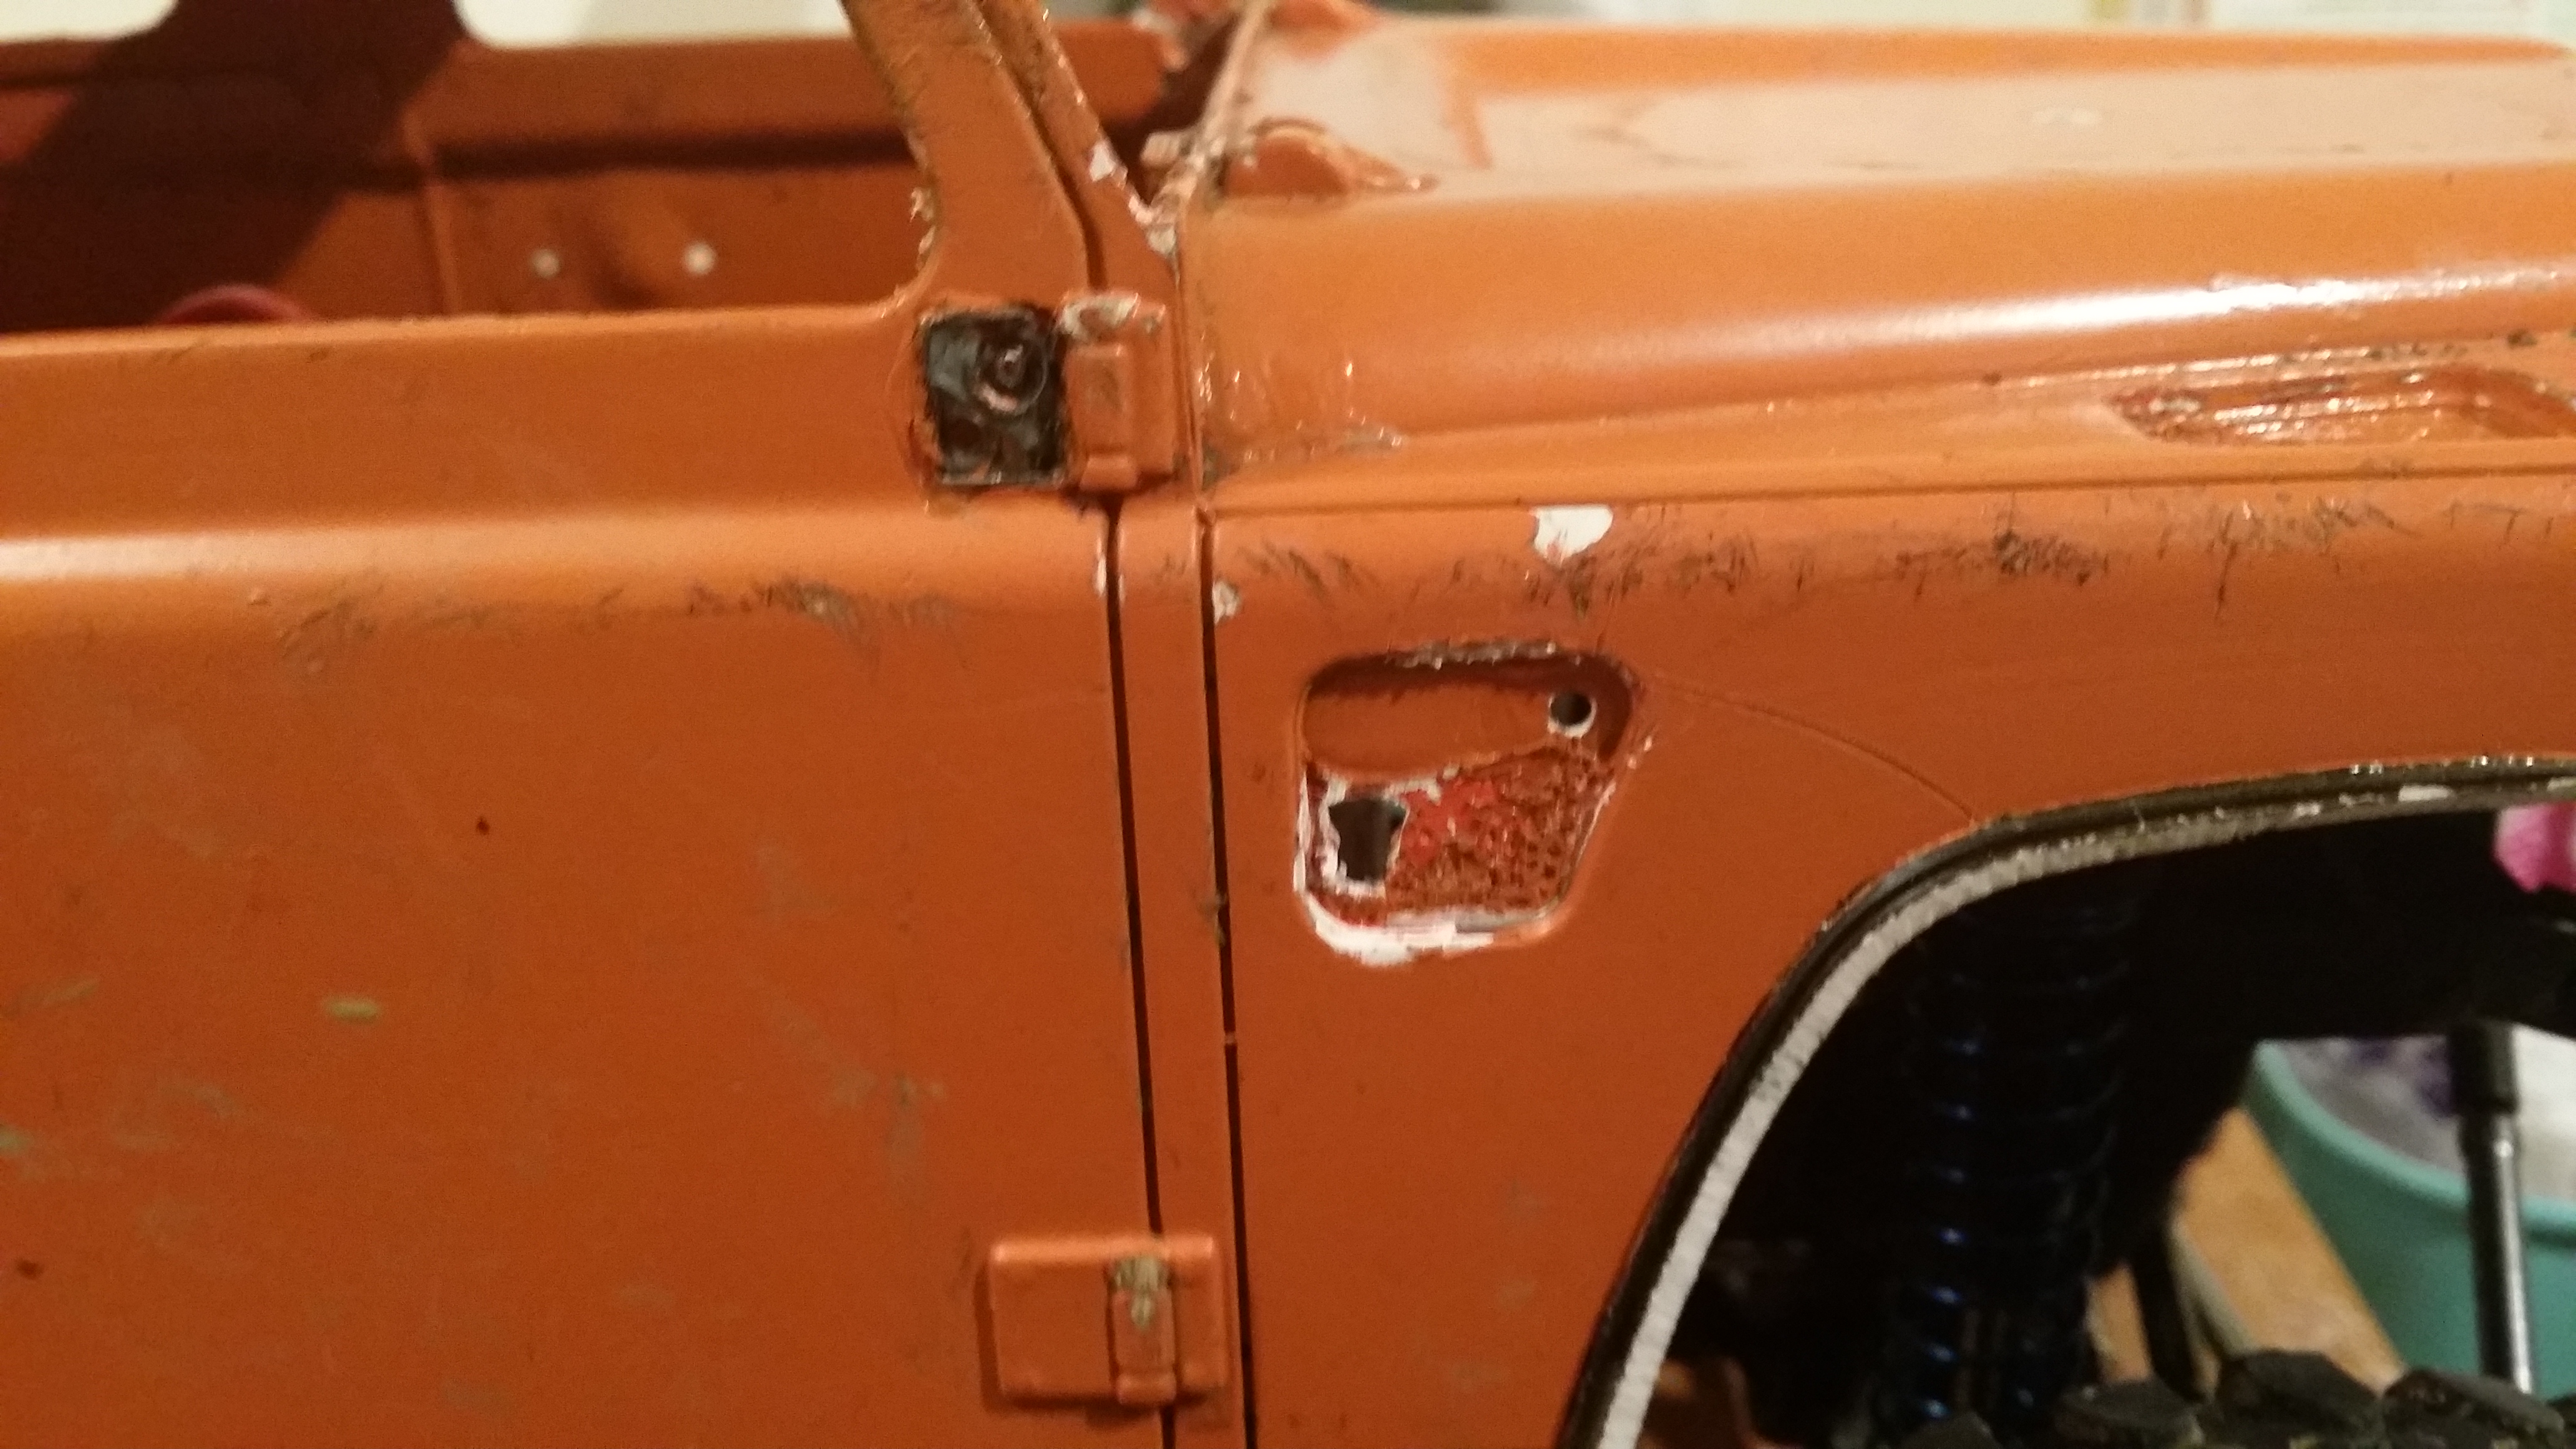
Just a quick update since it has been a while. Started stripping the shell of all of its accessories such as windows and lights, I will be respraying the shell so these need to come off. As I am missing lenses and the windows are in a bad shape I didn’t mind to much about damages as they are all being replaced with new ones. I didn’t worry to much about chipping the shell as it will be getting sanded ready for the paint. I have also finished trimming all 4 wheel arches to allow the vaterra wheelbase to fit better and also provide room for when the rubber fenders are installed.
I will be buying the D90 lenses and windows from rcBitz.
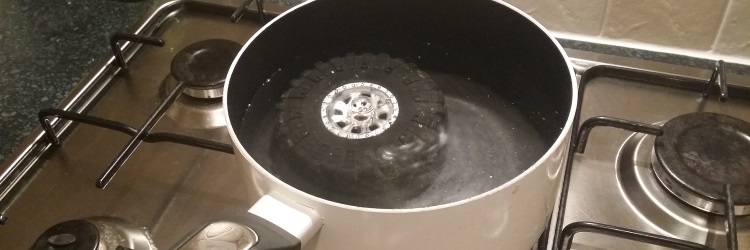
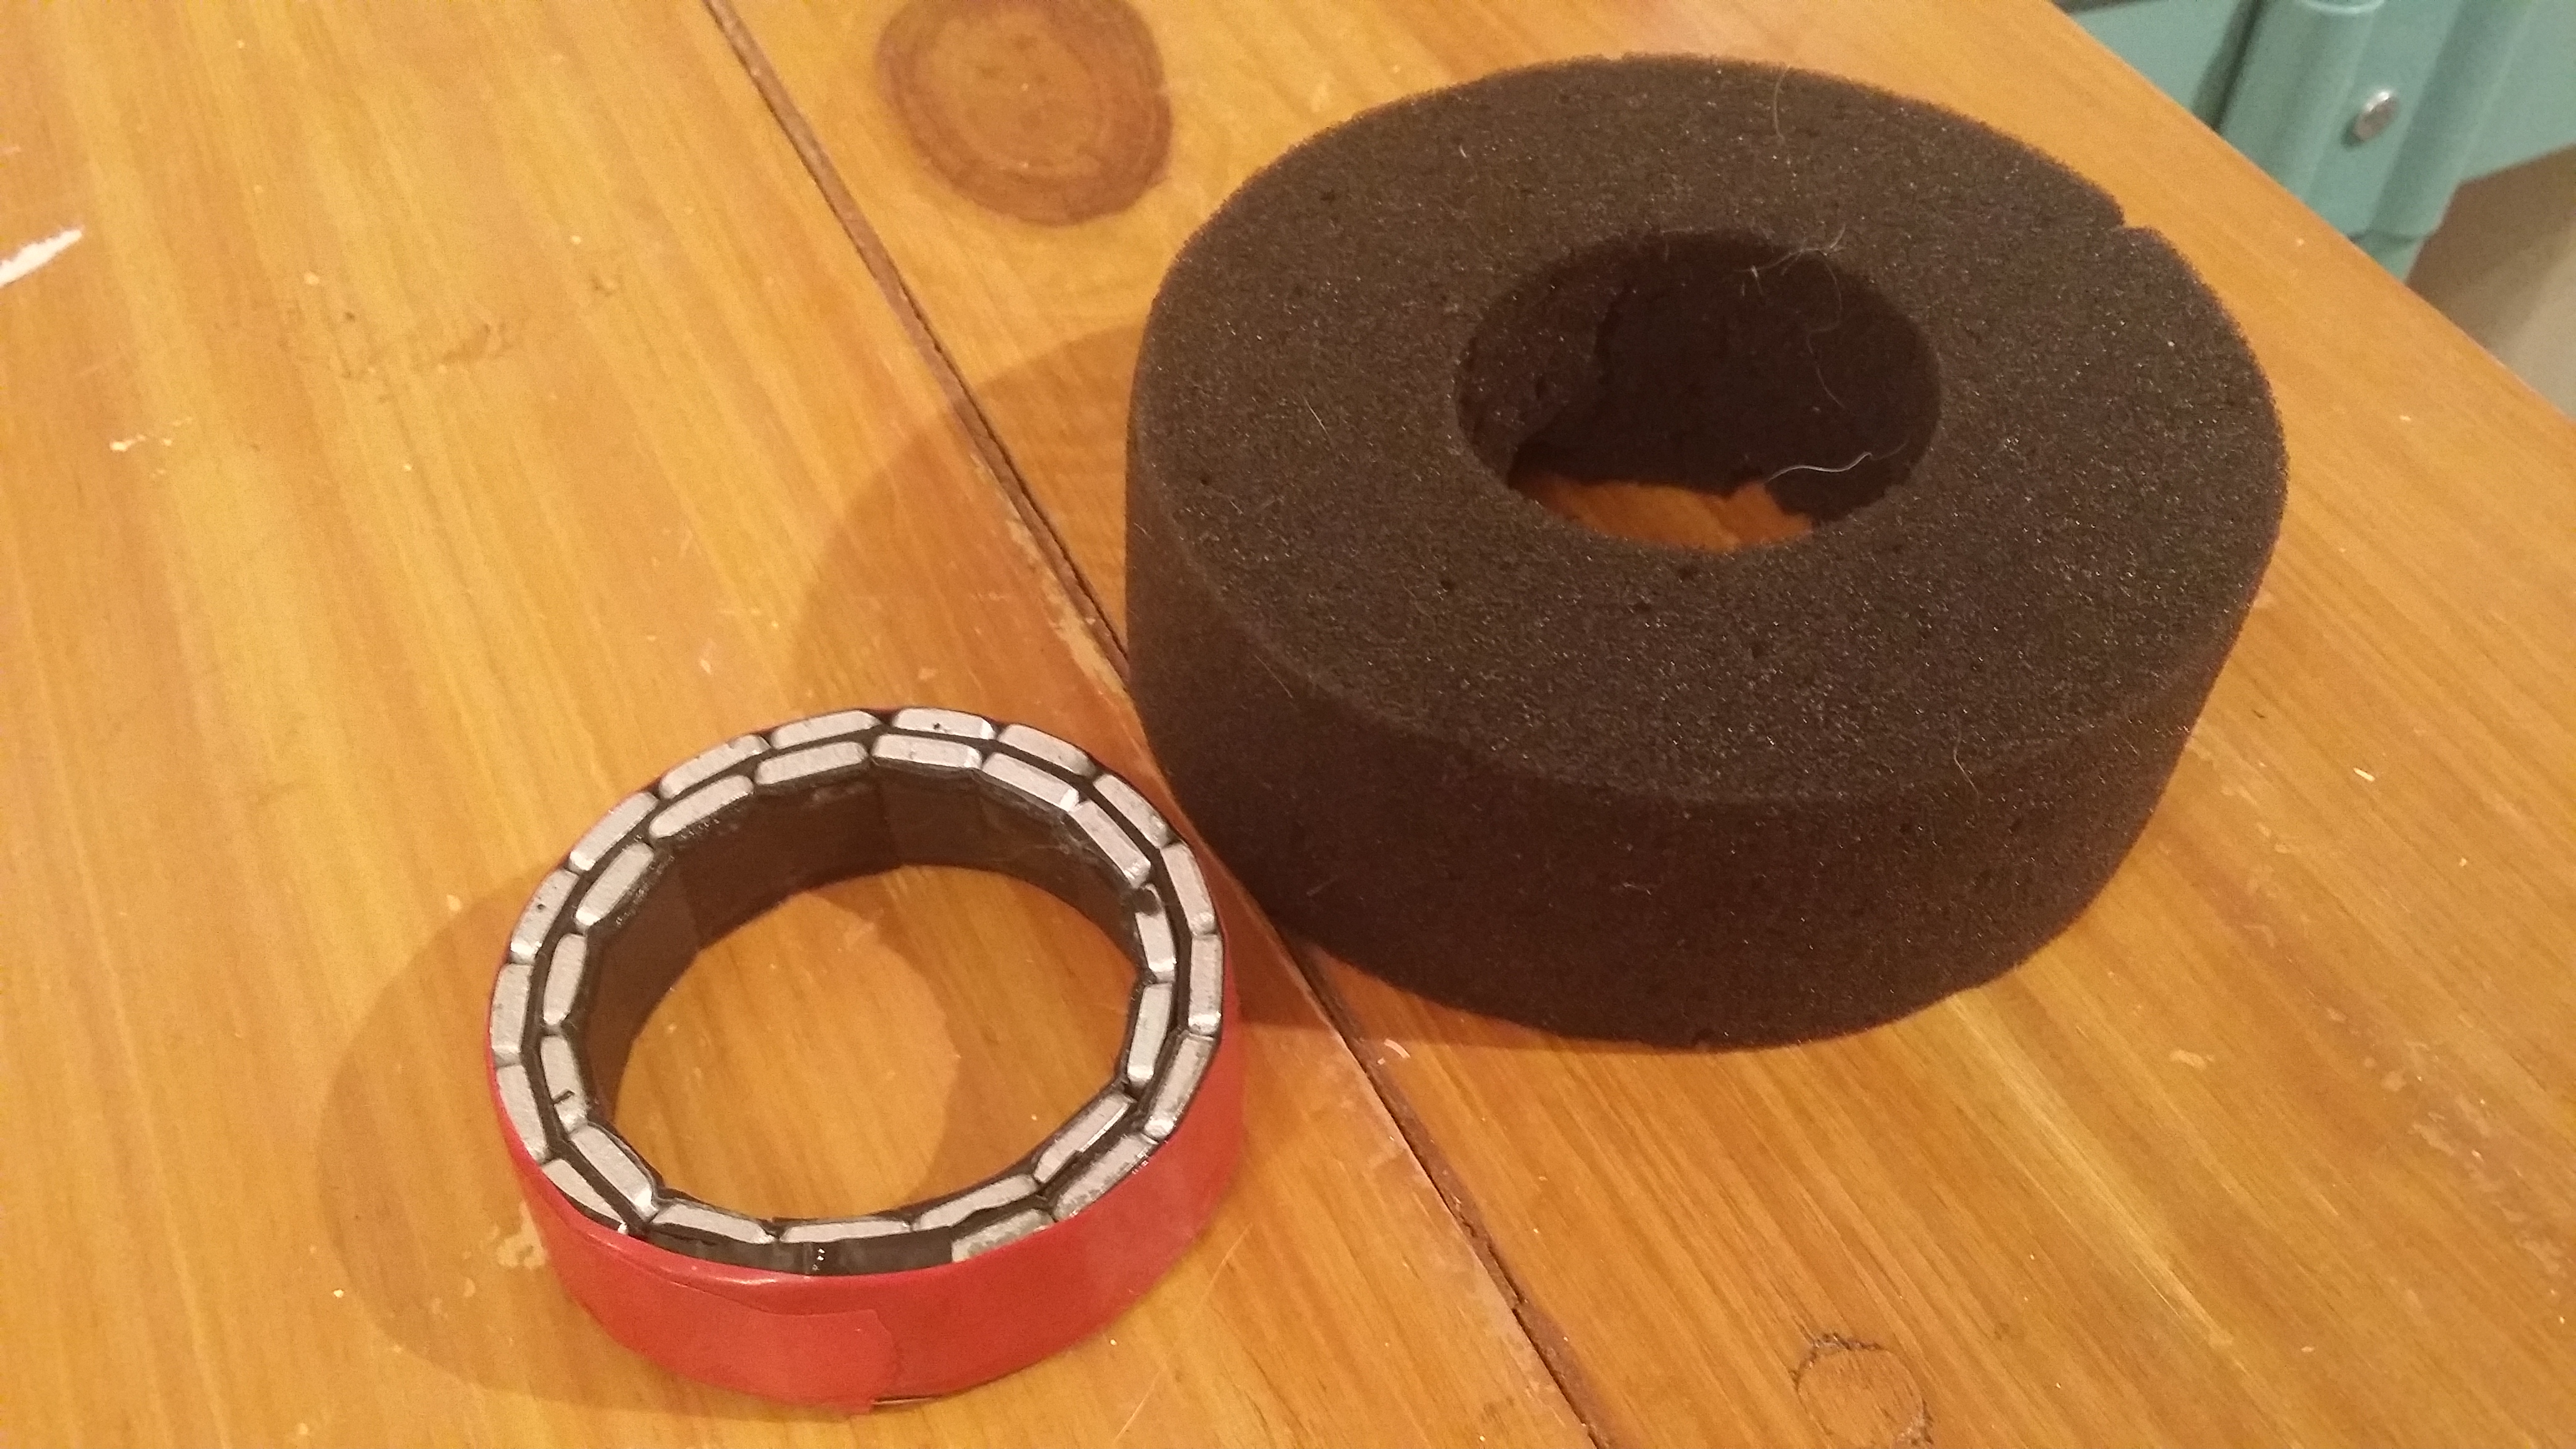
It’s time to remove my Super Swamper tyres from the plastic rims they are glued to, I’ve got new metal beadlocked rims, foams and weights which you can see in this post.
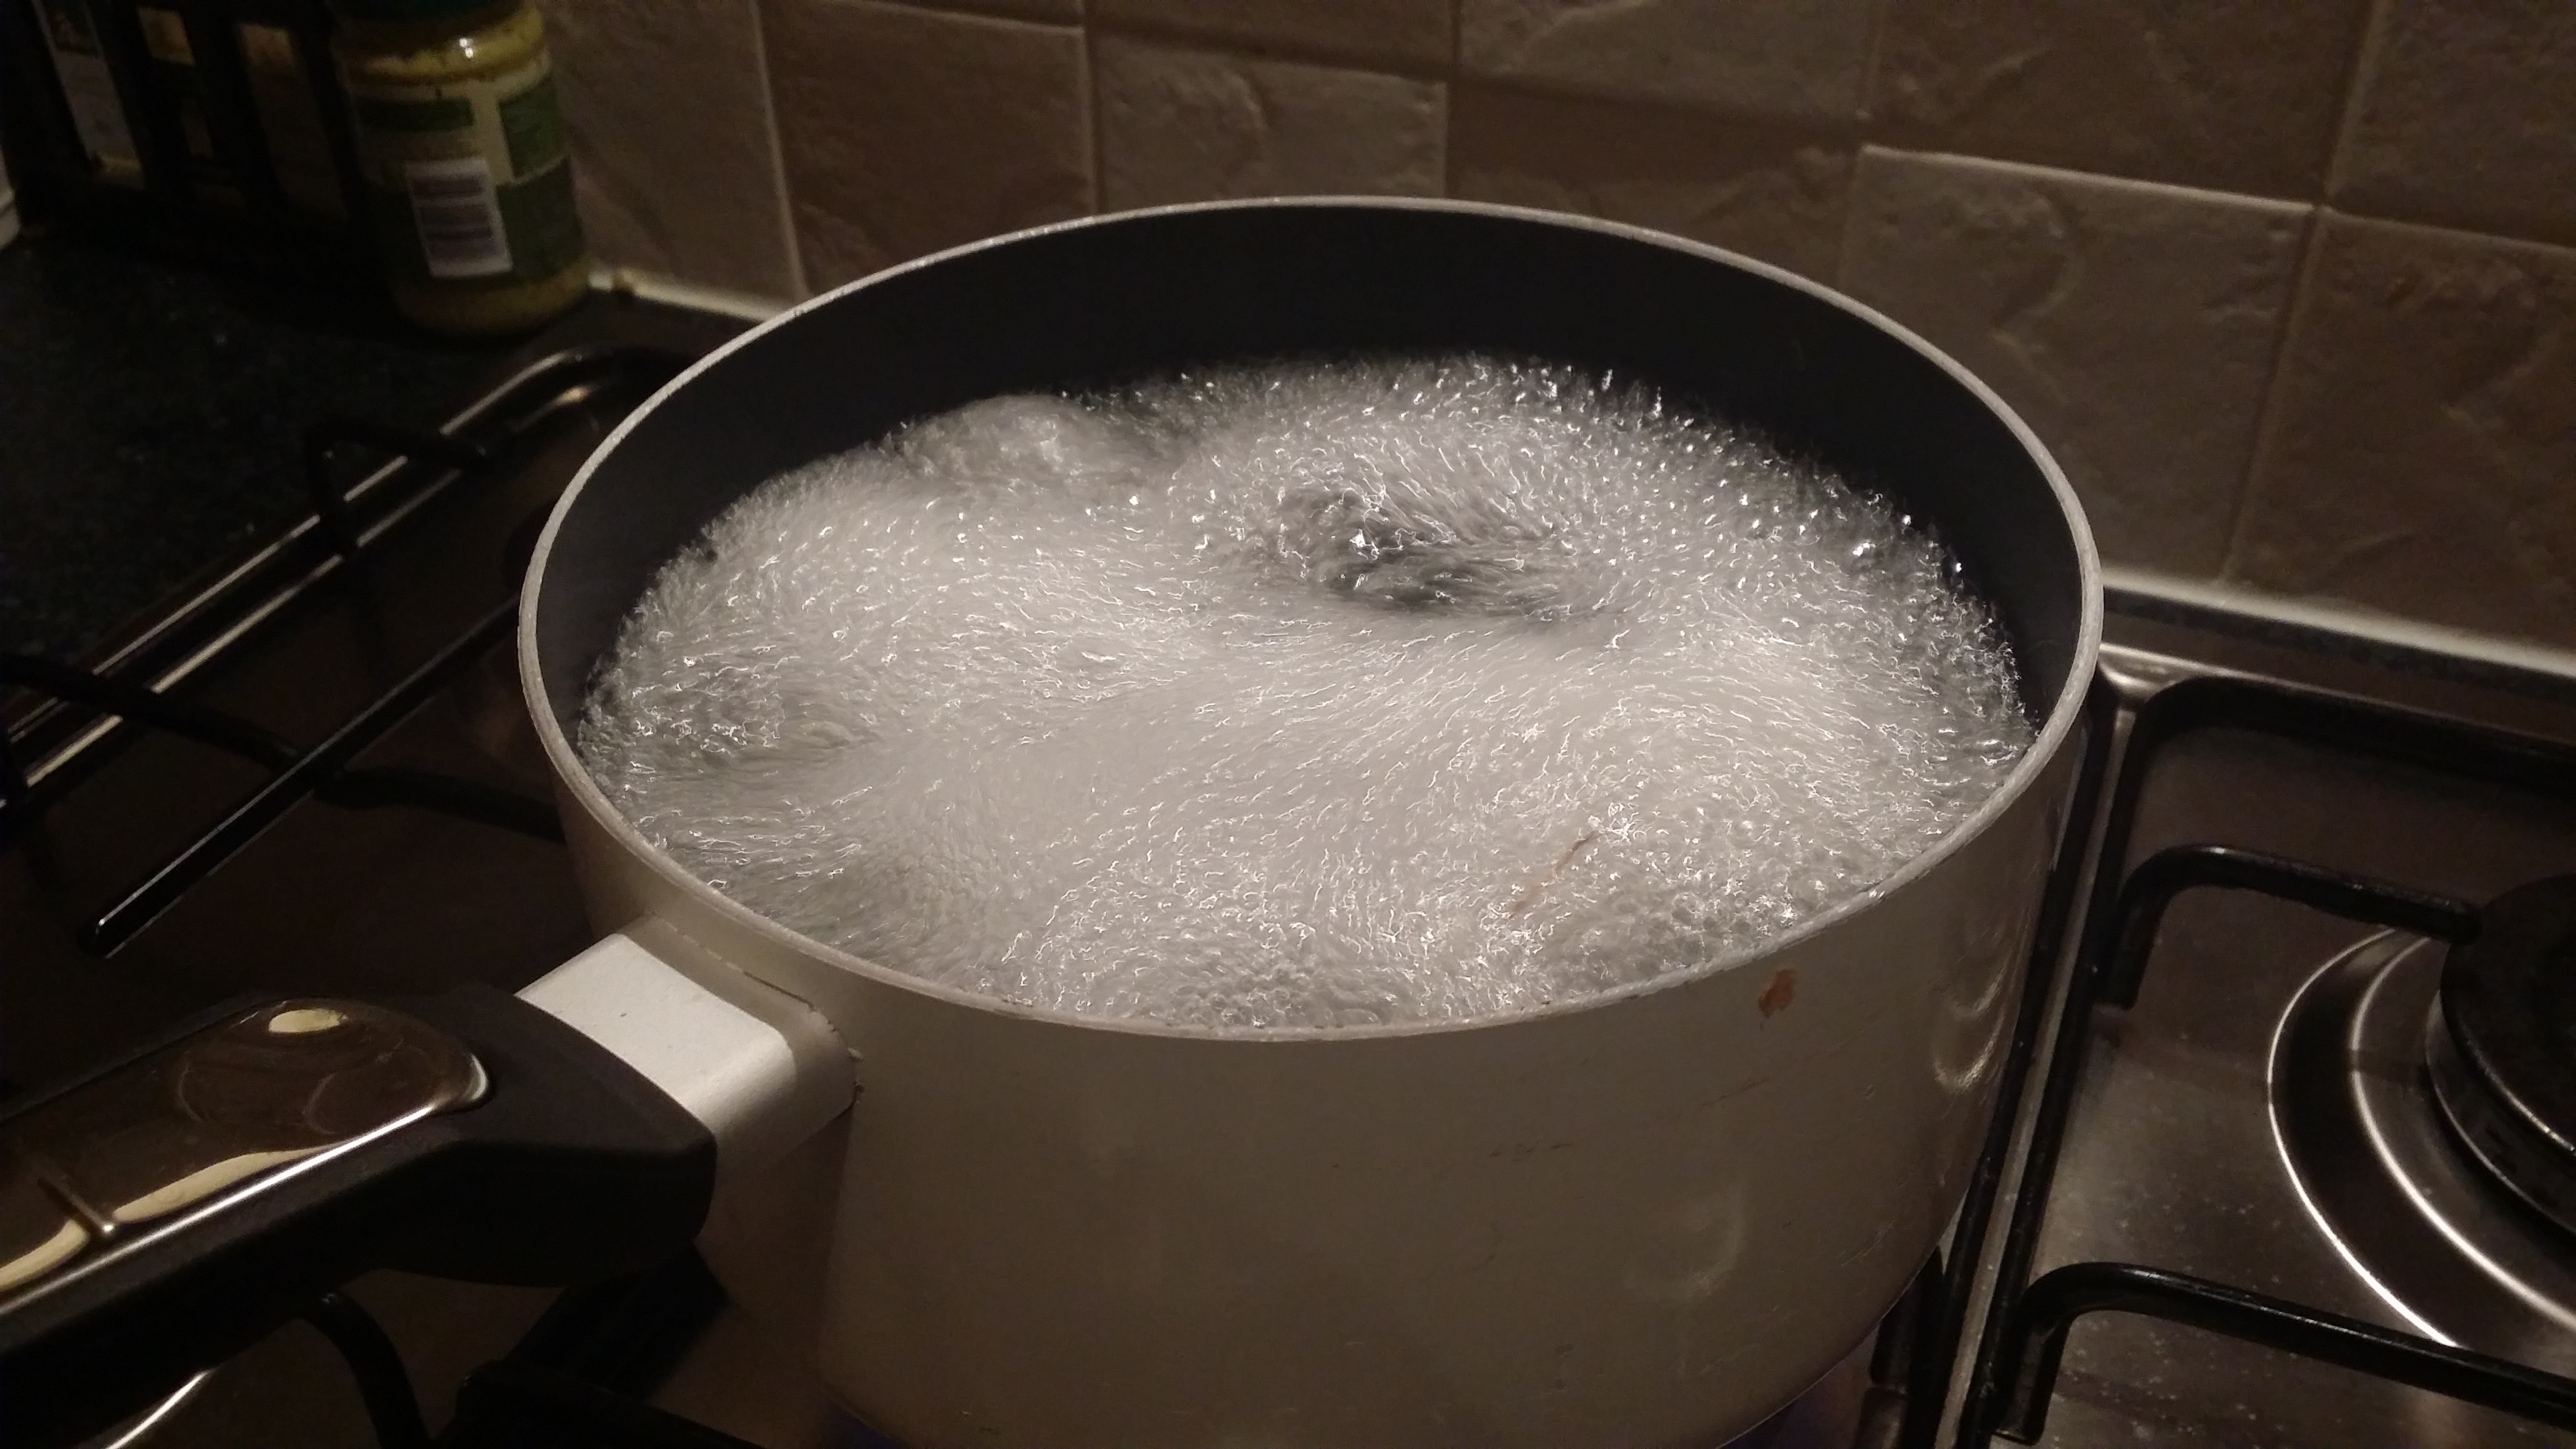
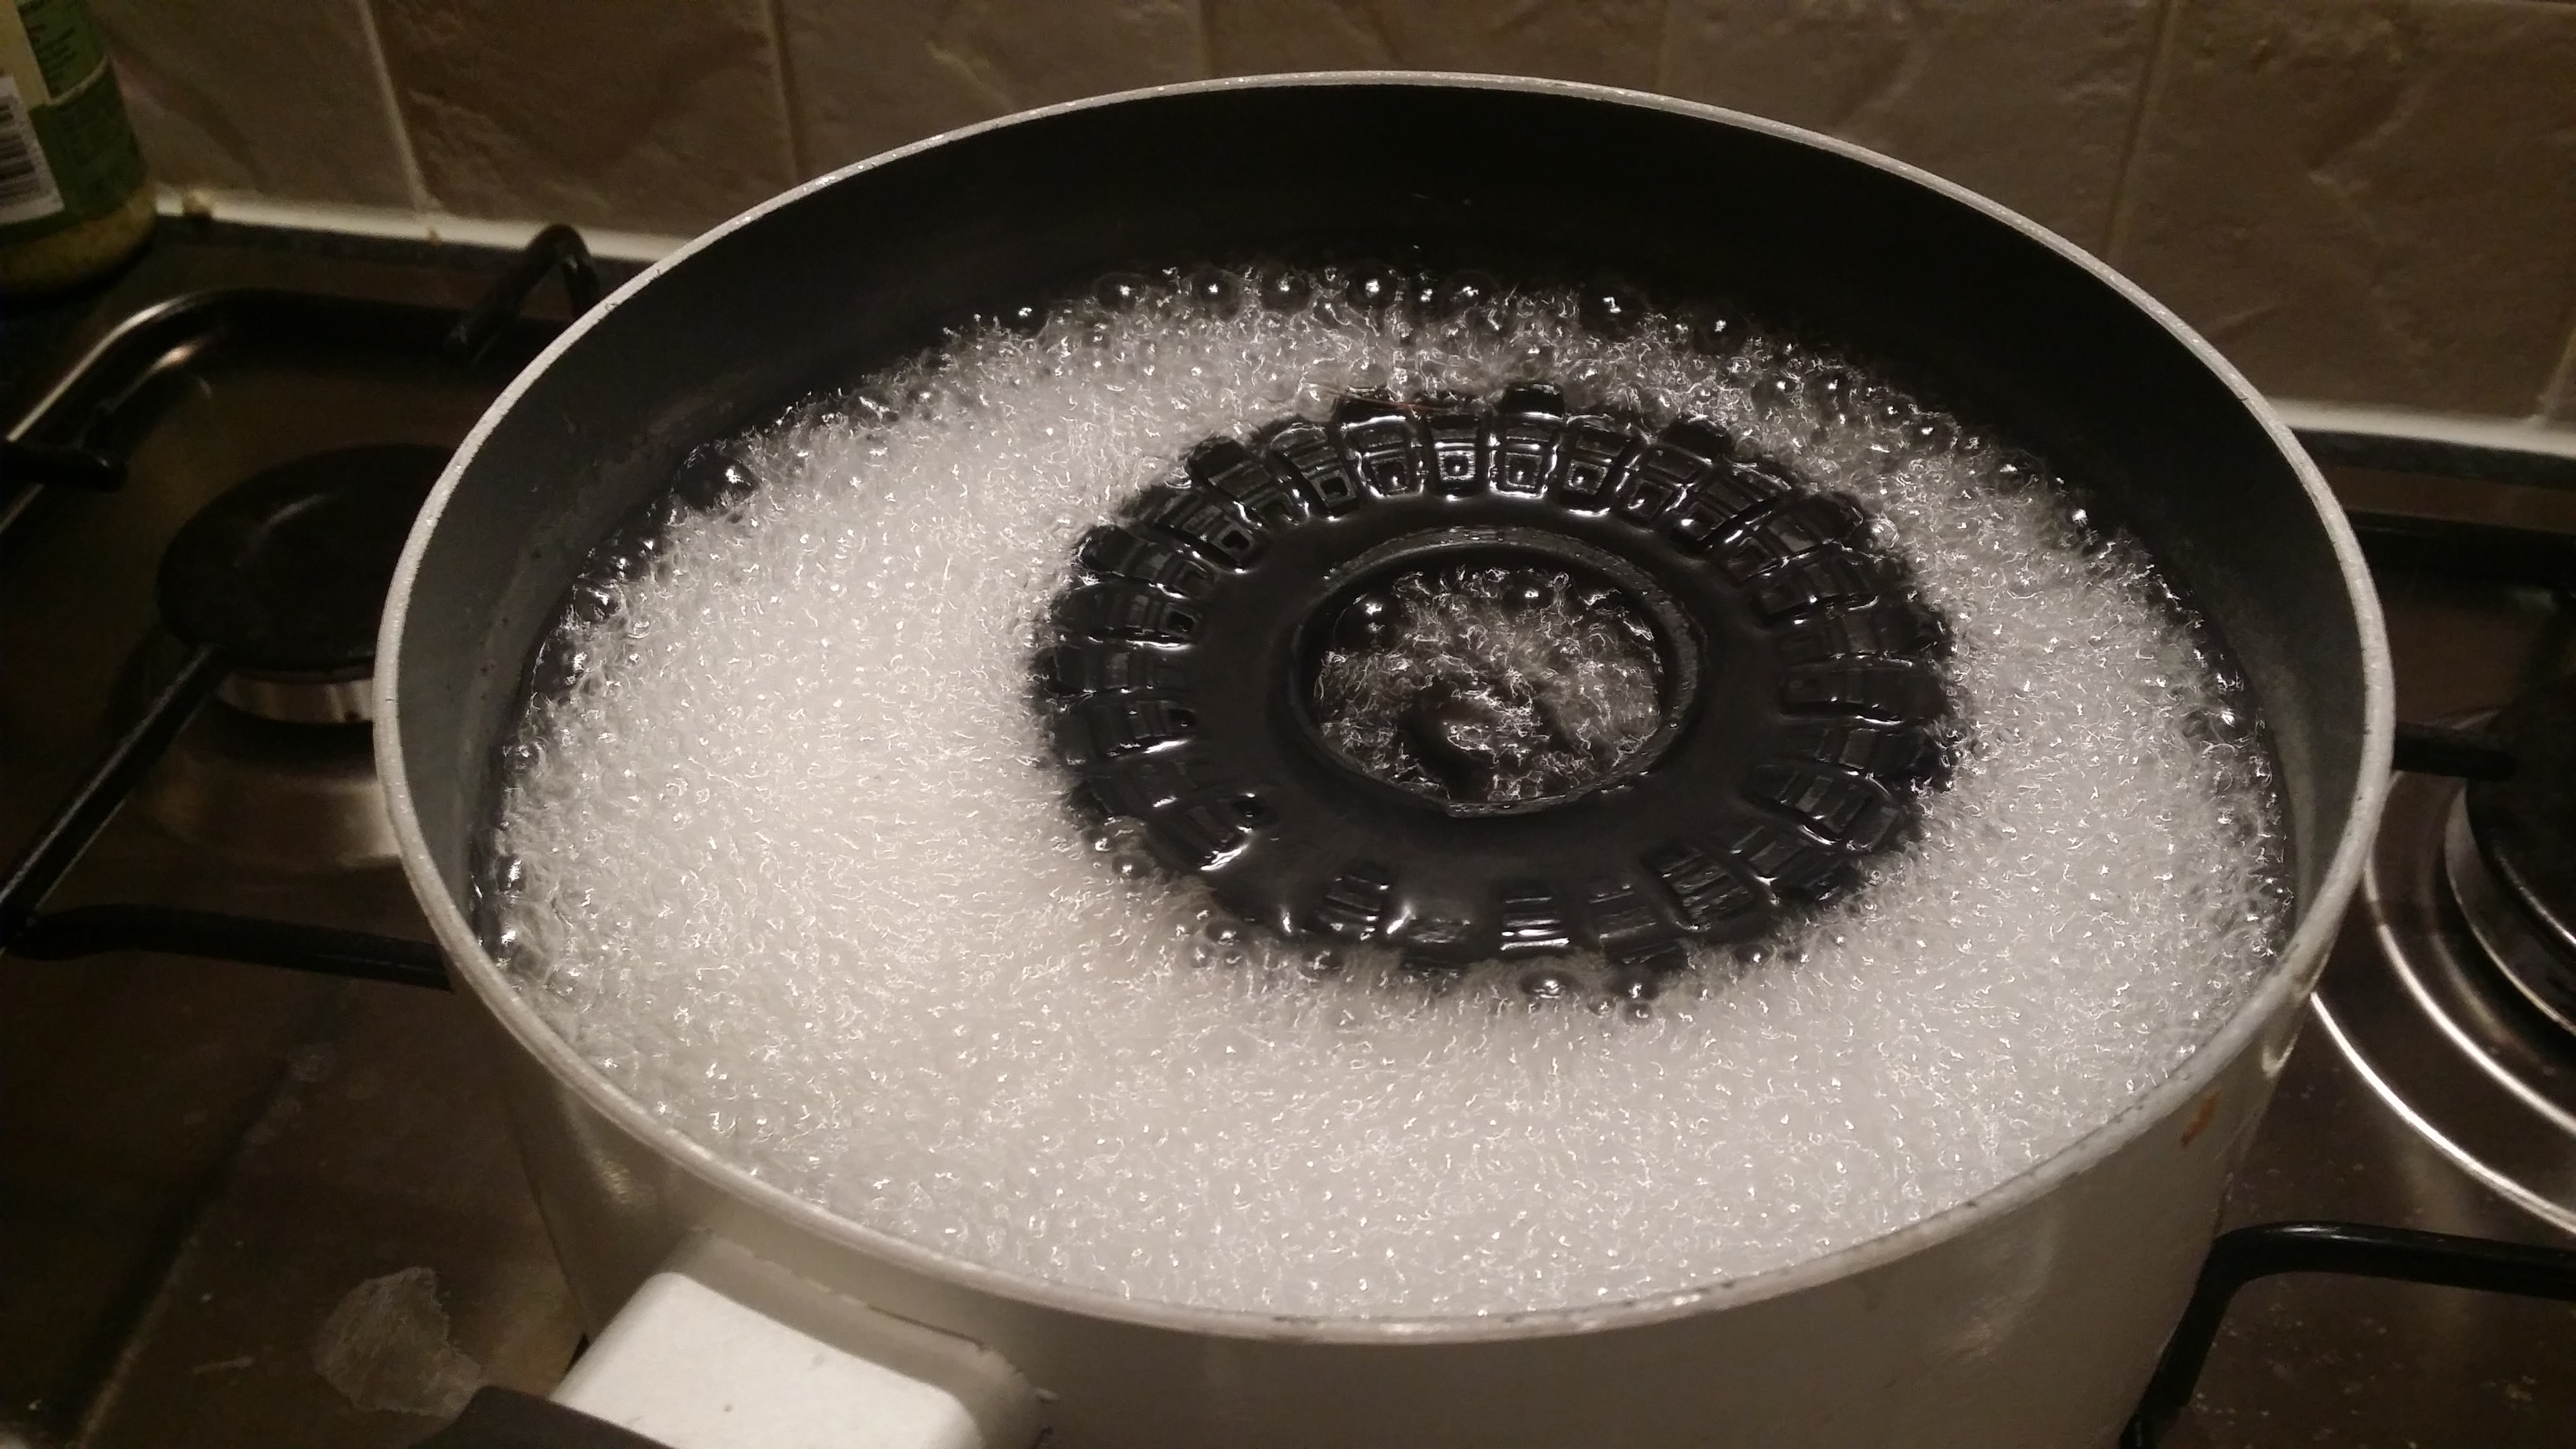
First step was to put a pan of water on full boil with the wheel in it. The idea is to boil the wheel and hopefully the glue will begin to crack and become brittle allowing you to carefully pull the tyre off.
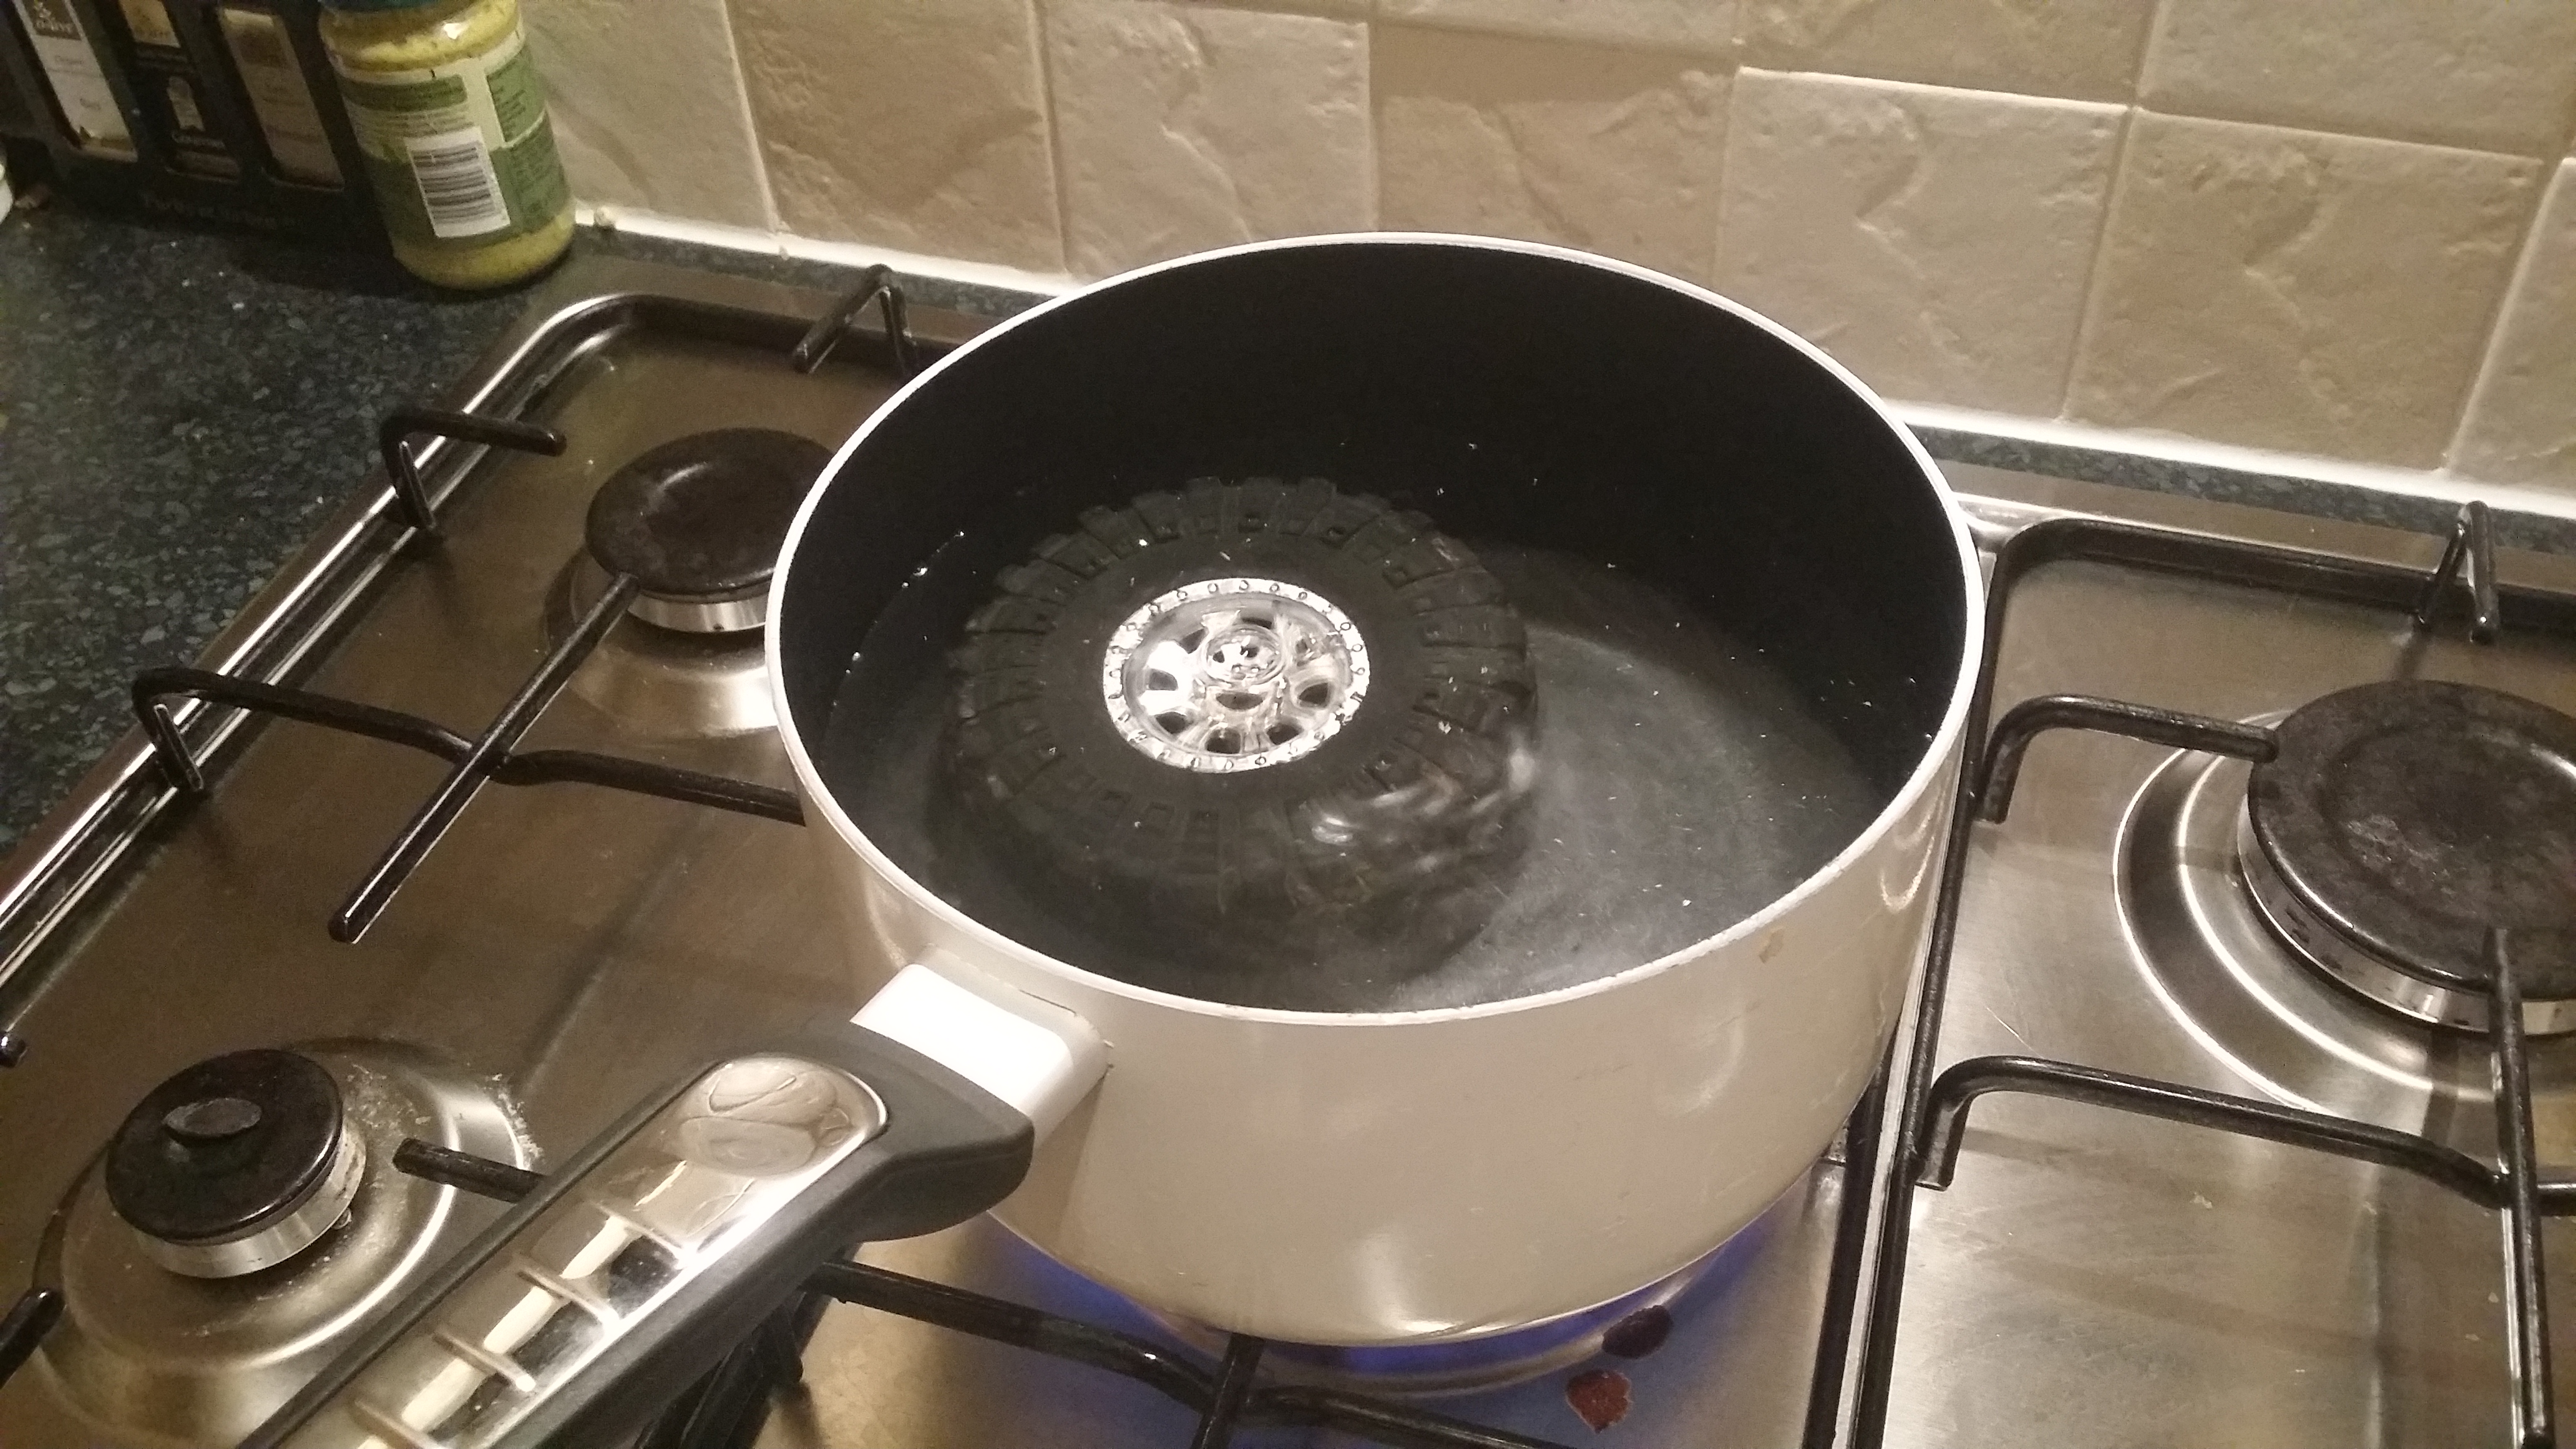
I left it on full boil for a good 10 minutes just to make sure, I am not sure if there is a science to this.
Now when I took it out it was very hot, be very careful as boiling water may have got into your foams so when you apply pressure you may get a painful surprise.
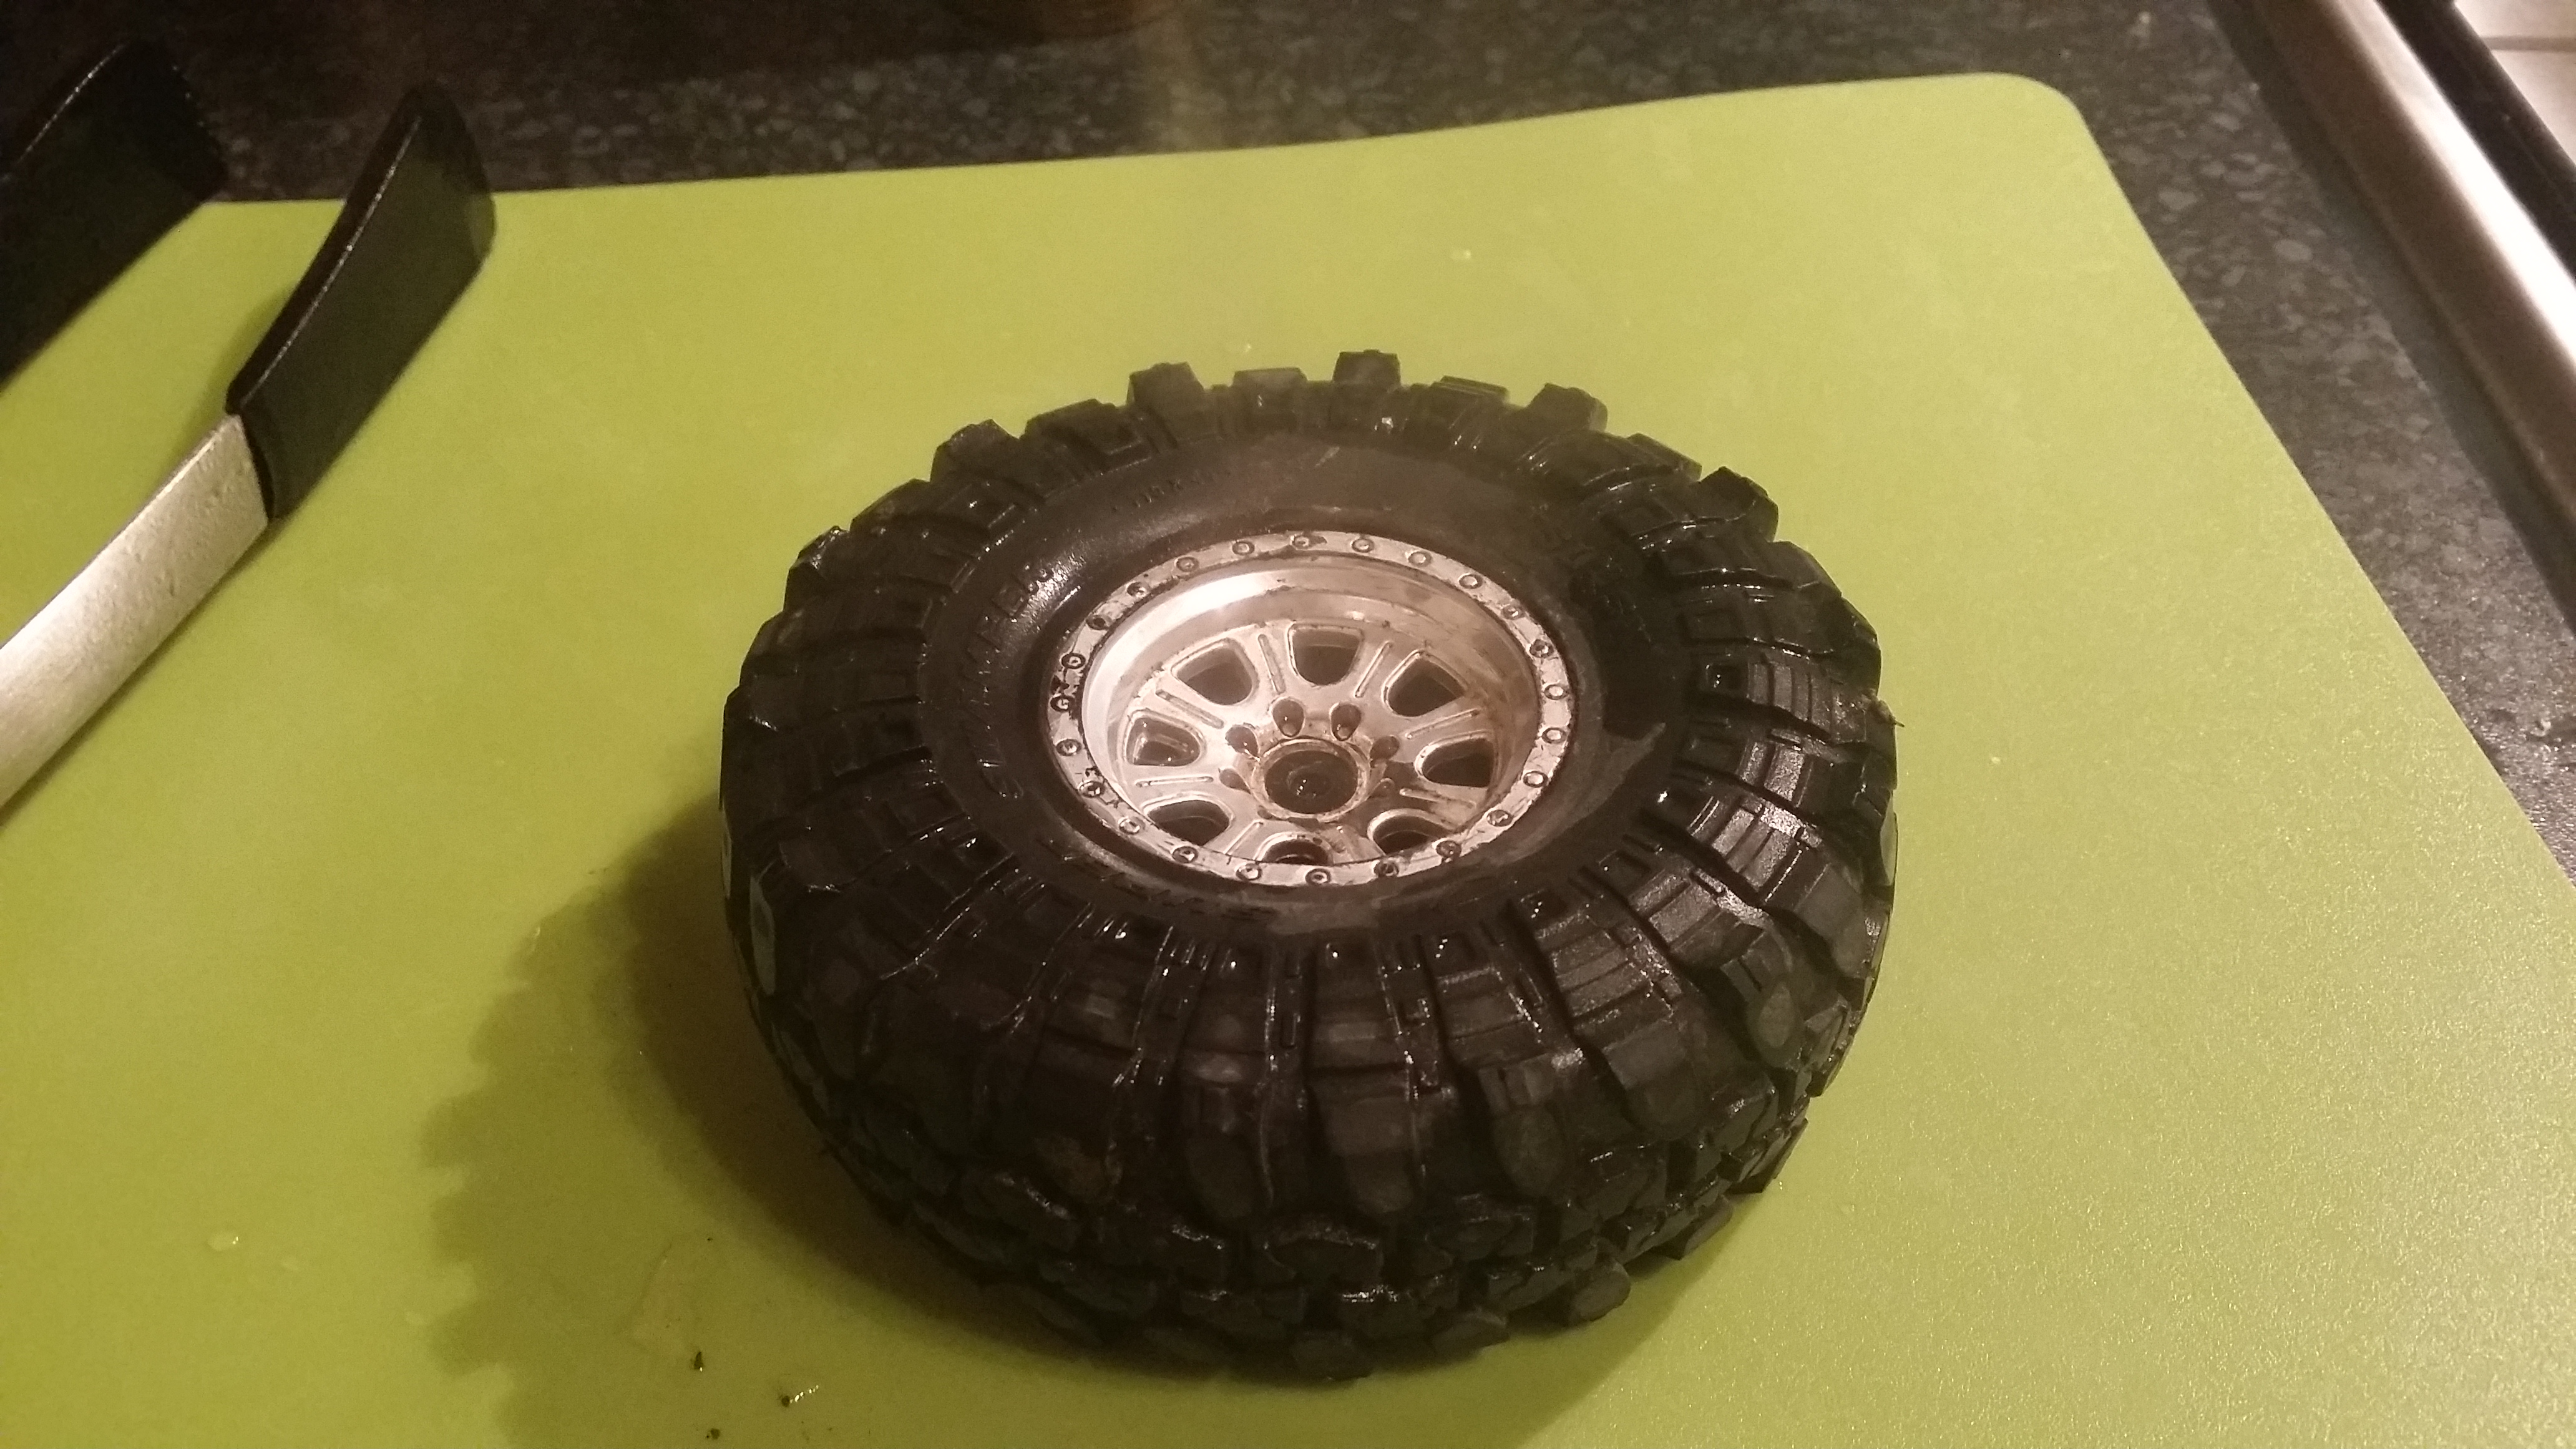
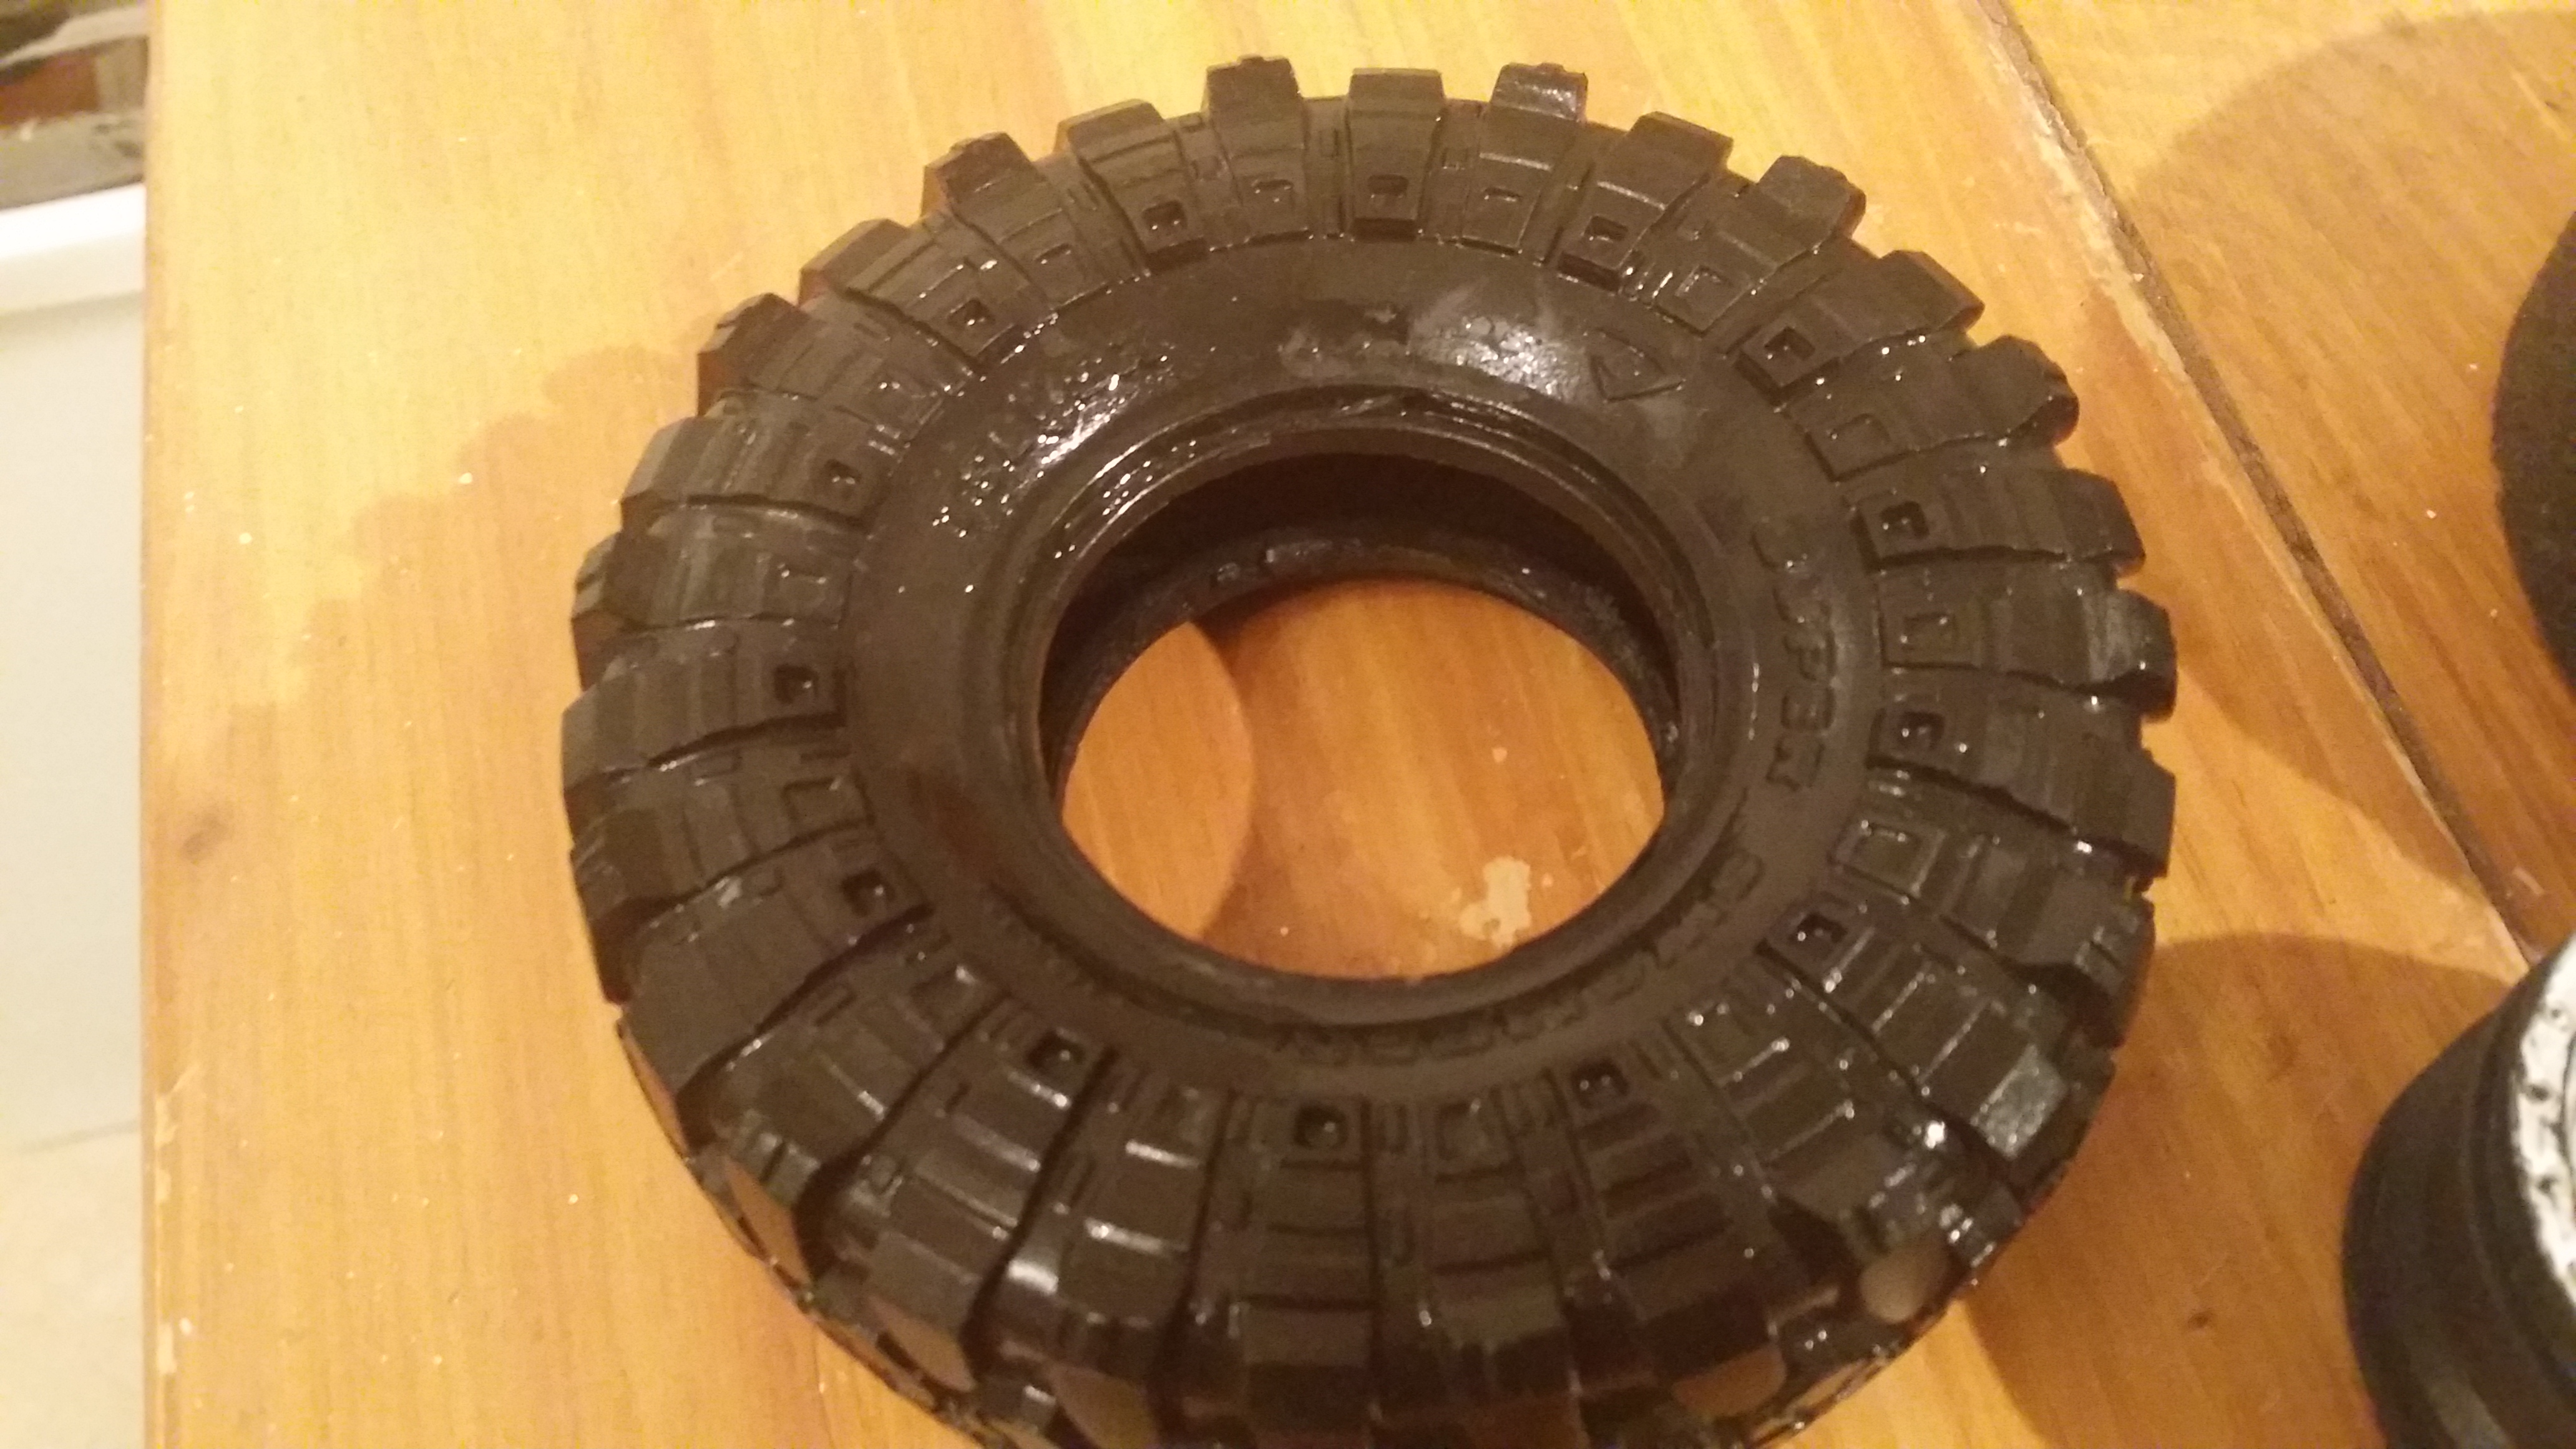
I carefully started pulling the tyre away from the rim until one tiny section separated, I then followed this around the rim and gradually separated more of the type.

After about 10 minutes of carefully pulling and pushing I managed to free one side of the rubber.

Now it was time for the other side, this side was not so easy. I managed to get the first bit to separate by pushing the rim through the tyre, hopefully you get the idea from the image.
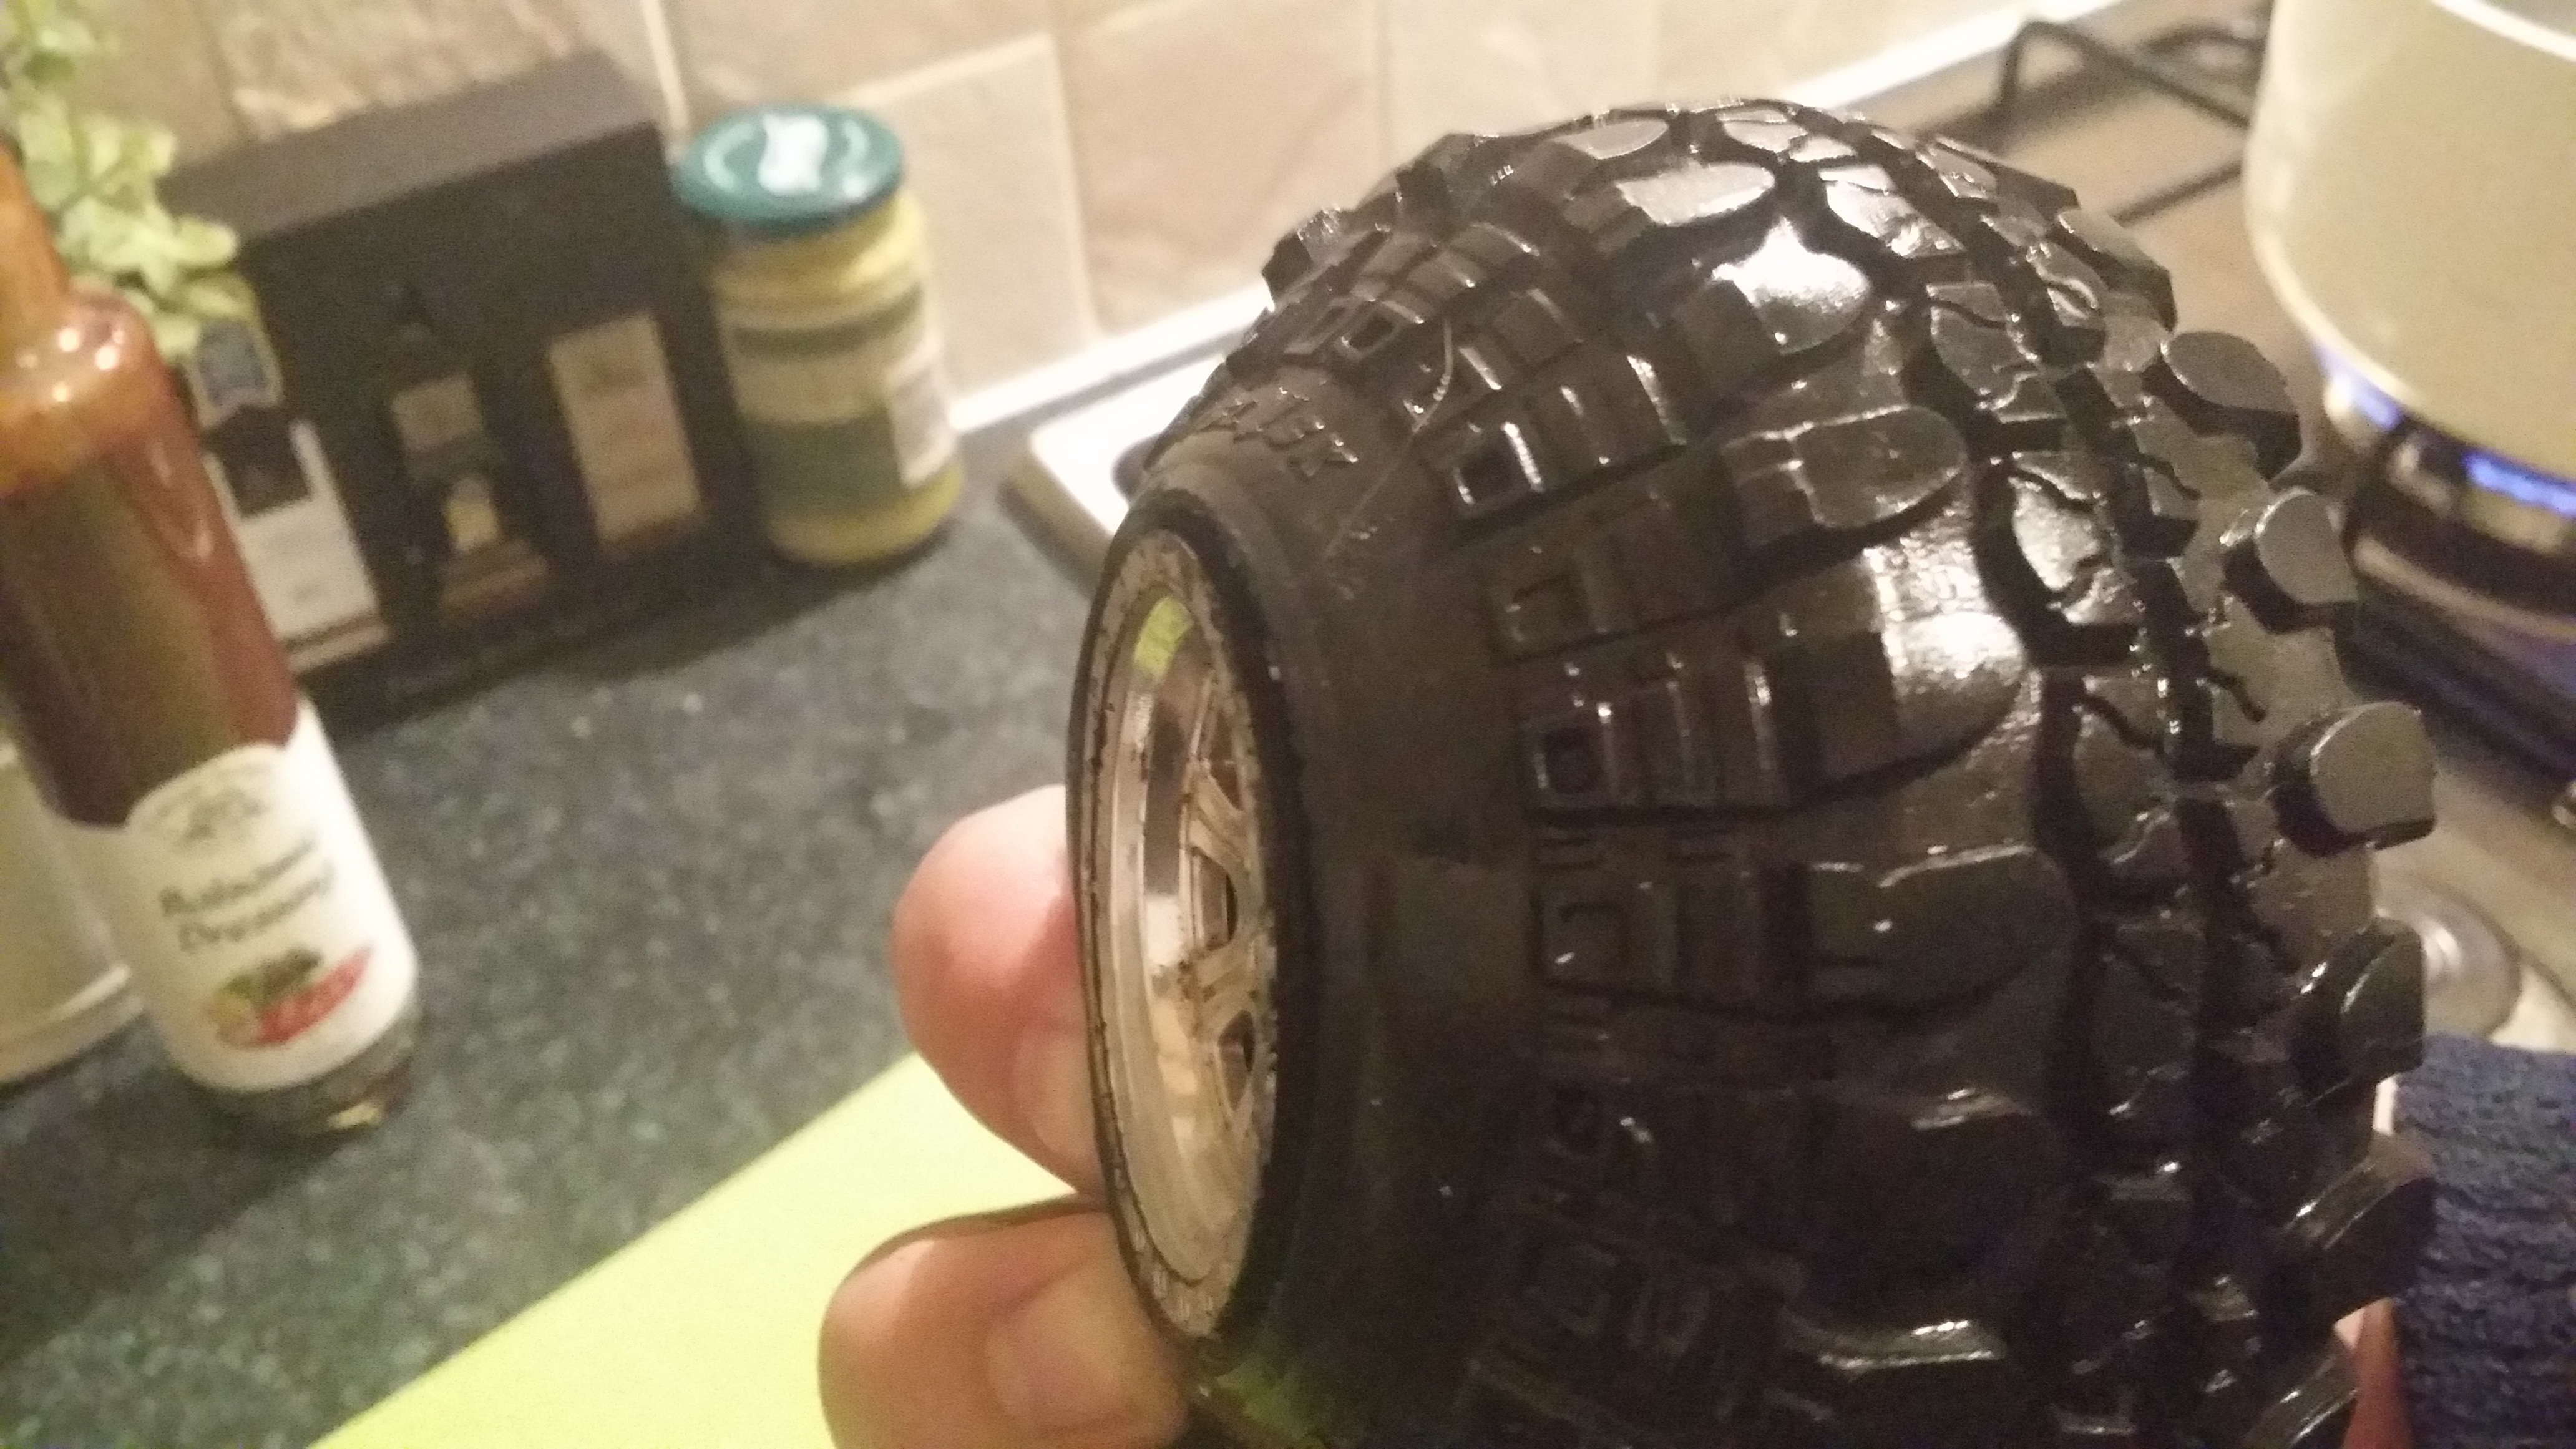
I then decided I would pull out the existing weights and foams, giving me extra room to apply force. The weights are actually in good shape, so I will reuse these.
I put the tyre back on boil, been out for a good 20 minutes now, and the glue on this side of the wheel is very strong.
Eventually with the help of a normal kitchen eating knife I was able to break the rest of the glue without damaging the tyre.
Now I have to repeat this step for the next 3 wheels and then begin fitting the beadlocks.
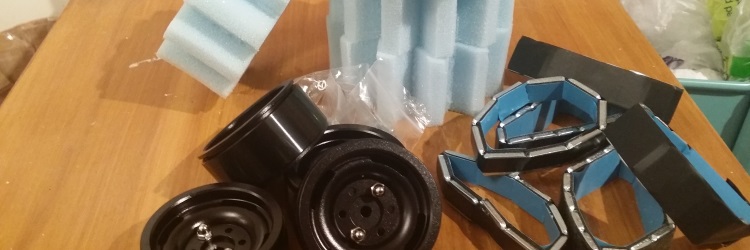
It’s taken a couple weeks (3 I think) for the stamped beadlocks to arrive but not I have everything I need to replace the plastic, glued rims on my Vaterra Ascender truck whilst also adding some important weight.
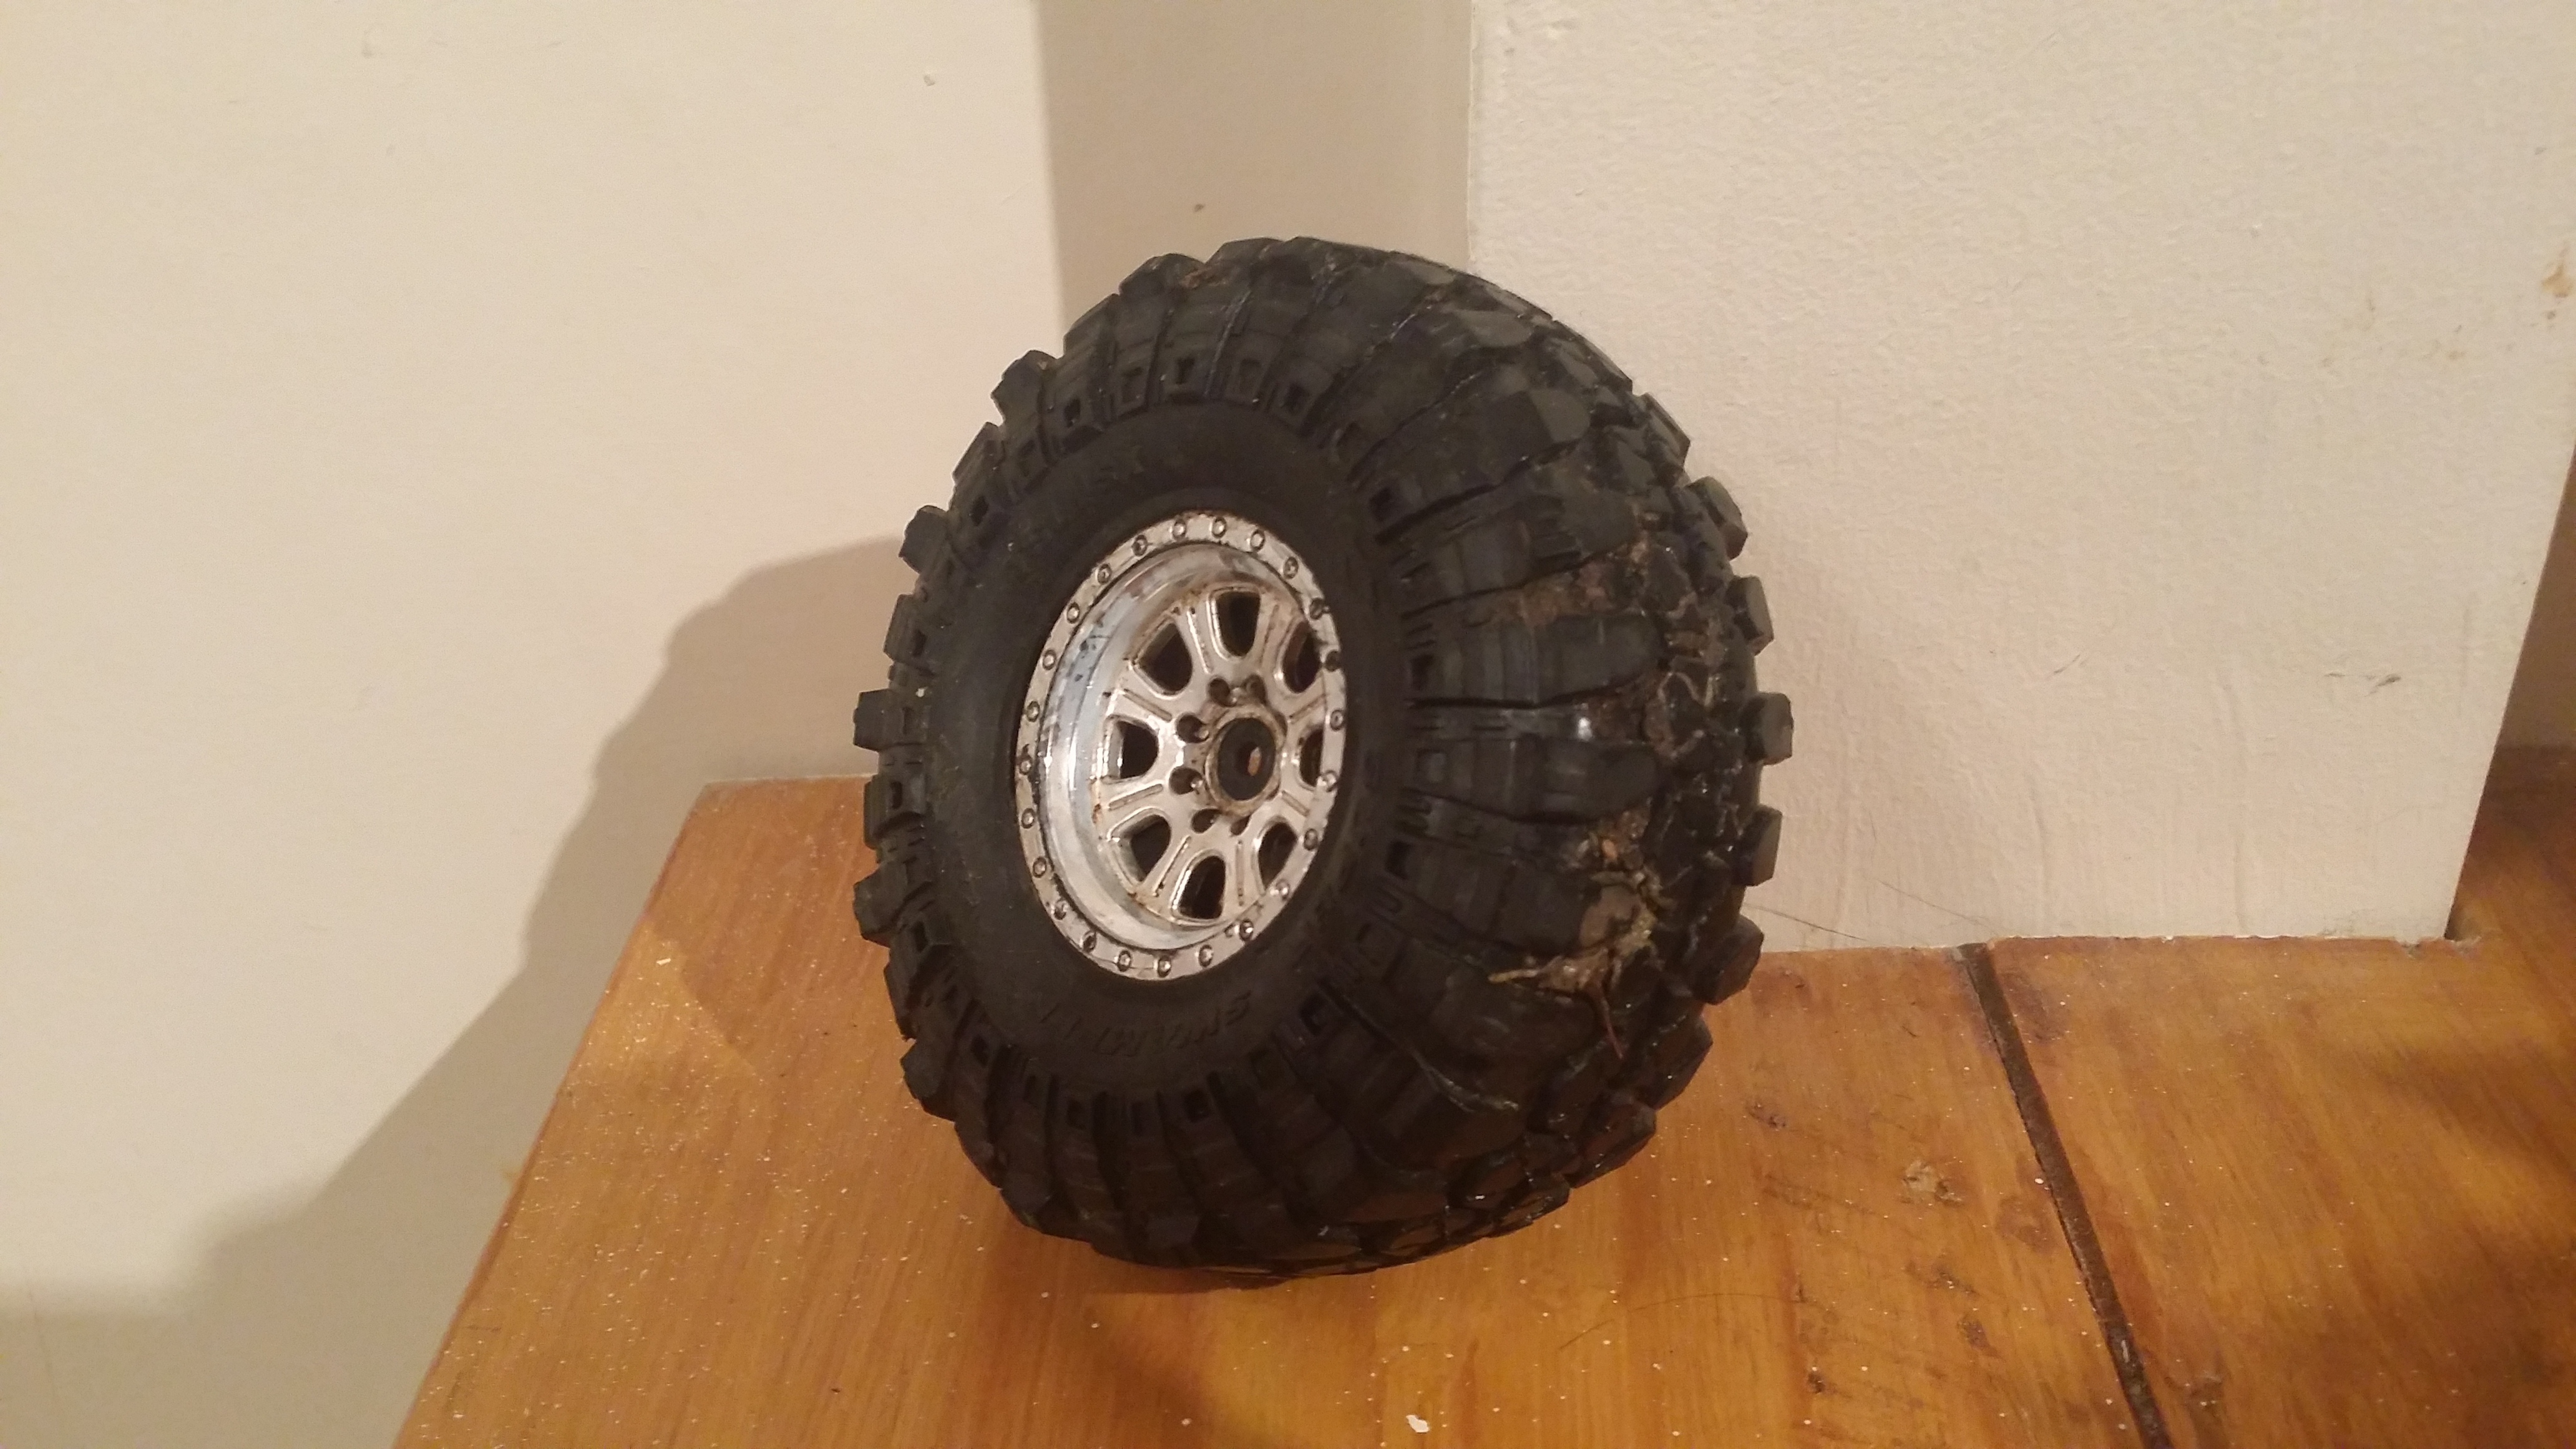
The Ascender comes with Interco TSL SX Super Swamper tyres which are awsum so I will be keeping these, the only down side is the standard rims are plastic and glued.
I will be uploading another post with how I got the glued super swamper tyres of the glued rims and probably another for fitting the stamped beadlocks.
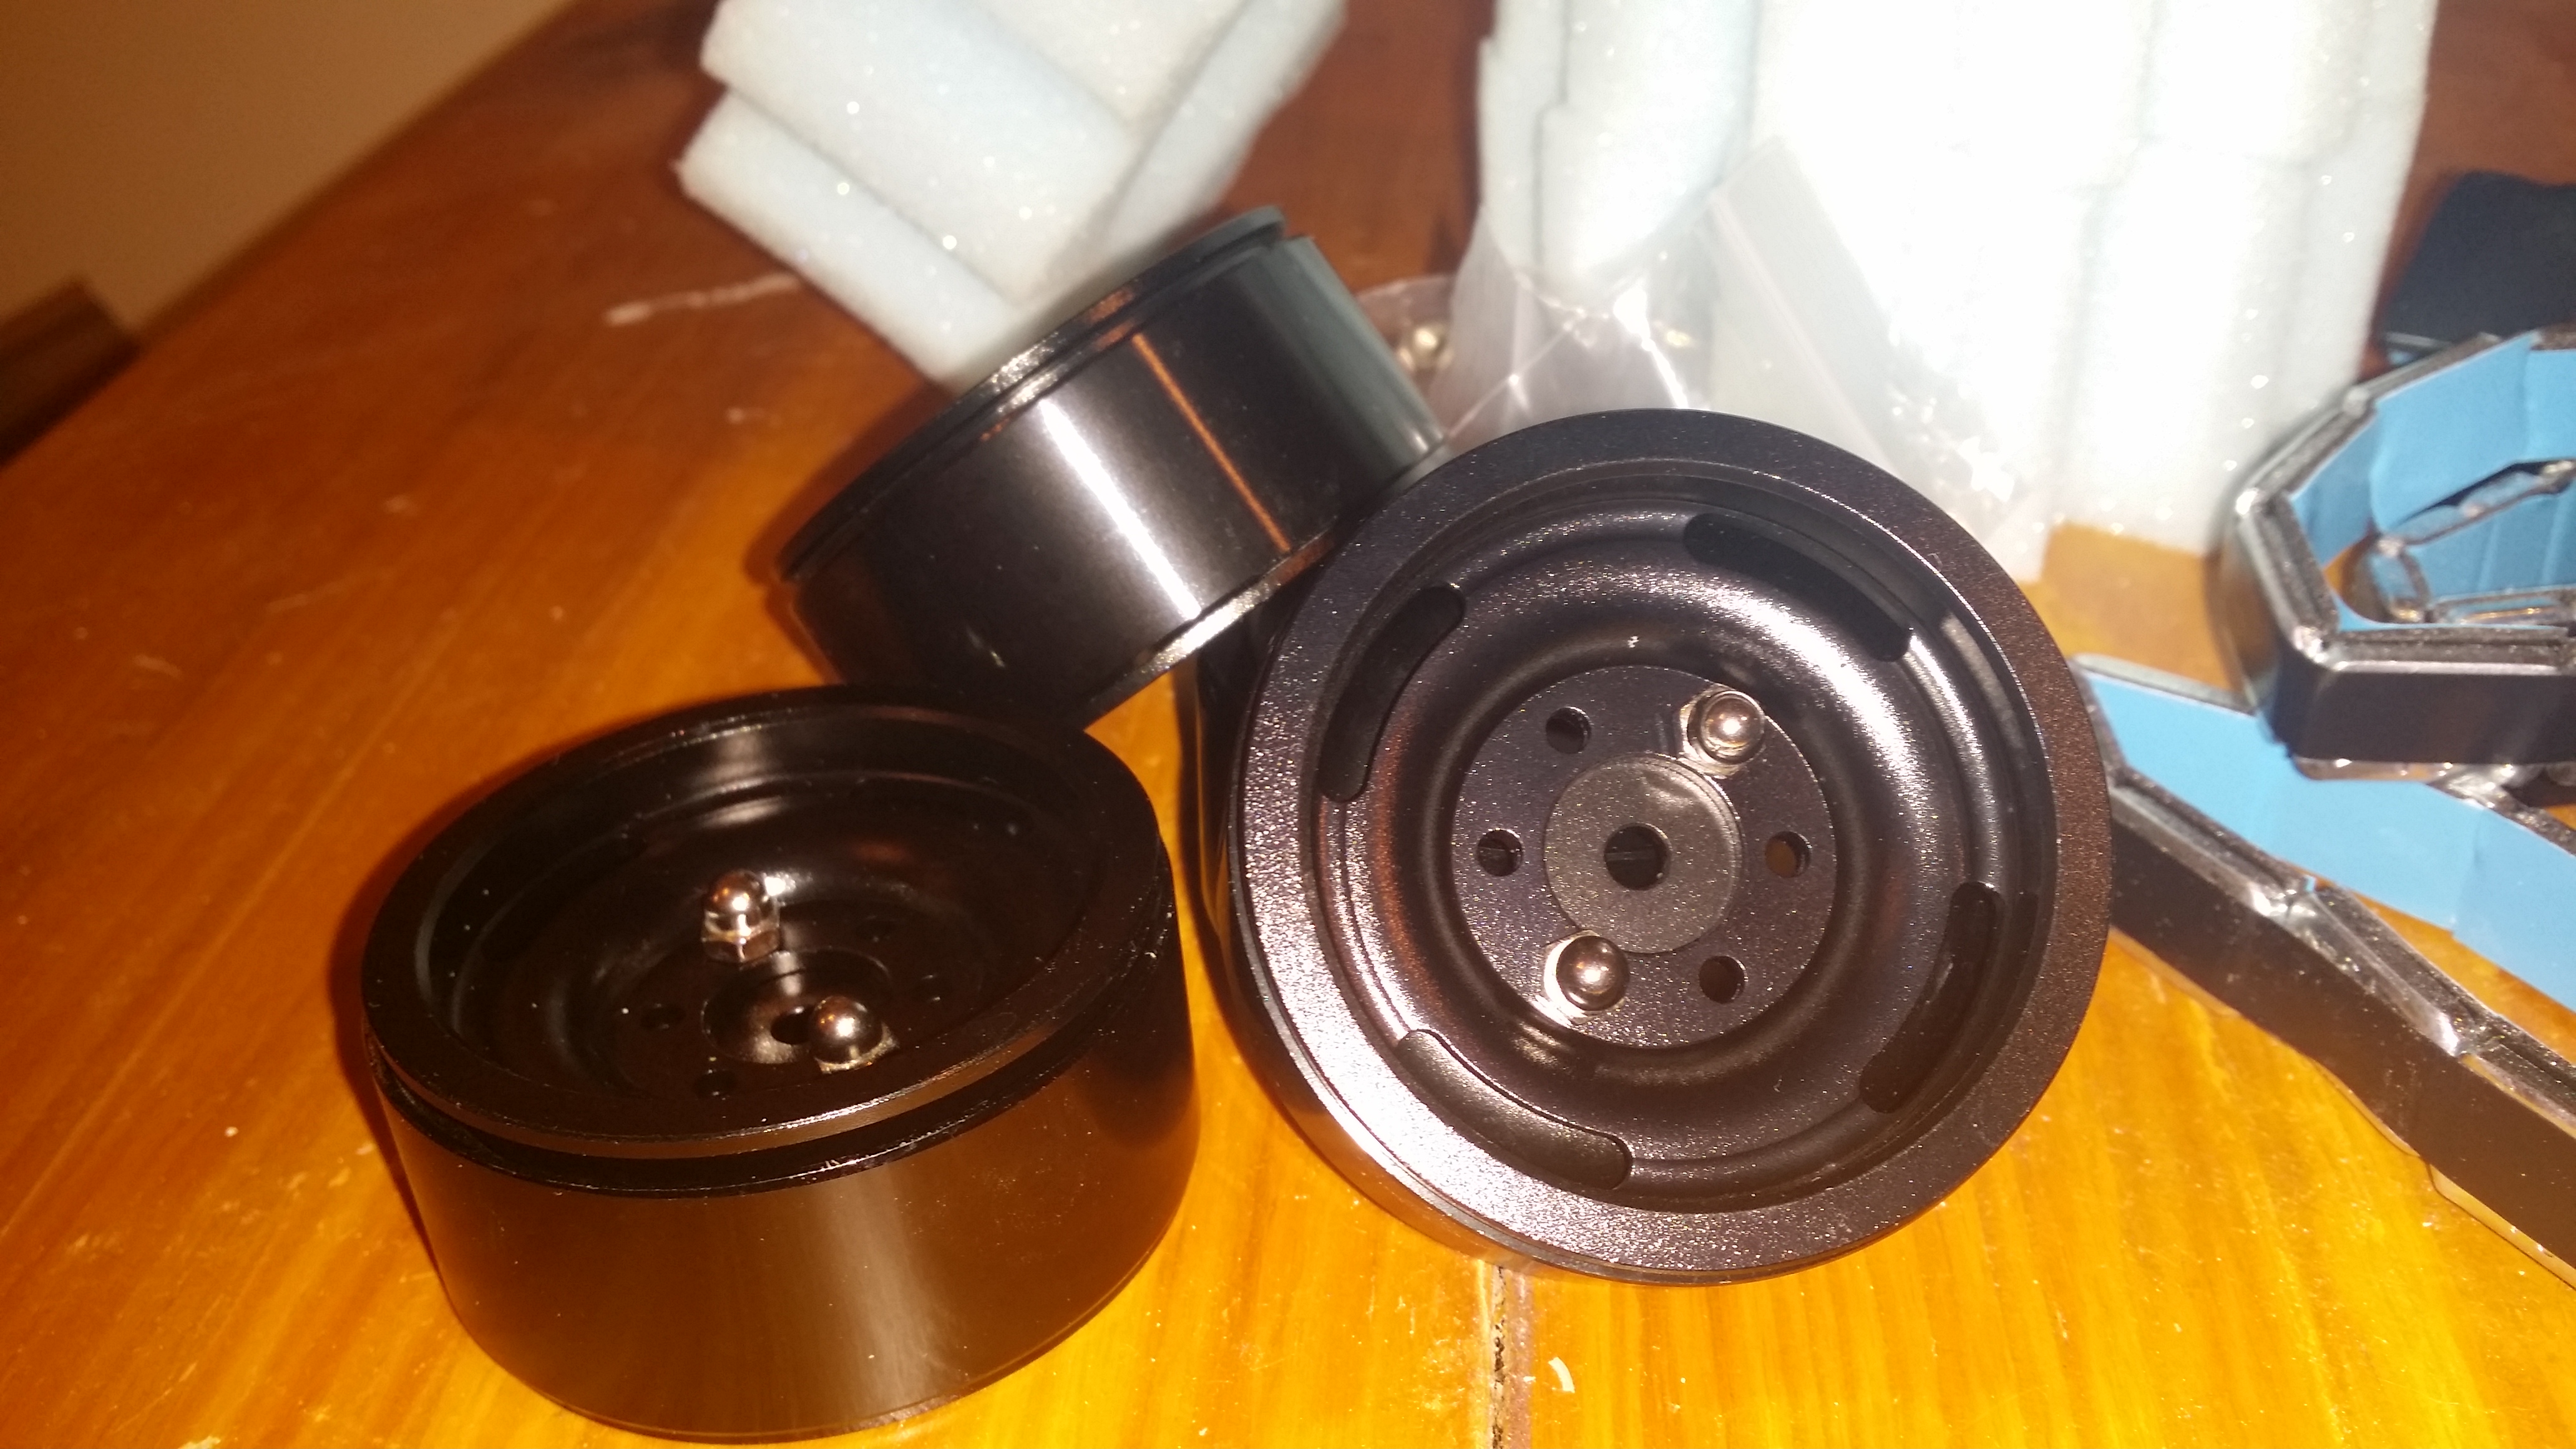
The new rims are black which will fit better with the new spray which I will be starting hopefully in the next couple of weeks. Metal rims for added weight but also beadlocked so no more annoying glue.

I’ve opted for star foams instead of the default solid foams which come with the Vaterra Ascender, I’ve read that these should allow the tyre to mould around objects keeping as much traction on the ground at all times, I will let you know how it performs on my first test run.
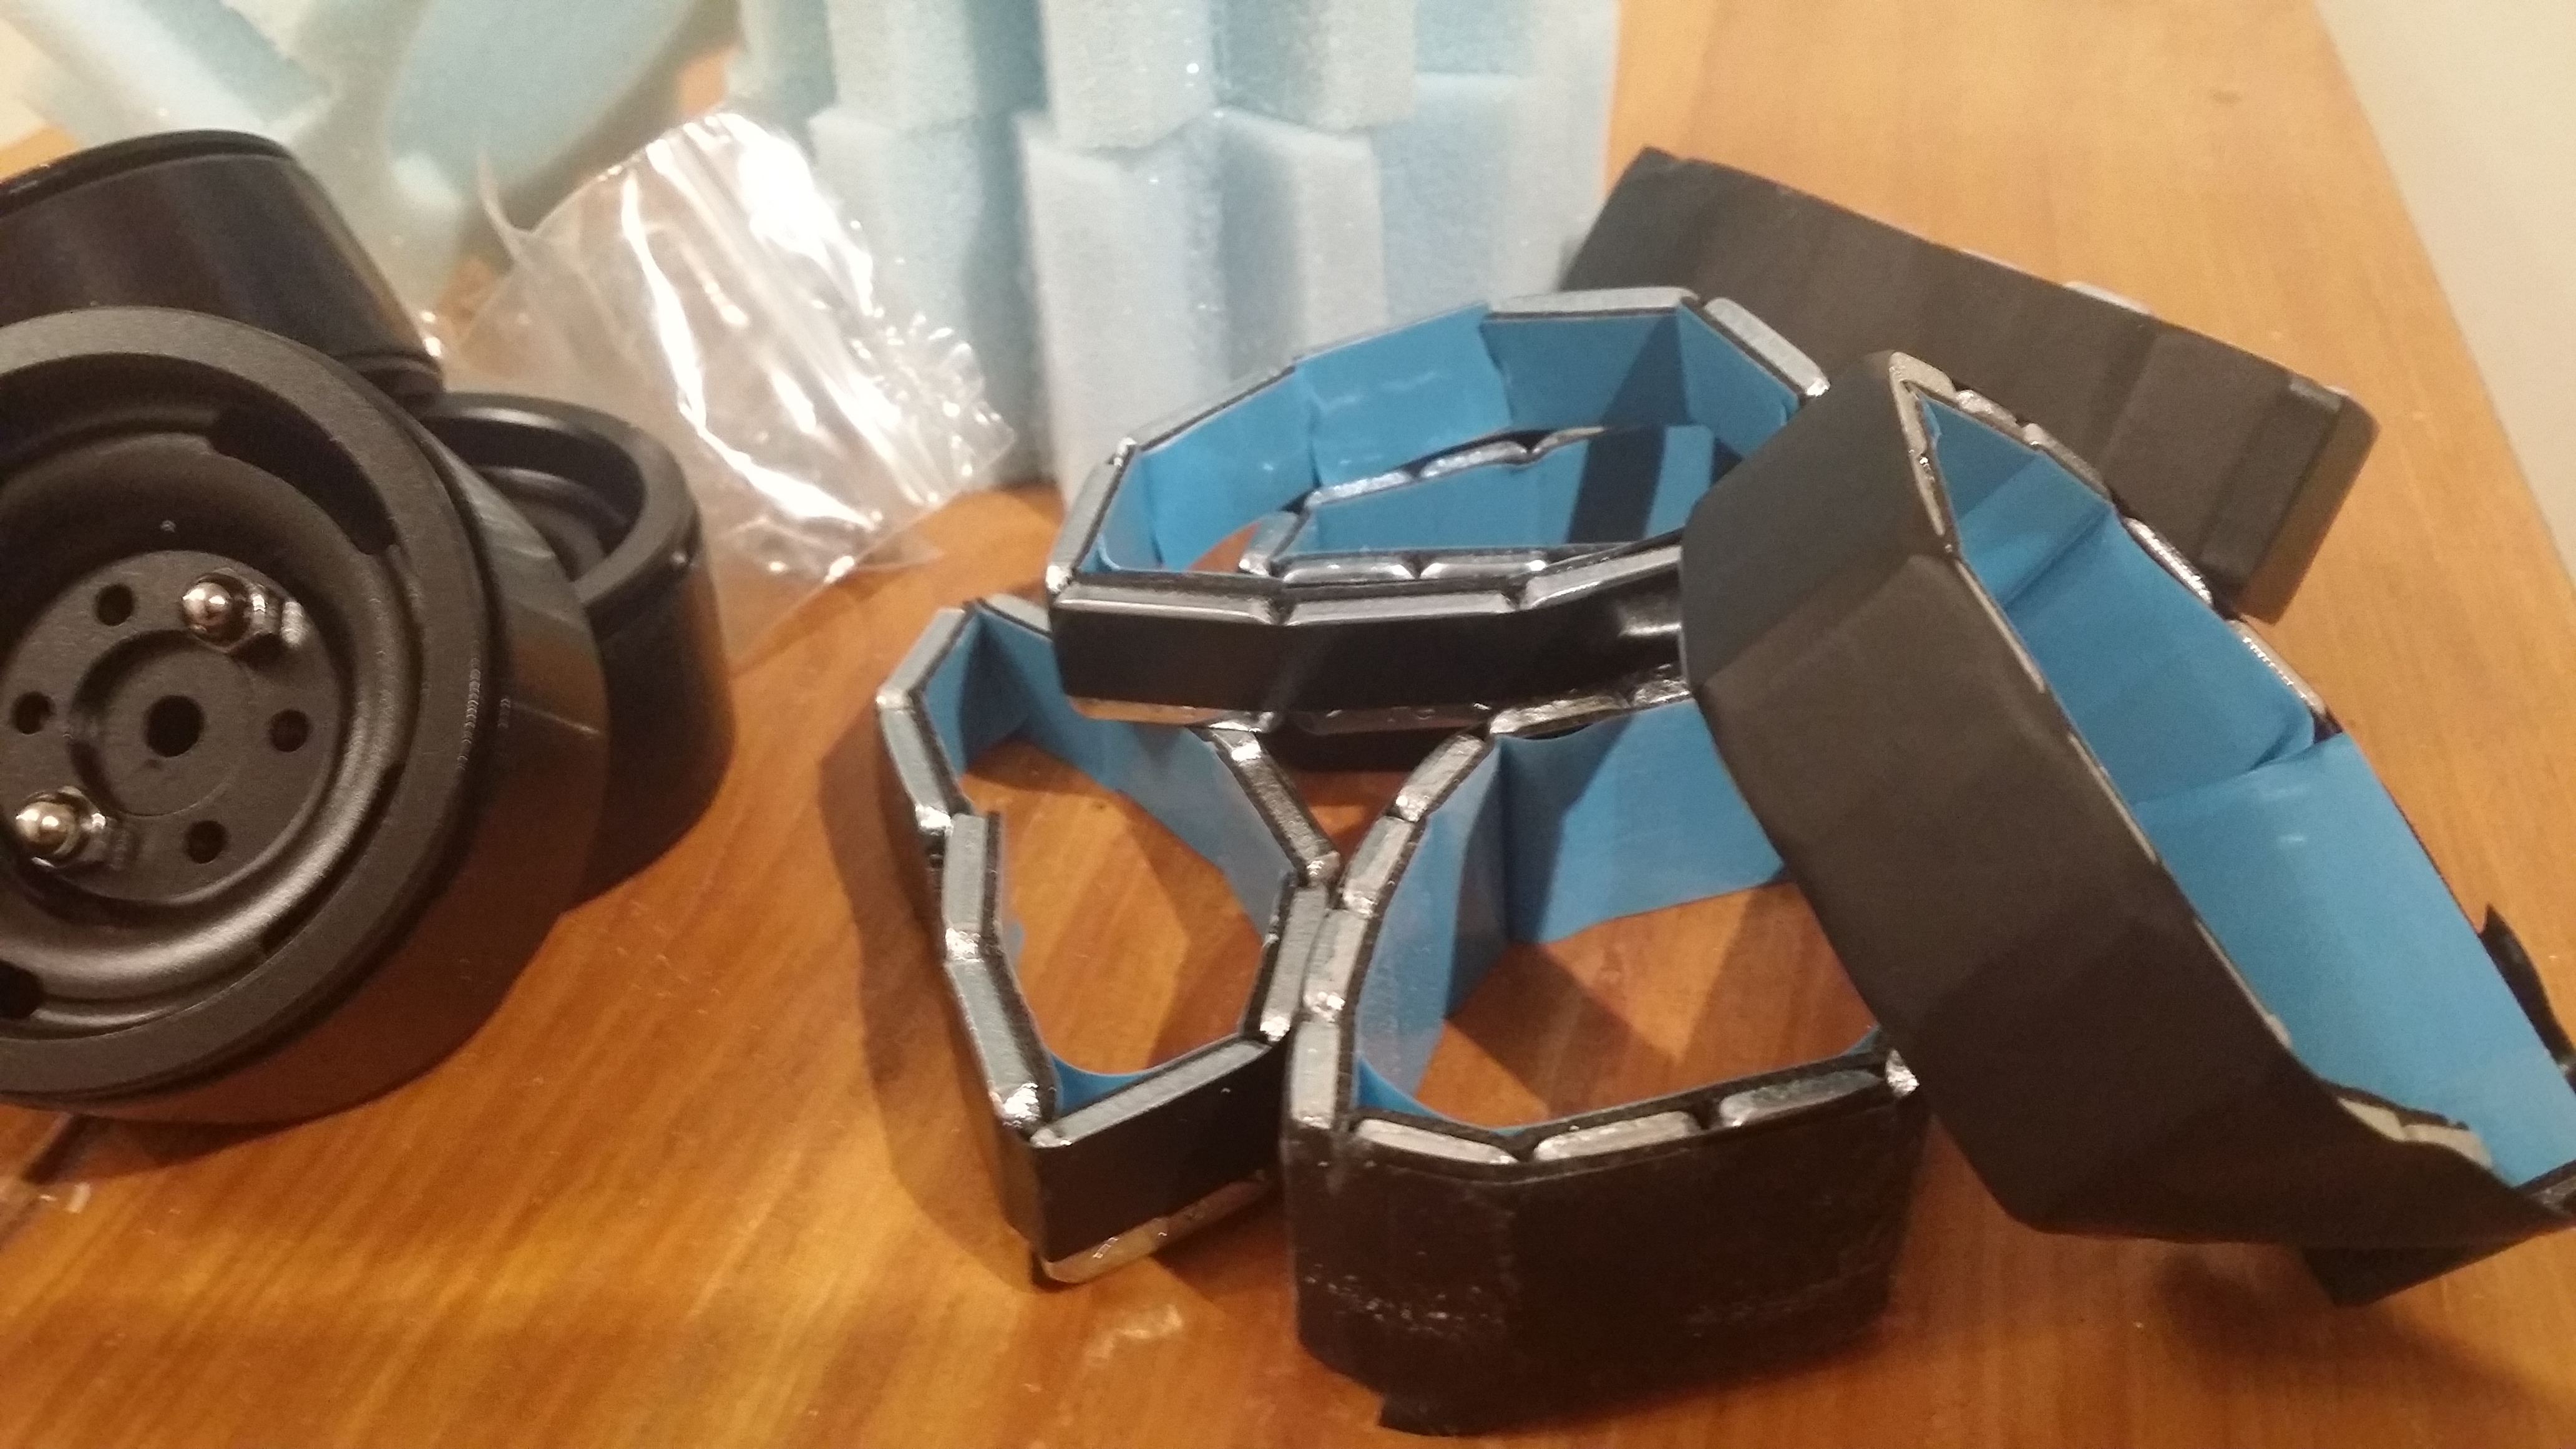
The current wheels already have weights, but I decided to be save and buy some extra. I don’t think I ever weighted the back wheels so I am sure those needs weights anyways. Whatever I have spare I will most probably cut into individual pieces and place around the chasse to increase weight where required.
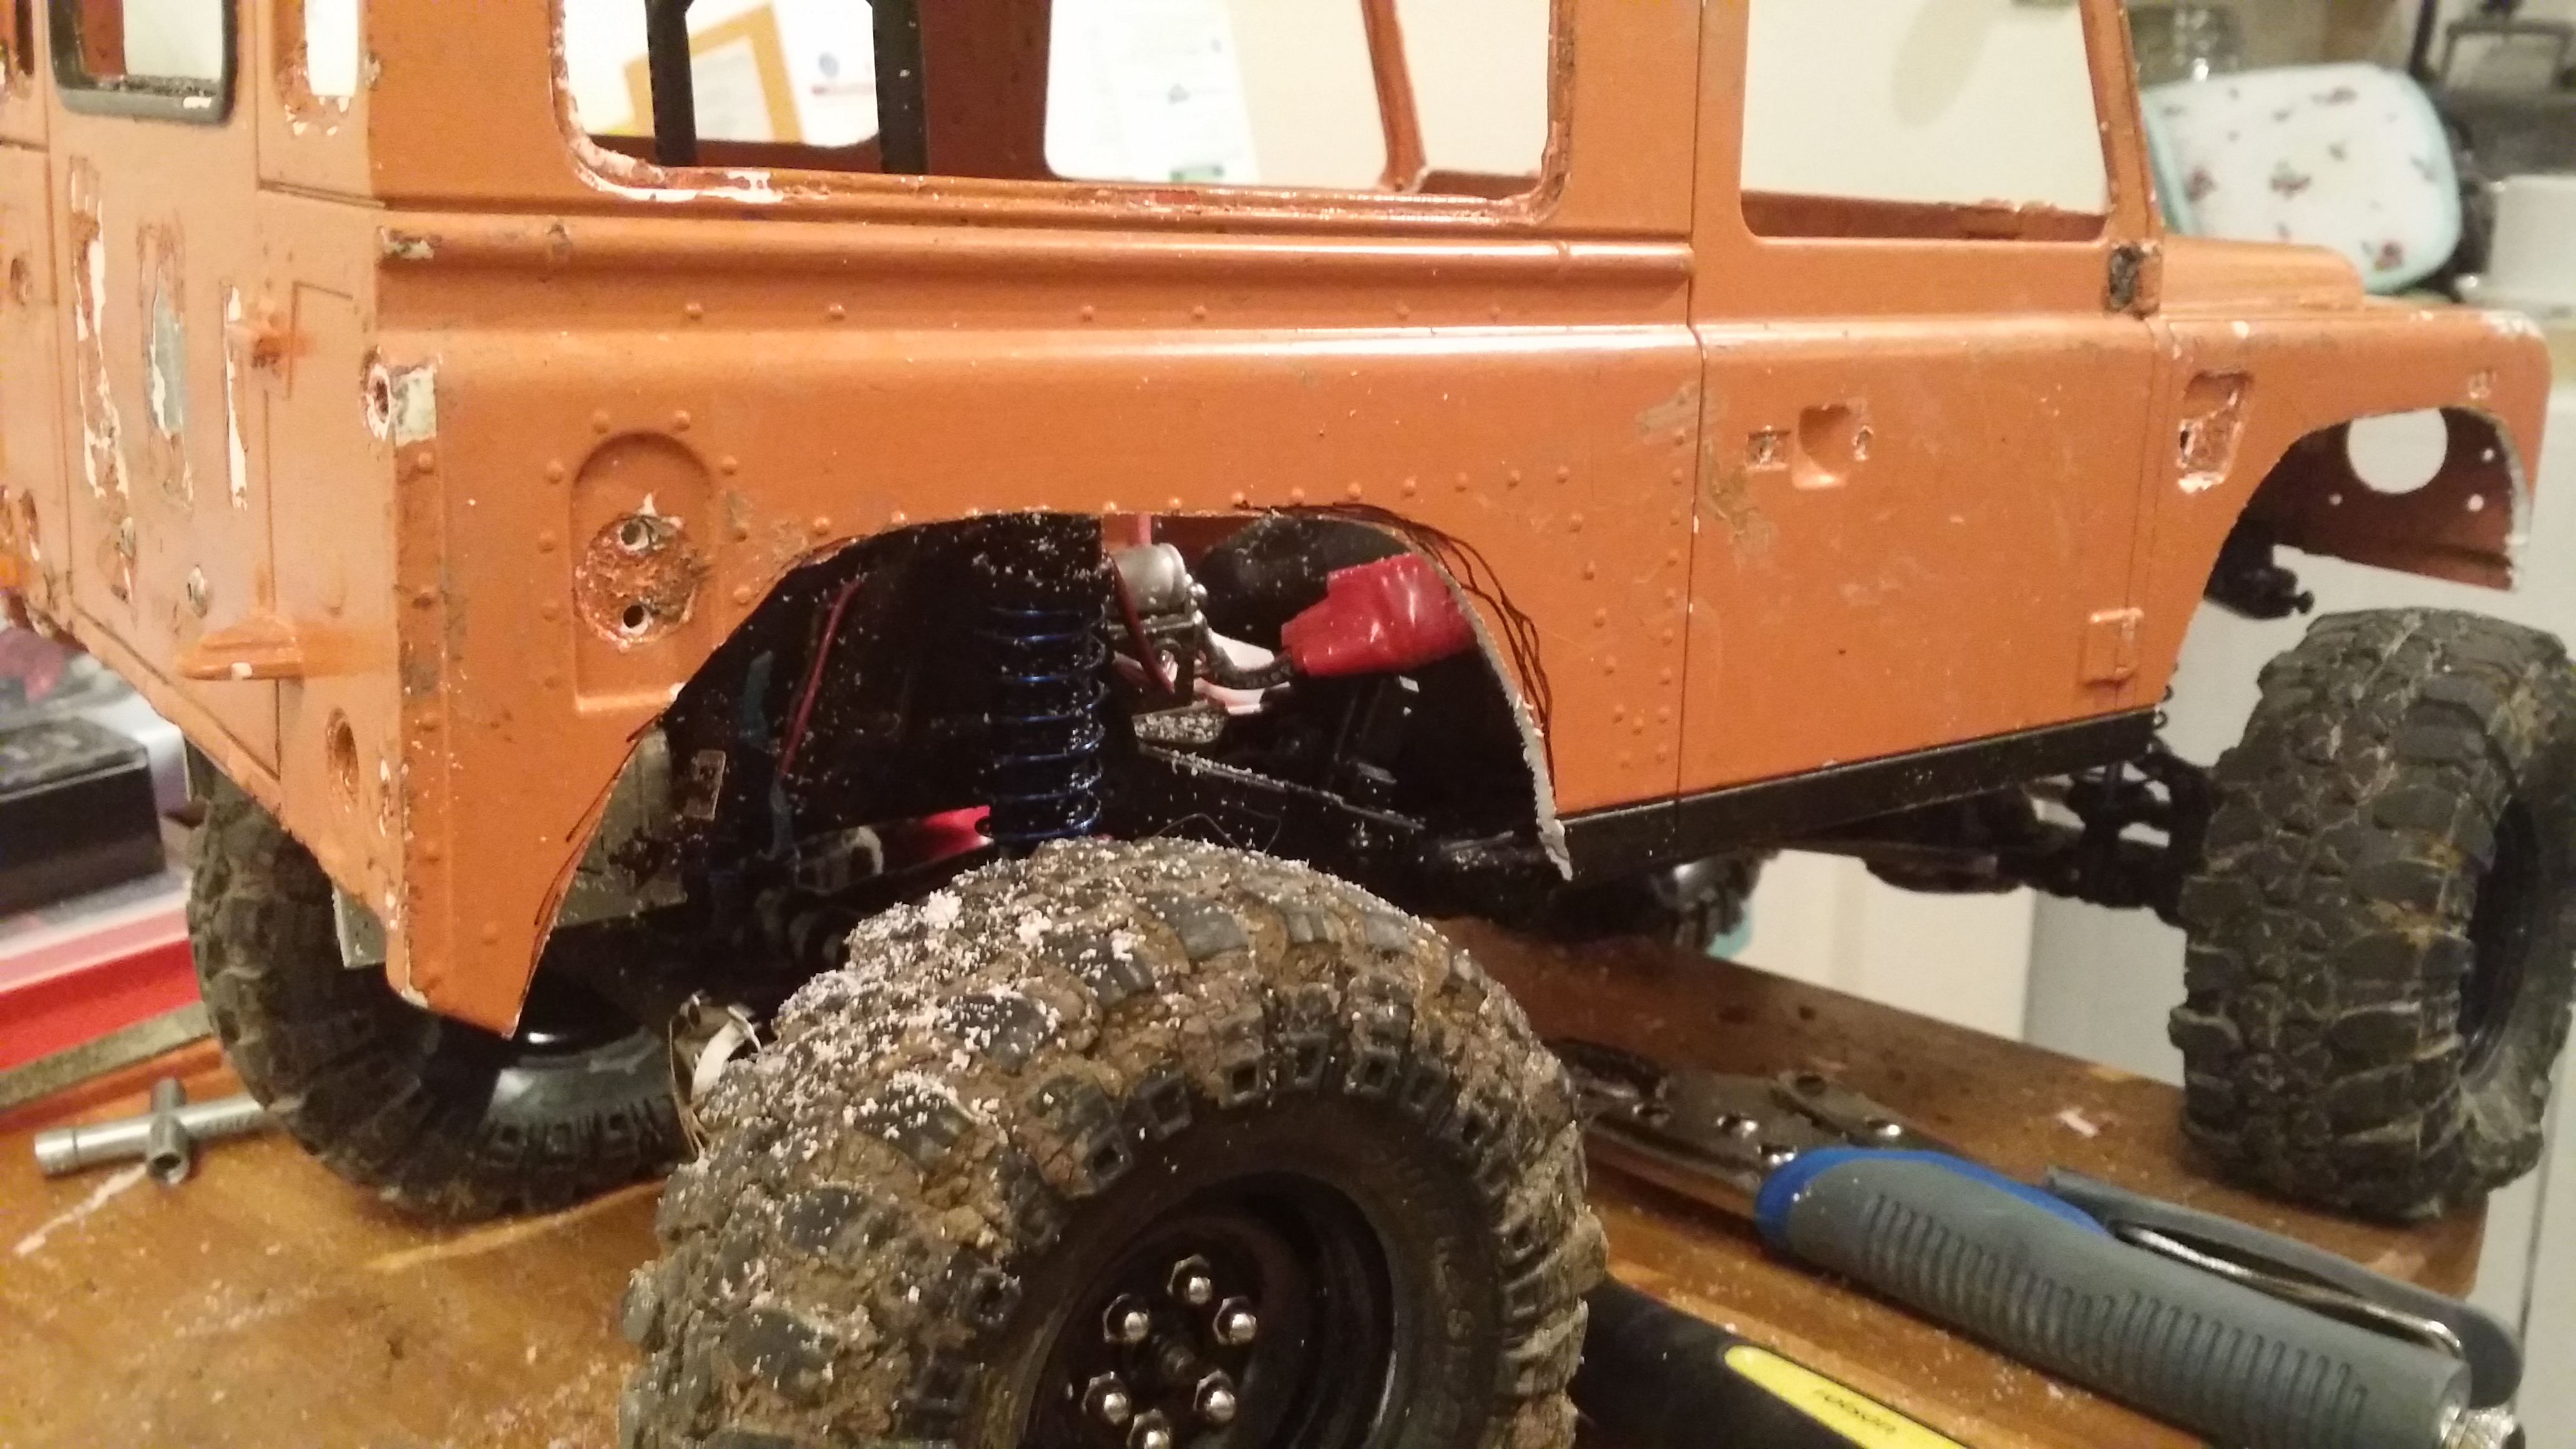
I’ve decided I don’t like the plastic fenders which are molded onto the shell so off they come. As I’m using a Vaterra Ascender chasse the wheels are hitting the shell creating a horrible plastic noise when turning (the RC4WD D90 shell is designed for a SCX10 chassis so the wheels don’t align perfectly).
I’ve managed to acquire some rubber fenders, came in a set of 4. Here is a link where I brought them. Took about a week to arrive but I am very happy with them.

Being rubber they look much more realistic, whilst I will be cutting the wheel arches bigger granting more room for the tyre, I still expect some binding but the rubber should flex more easily than the plastic.
I’ve gone and cut the fender off the first wheel and increased the arching allowing the wheel to fit more in centre, it’s defiantly an improvement. If you’re wondering what tools I used….
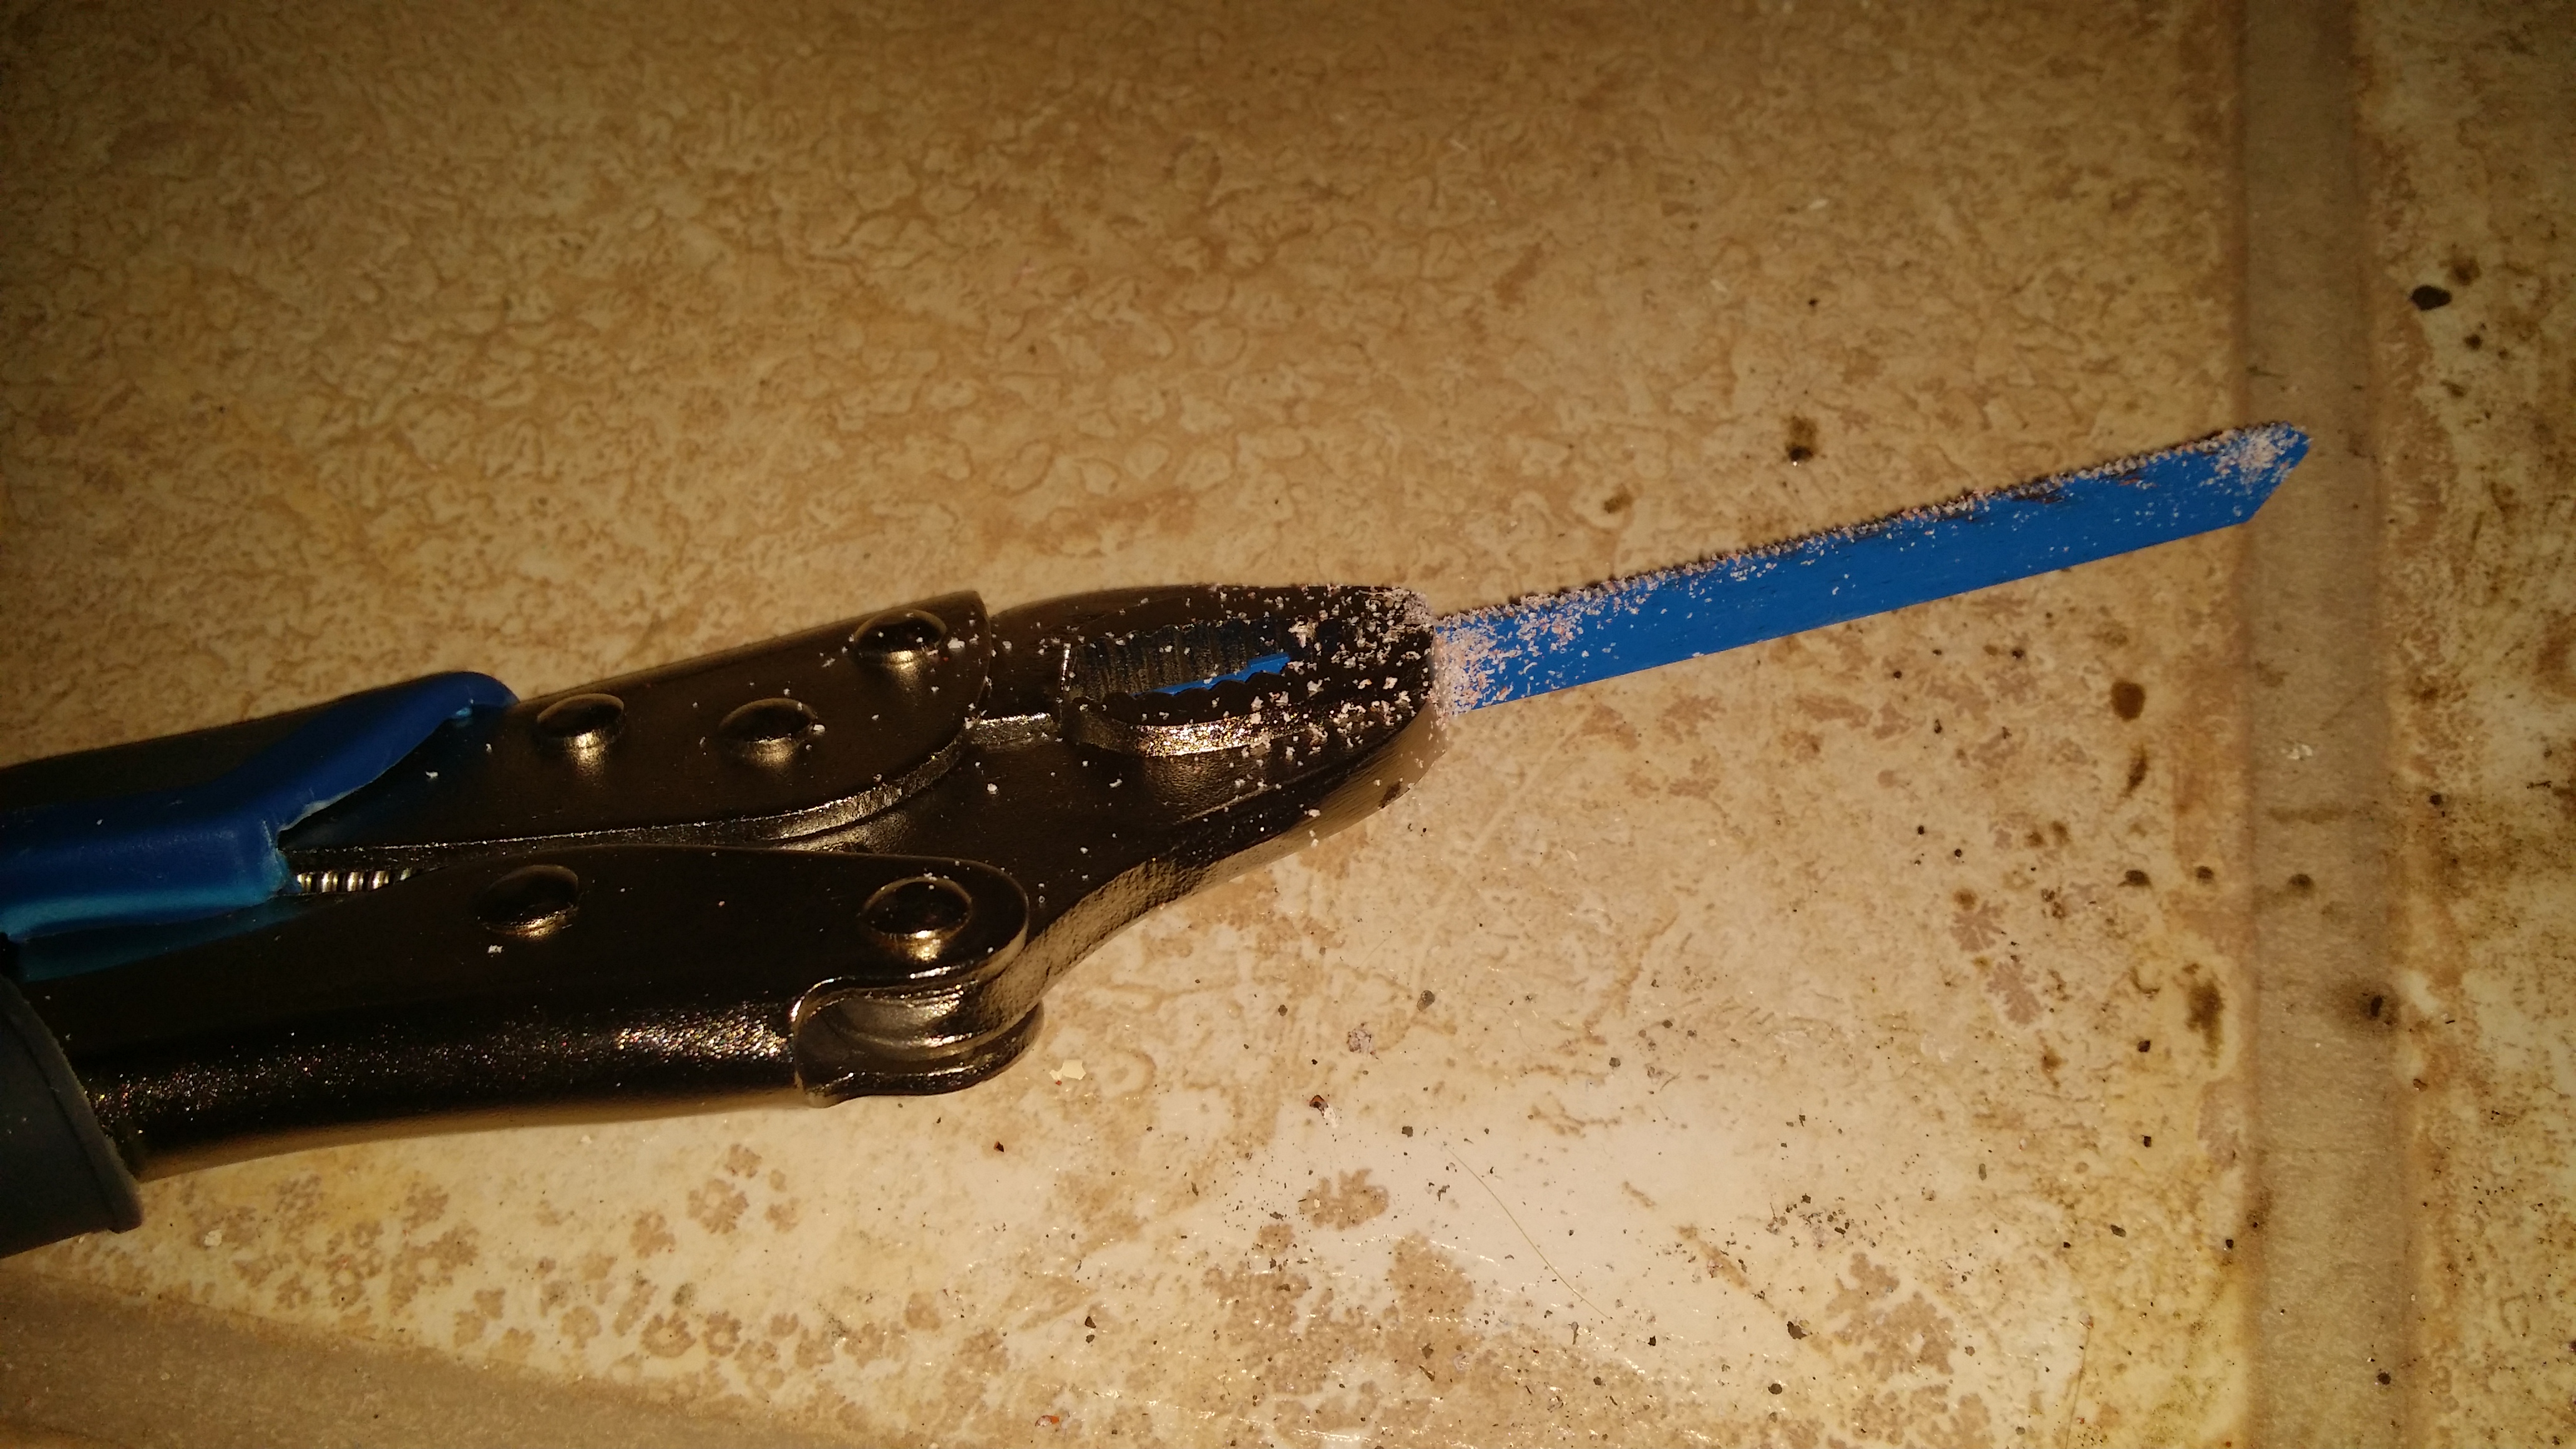
Yep that’s a jigsaw blade clamped into a clamp plier, worked perfectly. I would recommend using clamp pliers as you don’t have to waste energy trying to hold the blade.
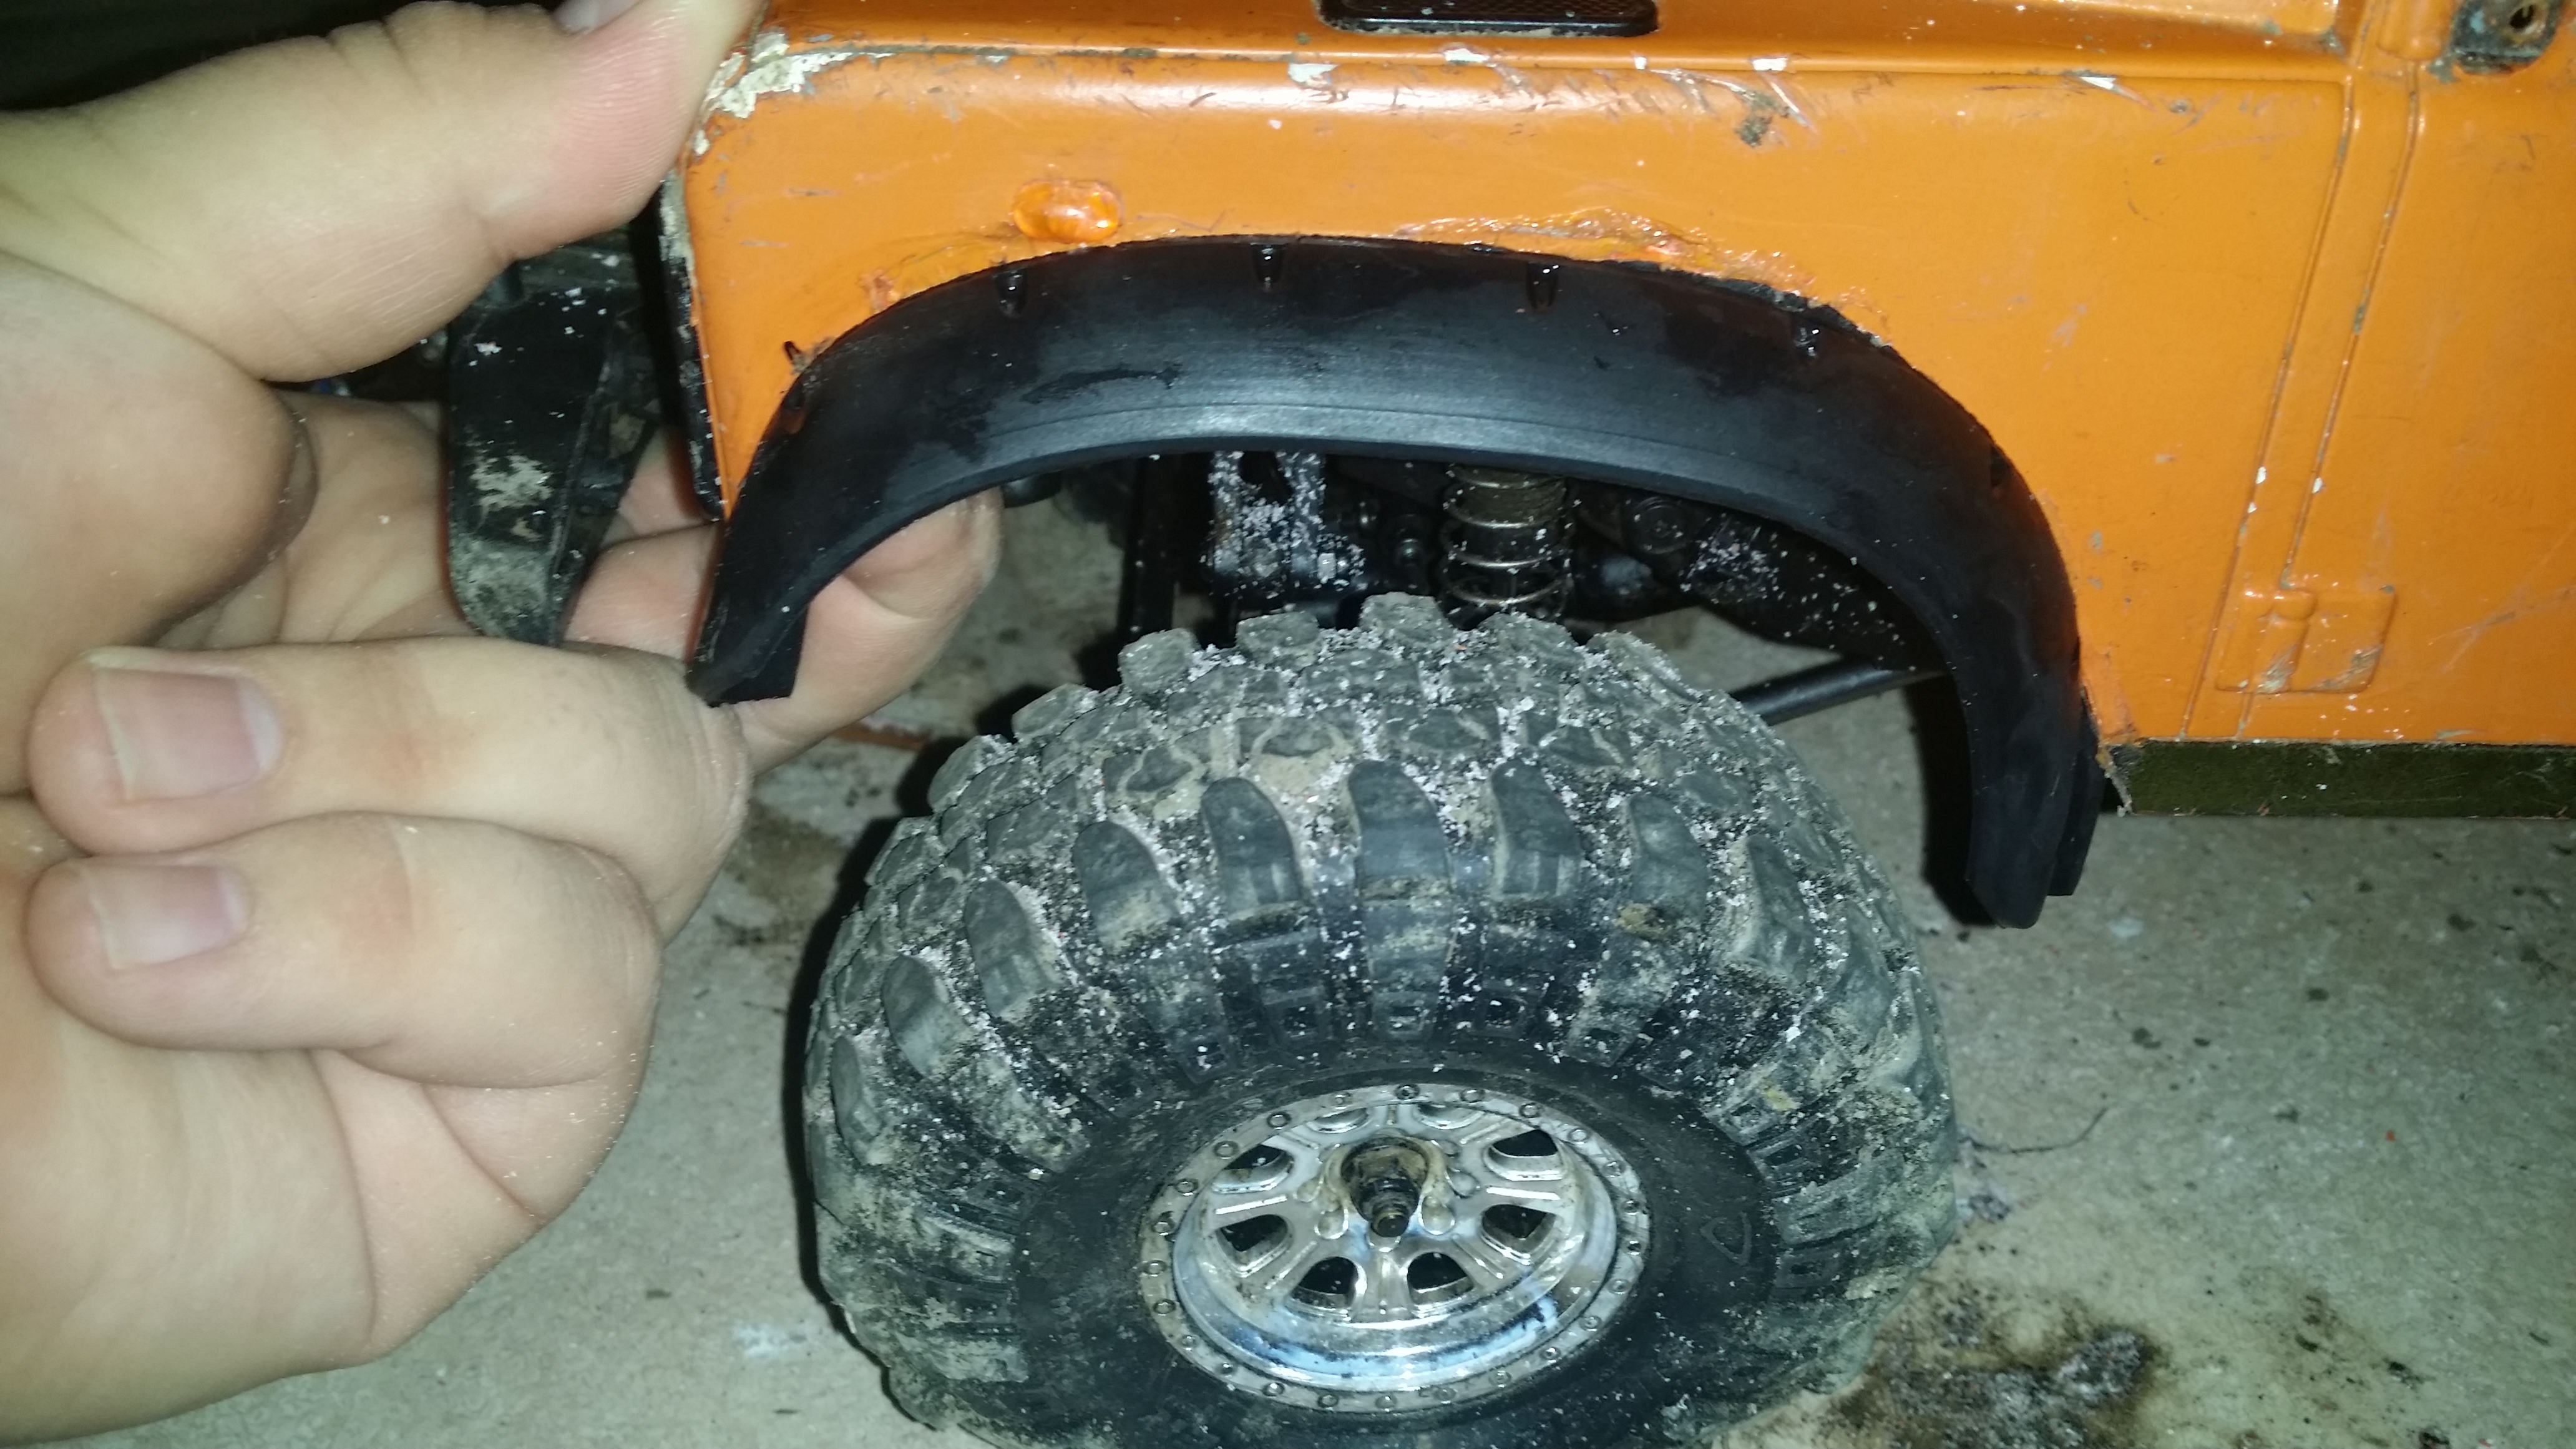
So let’s see how the rubber fender looks, to me that looks a lot better. There is a notch in the rubber so it slides onto the shell. I am only holding it with my fingers but I will be using tire glue to hold it on once I have resprayed the shell.
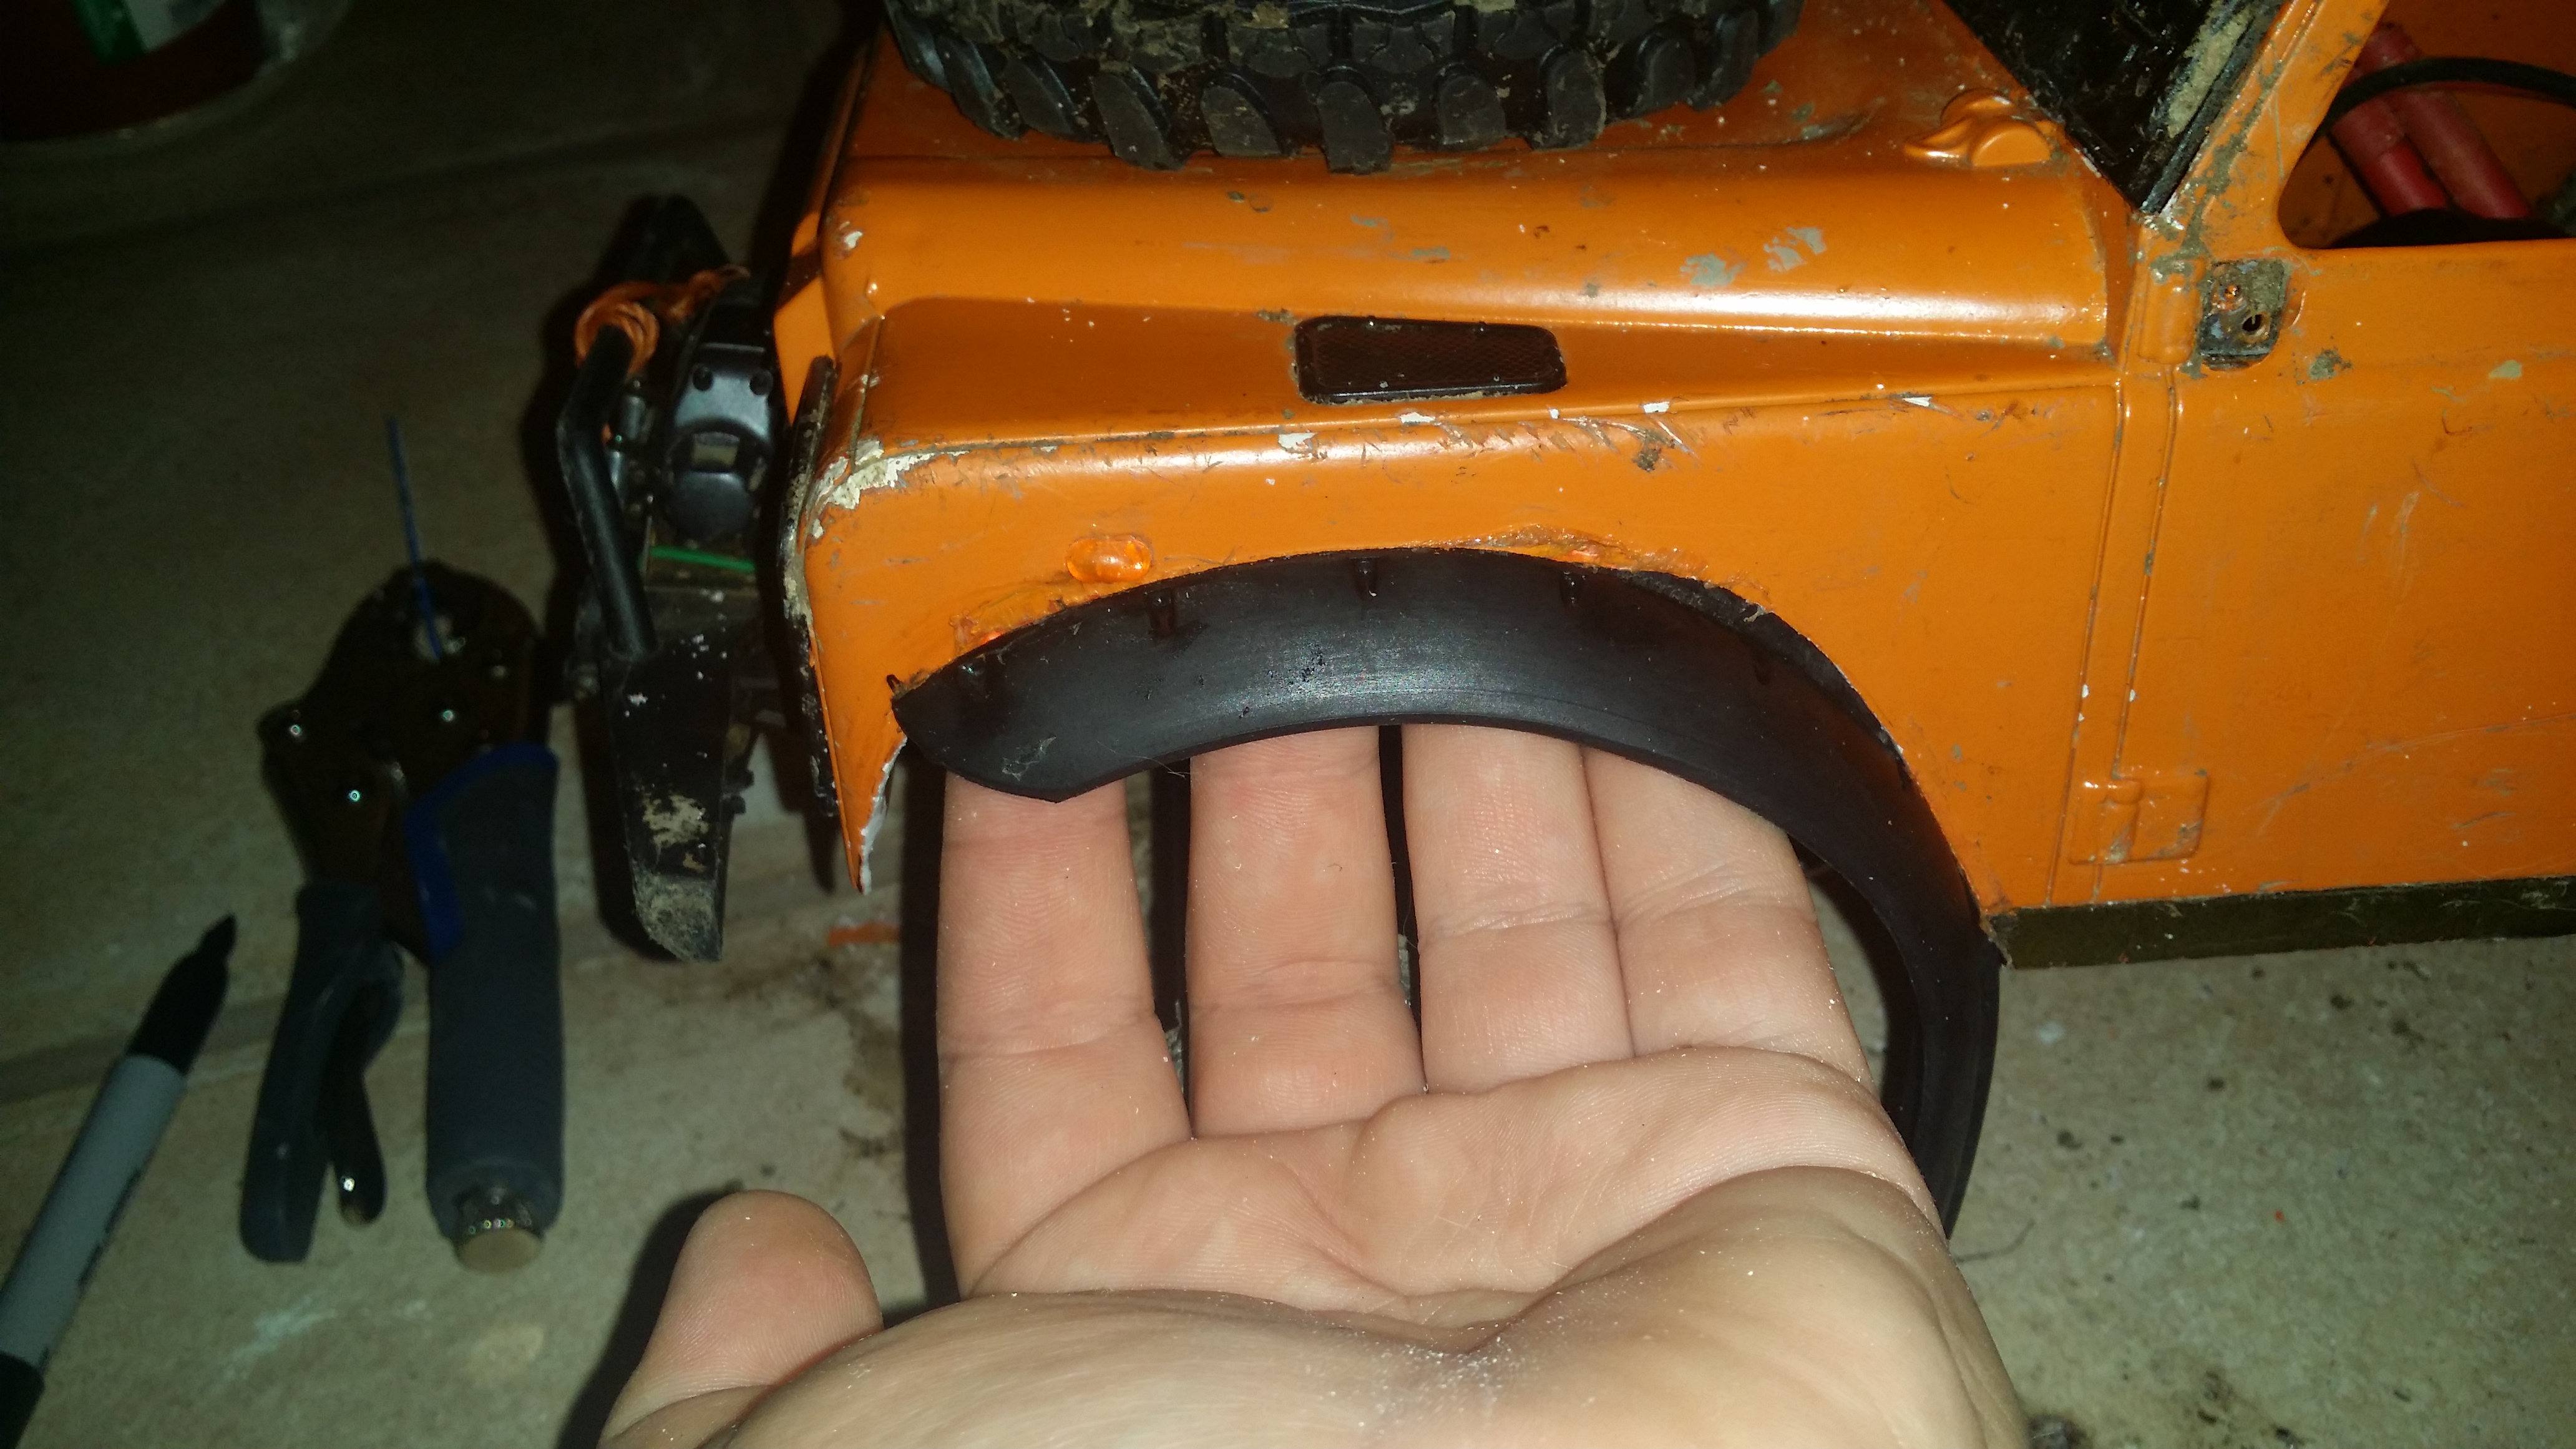
I’ve decided I like the look of the fender starting slightly back, it also gives the wheel slight more room when turning which is a plus. Now let’s do the other 3 which will have to wait for another day as its getting late.