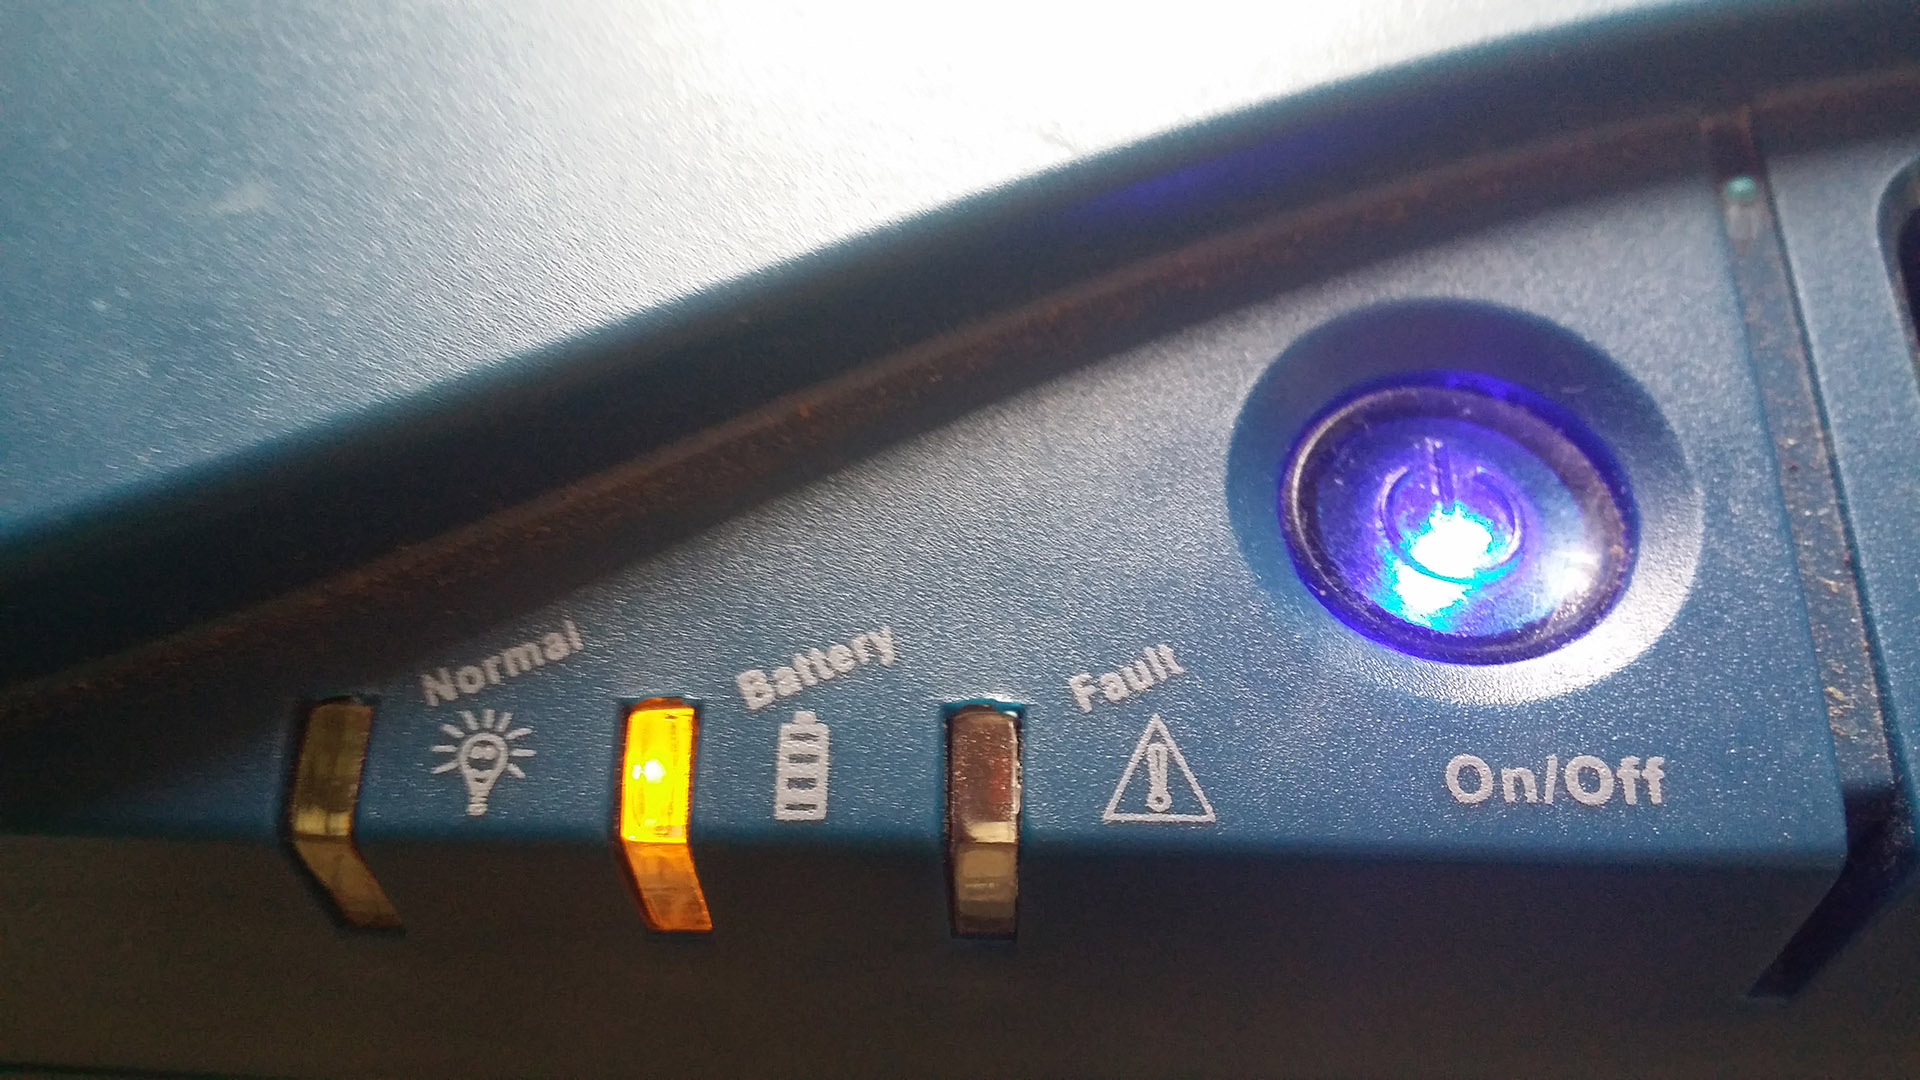
I connect a UPS to a generator allowing me to safely power my sensitive electronic equipment (laptops) when in remote locations, generators are not perfect and occasionally the power fluxuates causing spikes, over and under voltage issues. To resolve these issues and make it safer for my sensitive devices I use a UPS which provides a cleaner and more reliable energy supply. When a under voltage occurs the UPS boosts the power using the battery, when this happens (which is often) the UPS beeps for an extended period (indicating it is using the battery, which I don’t really need to know as it’s only for a couple of seconds normally).
One of my ongoing projects is a lap counting system for my local RC car club, the system in its current state and future developments require me to take my laptop and other sensitive equipment onsite to calibrate and perform live testing in the environment it is intended, there is no electrical supply onsite and this requires the use of a generator.
Read my previous post explaining why you shouldn’t connect straight to the generator.
I only use this UPS for this purpose and don’t require the use of the beeper, you could install a physical switch if you require the ability to turn it off and on.
[alert style=”red”]
Working with electronics and electrical devices is done so at your own risk, it can be very dangerous. A number of components can retain an electrical charge for extended periods after all power is disconnected. You perform any modifications at your own risk.
[/alert]
[divider type=”dashed”]
Step 1 (Removing battery)
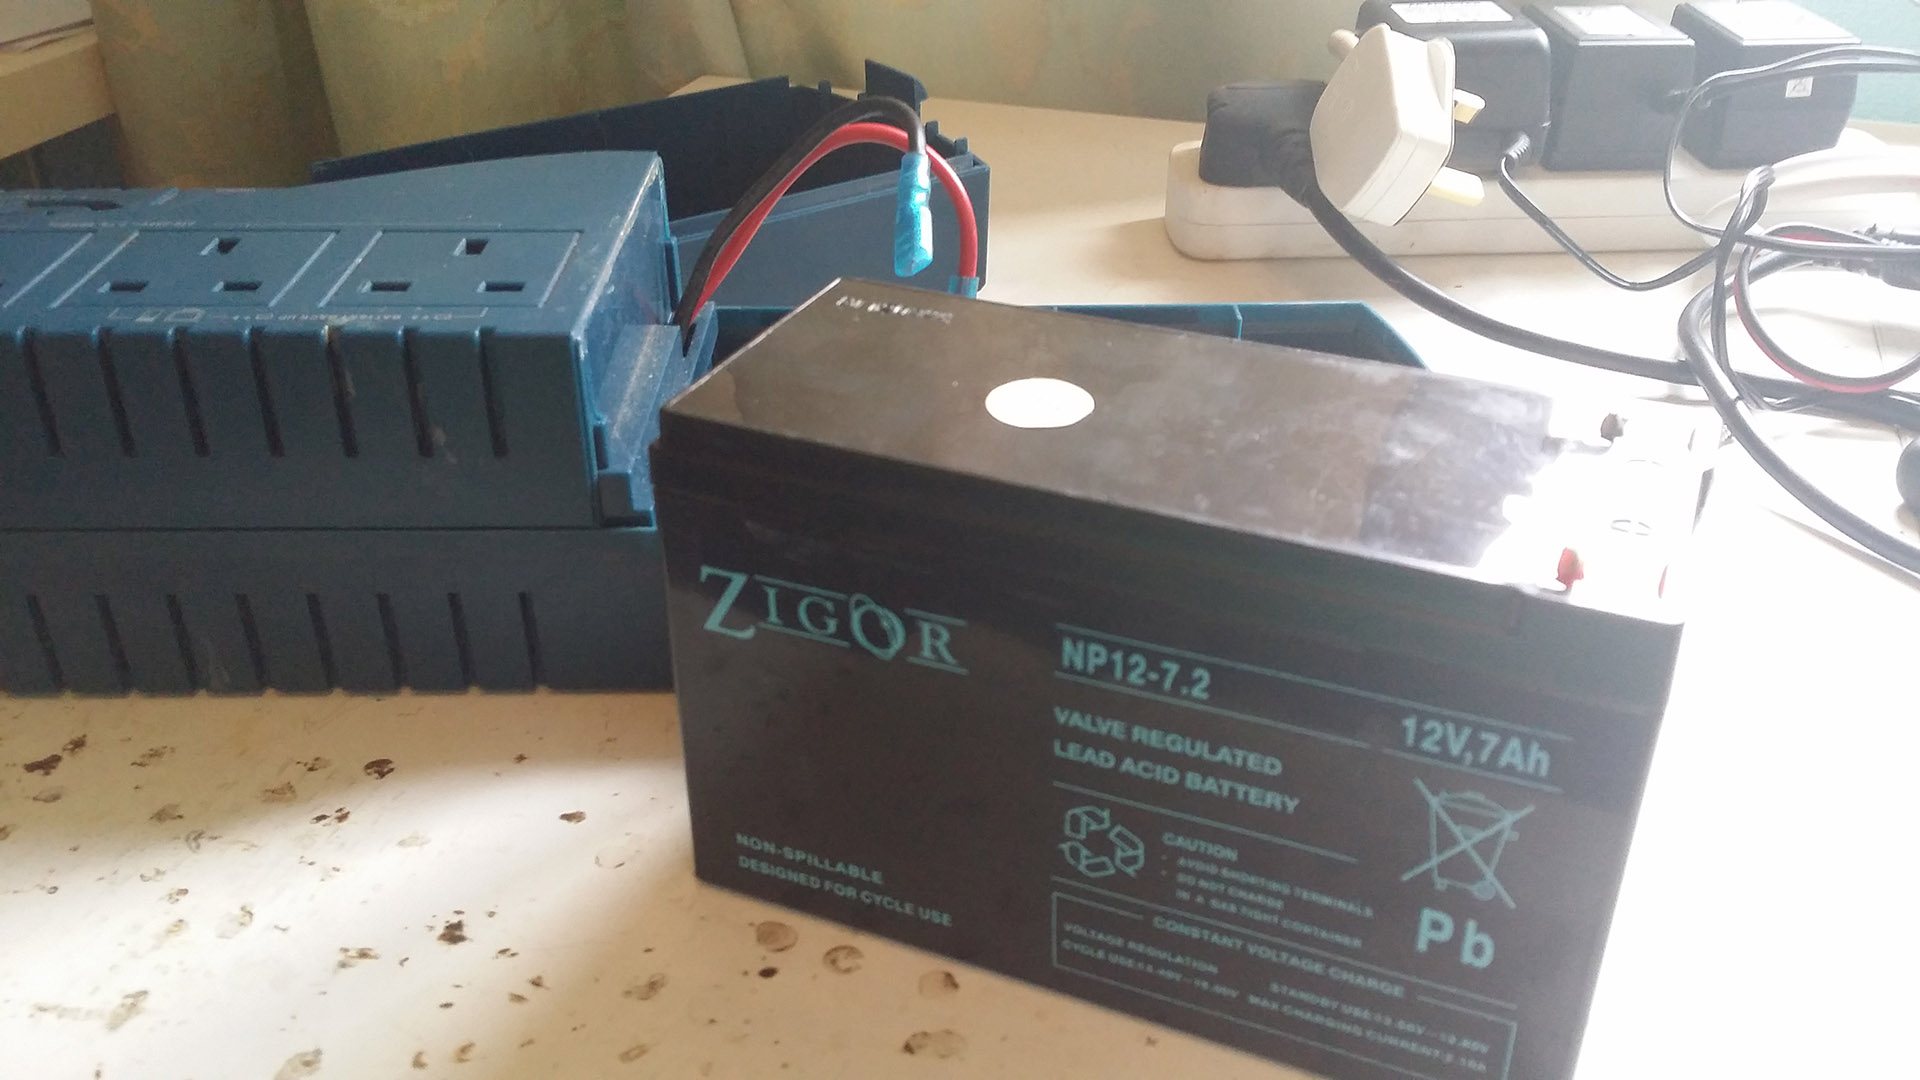
First make sure the mains power is disconnected, we must then expose the battery so that we can disconnect it. After this I would recommend leaving the UPS sitting for a minimum of 24 hours to allow any remaining energy to dissipate.
My UPS battery is under a little compartment which has a easy to remove door, this exposes the battery.
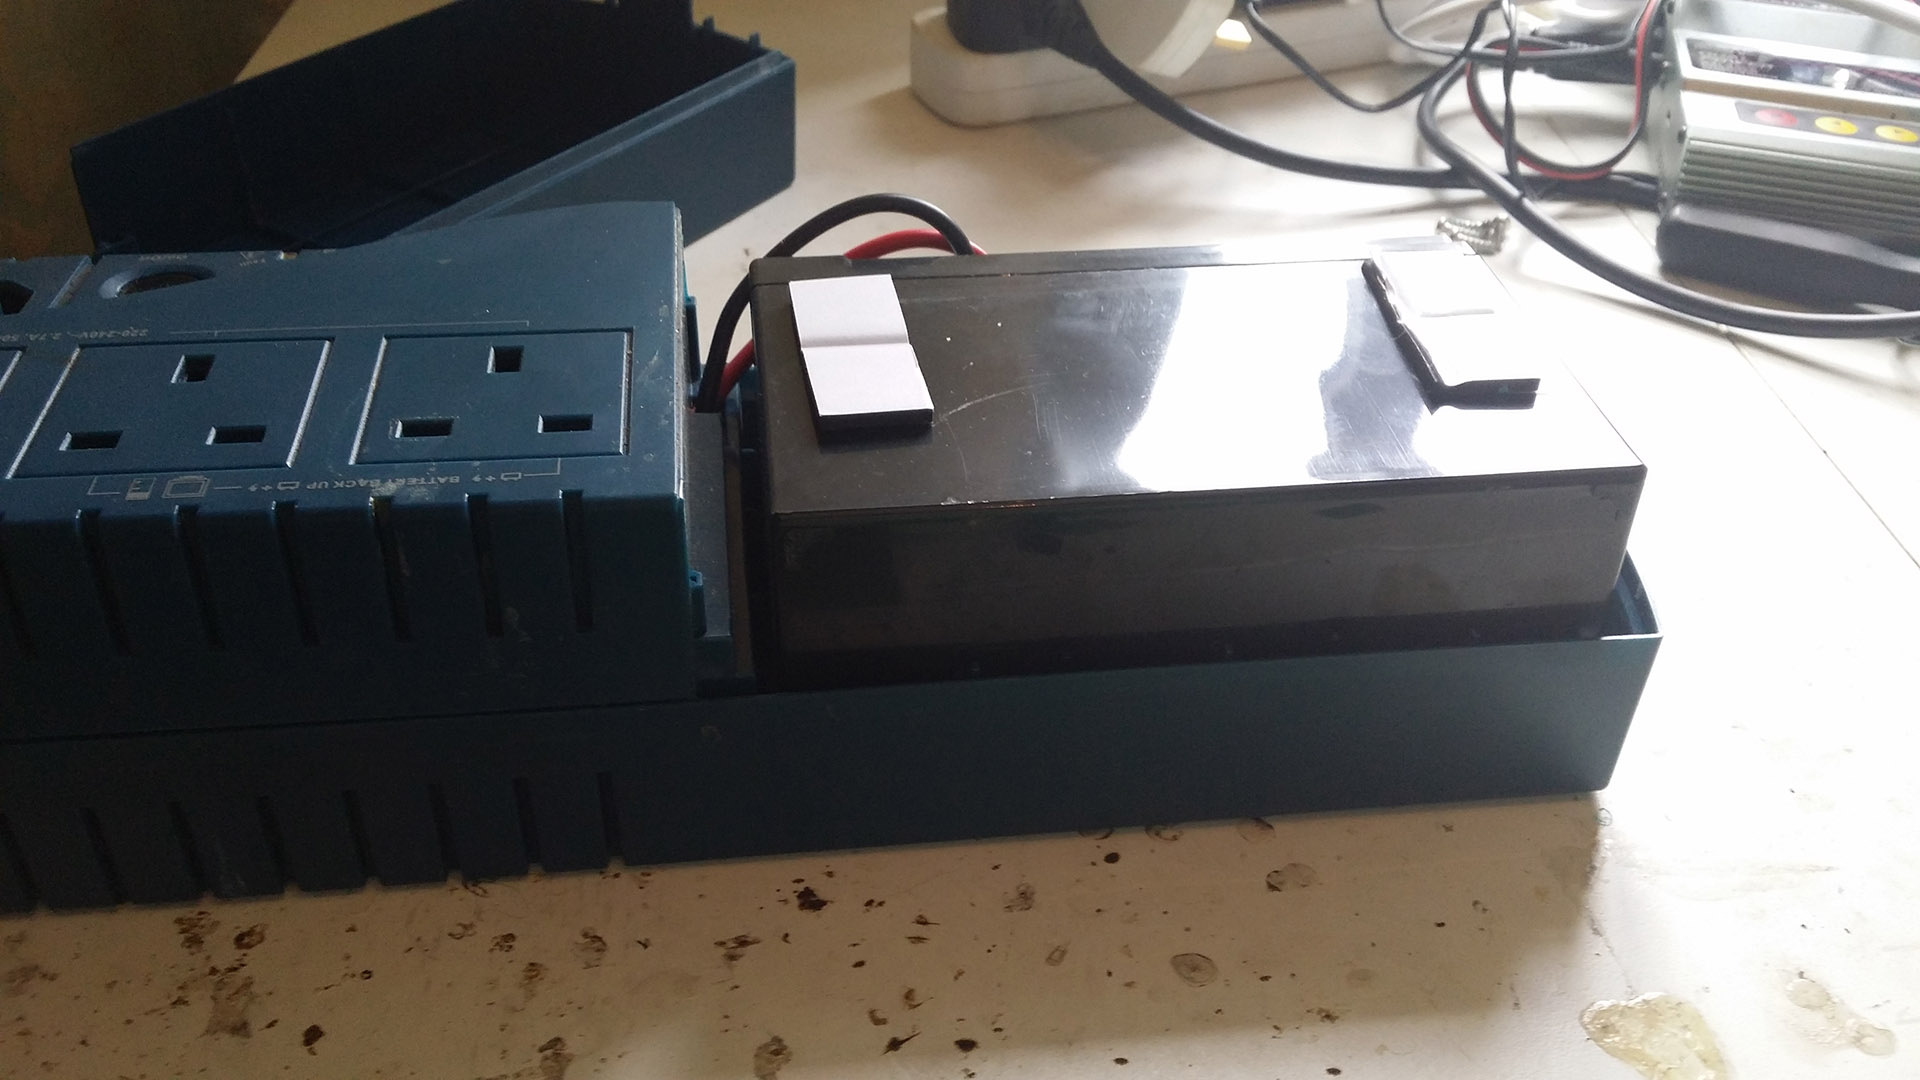
Now we need to disconnect the battery, it is very important you take care and always disconnect the negative (black) wire then the positive (red) in that order.
I highly recommend leaving the UPS sitting for 24 / 48 hours before continue to allow any electrical charge to dissipate. Remember this unit outputs at 230v the shock could be extremely dangerous.
[divider type=”dashed”]
Step 2 (Opening UPS)
Once you have left the UPS sitting with no input power for an extended period of time, there could still be an electrical charge inside and I would suggest not touching any of the components once you have it open.
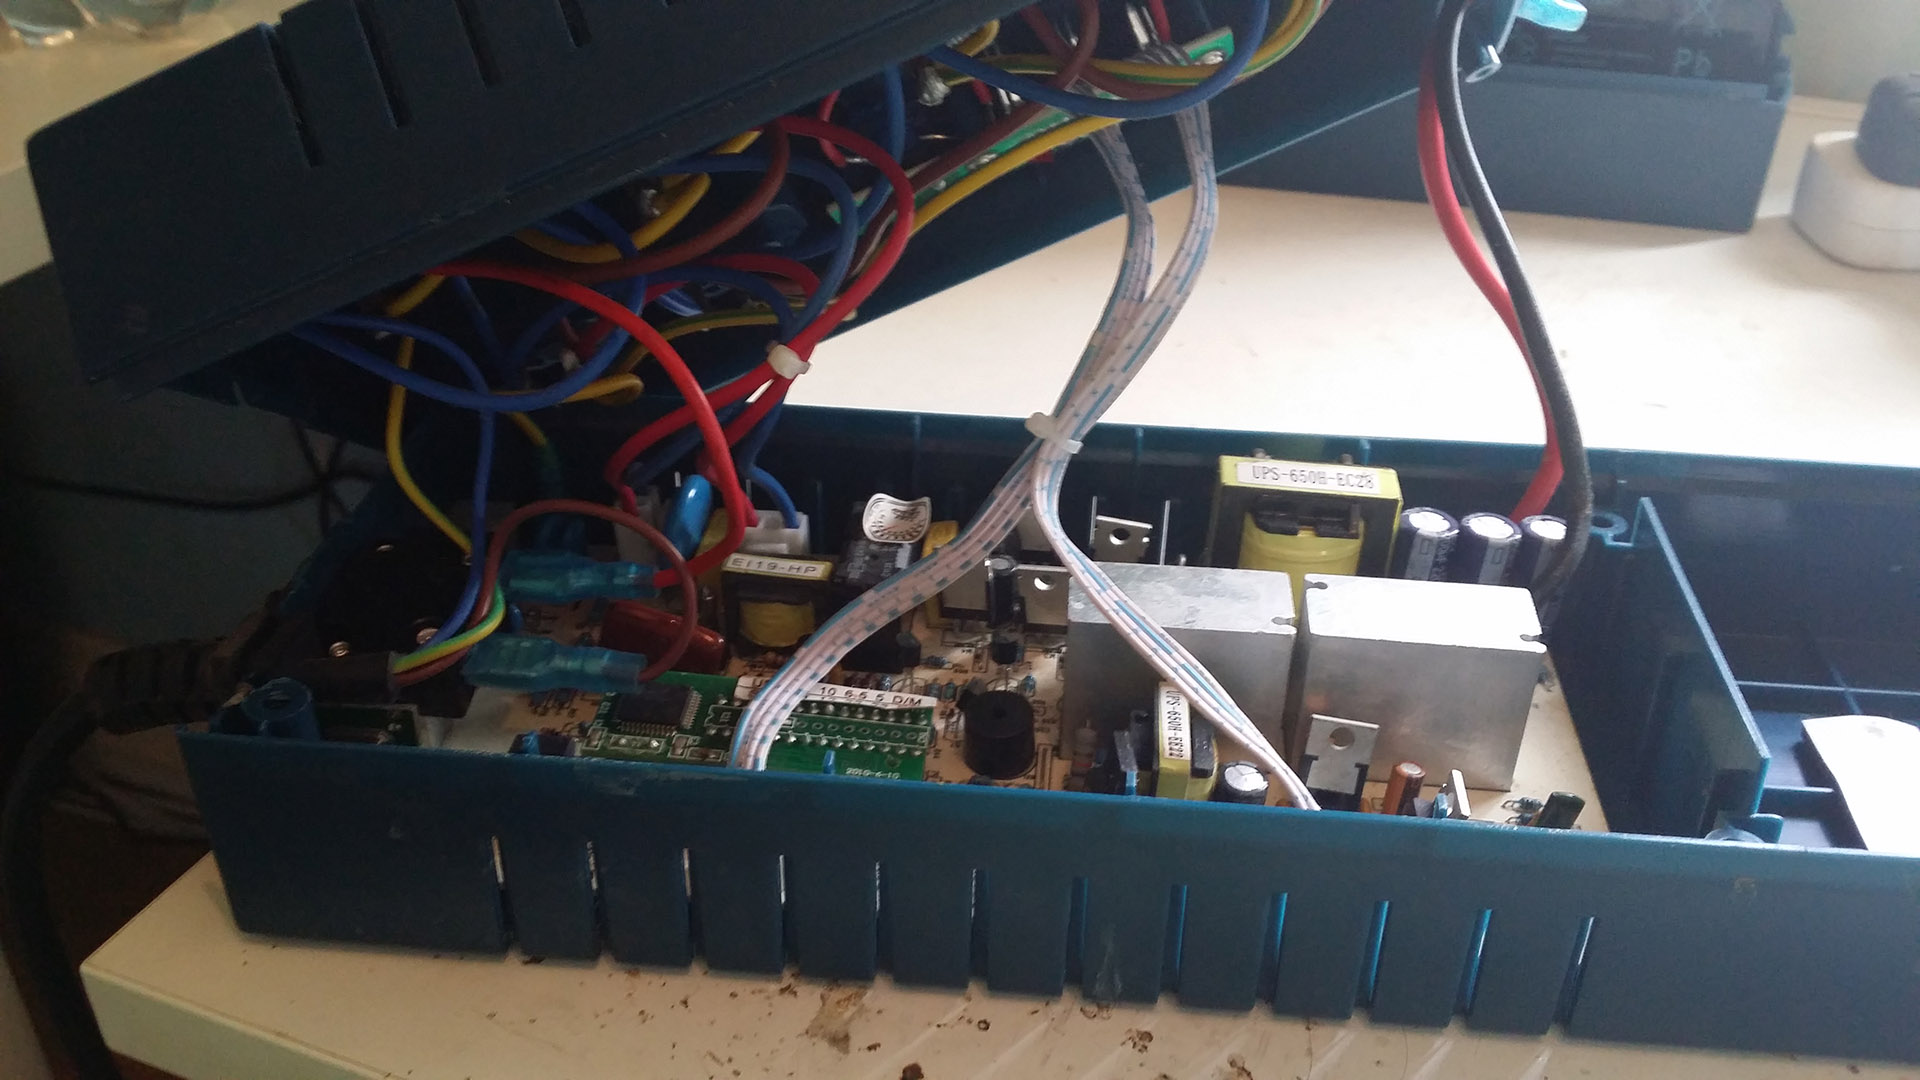
My UPS had 4 screws located on the underside, once I had removed these the top of the UPS pulled away as you can see from the image below. I would recommend undoing all screws you can see and your UPS cover should come off.
[divider type=”dashed”]
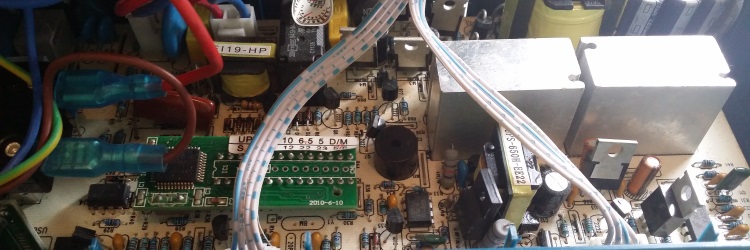
Step 3 (Finding the beeper)
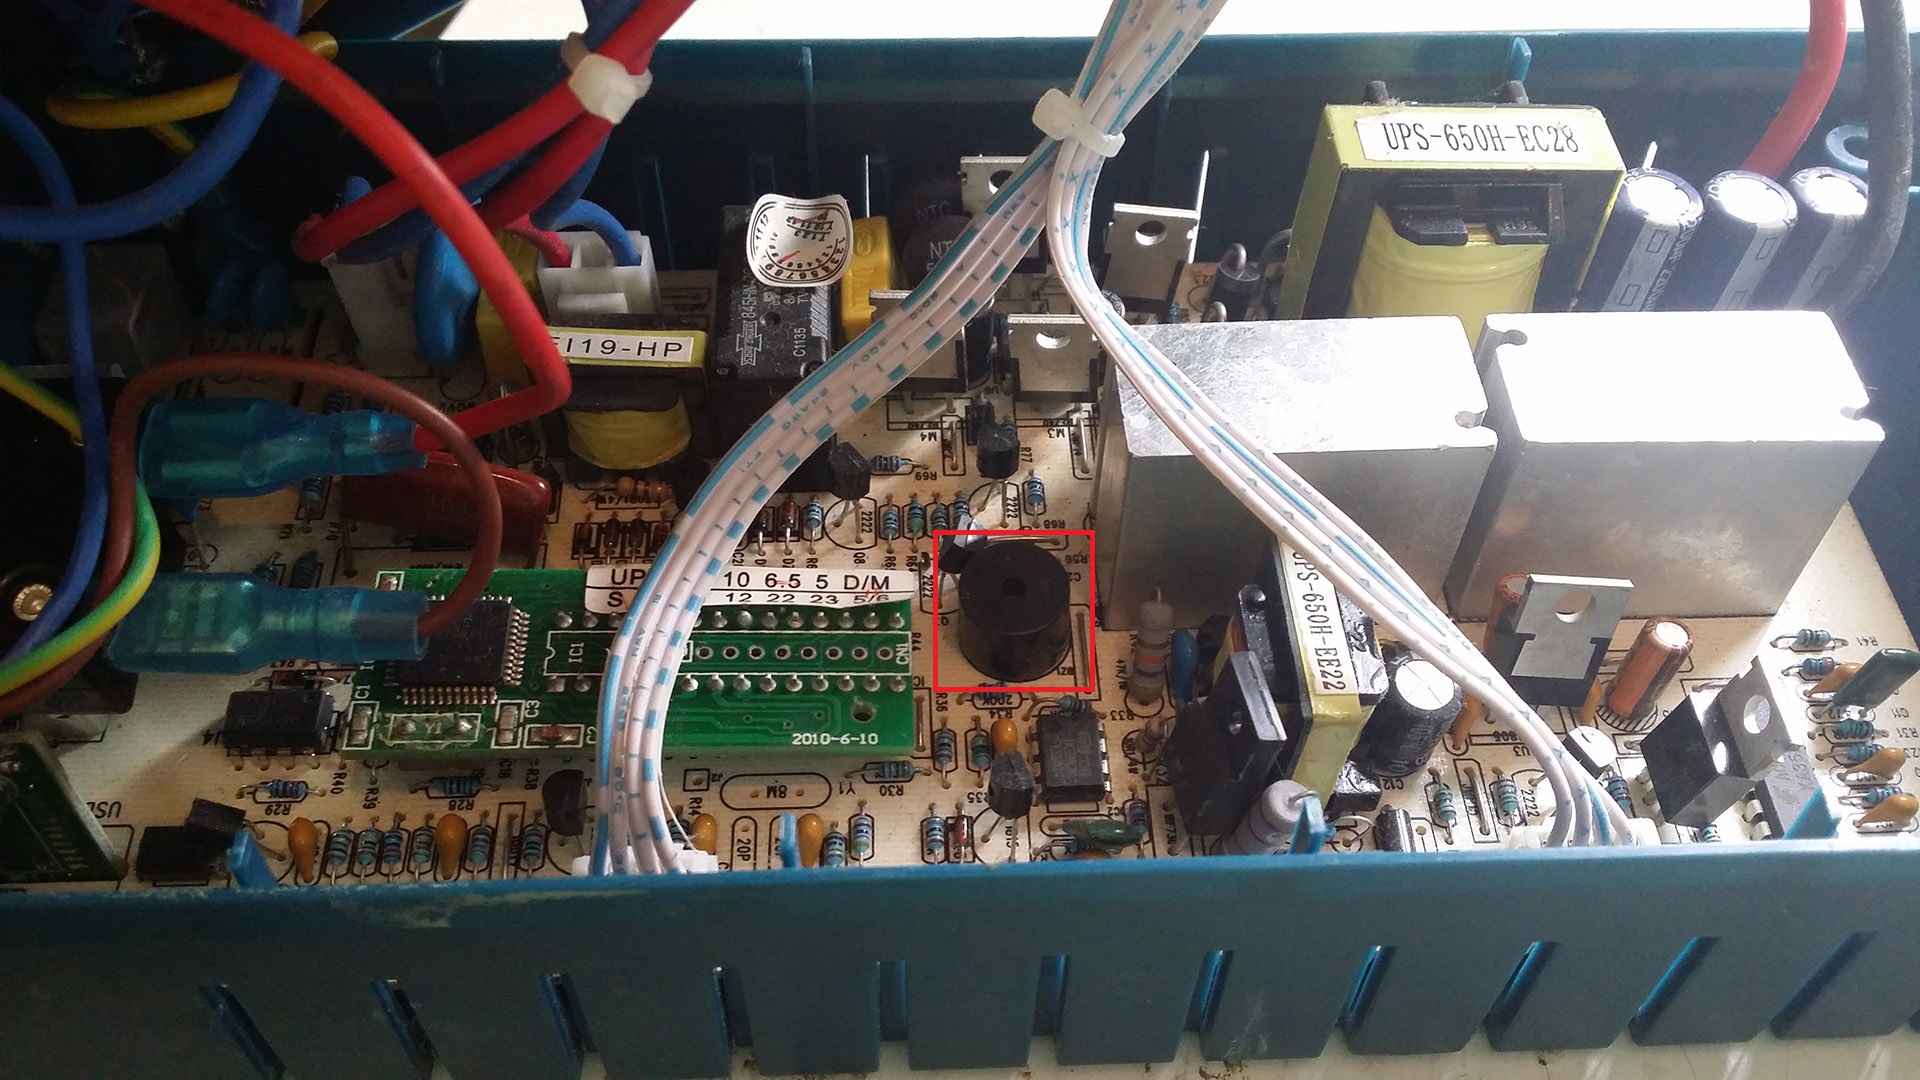
Locate the source of the sound, this is normally a speaker or siren module (round circle black thing with a whole in the middle). I have located mine in the centre of the PCB.
[divider type=”dashed”]
Step 4 (Removing the beeper)
Now I would normally desolder the component, I didn’t want to remove all the wires, I decided to pry the module off using a flat headed screw driver. I placed the head under the module and with a quick firm push it came straight off.

[divider type=”dashed”]
Step 5 (Reassemble)
Reassembled the unit and give it a test. Works perfectly and no annoying sound when the battery is in use. This now allows me to power my equipment remotely without the irritating alarm.
Leave a Reply