OS Installation (Windows XP, Vista, 7….)
Well its about time I writen the Windows installation proccess guide this guide will help you install most Microsoft windows operating systems as they all follow the same process, Vista and Windows 7 installation process is much cleaner and simpler to use as it has a step by step walkthrough but this guide will help you progress with your installation.
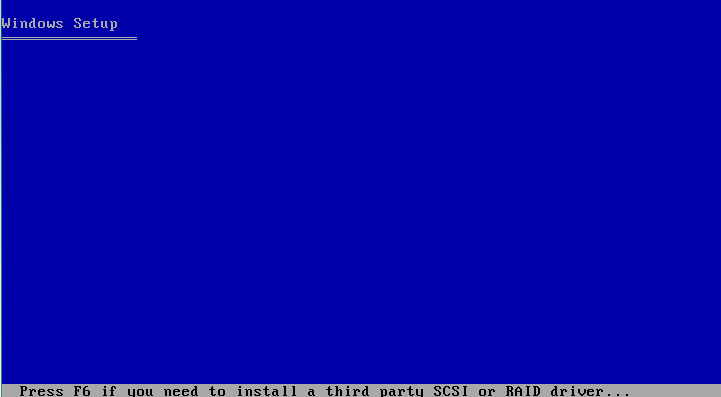
When we first boot from the windows XP disk it needs to loads the files into the computer’s memory so that it can perform all the tasks it needs to do during the installation process, but before the installation we need to setup are hard drive so it’s ready to hold the operating system files and are data.
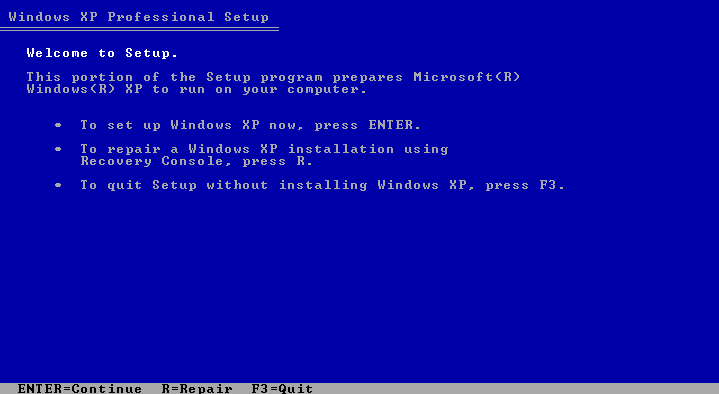
Once the loading has completed you will have a selection of options to chose from, seeing as we are installing a new operating system we are just going to press the Enter key, if you ever had an issue with your installation you can also access the recovery console by pressing R but this is for users who known what they are doing and is not covered in this post.
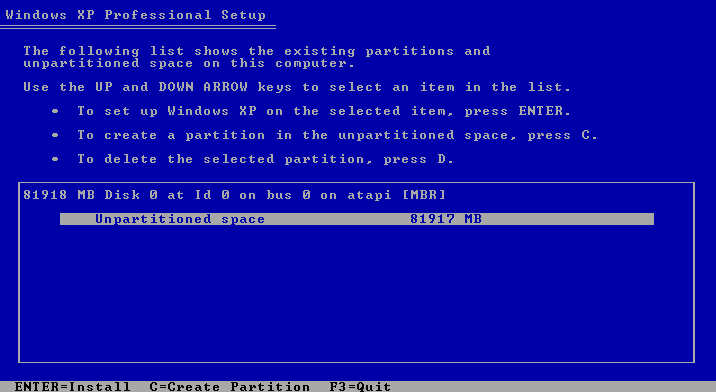
Now we need to setup the partitions on the hard drive seeing as I am using a new hard drive I have no partitions and it just shows as unpartitioned space, I am going to create a partition using all the available space and install Windows on that partition so I’m just going to press Enter, you can do the same but please make sure you select the correct partition if you have multiple partitions (it will be the one which says Windows or something along those lines), you can create multiple partitions here if you wish by pressing C then entering how much space that partition will be allocated, pressing D will delete a partition and once you have created all your partitions select the one you wish to install Windows on and press Enter.
A partition is a unique section on the hard drive which isn’t affected by other partitions, meaning if you install Windows on 1 partition and store all your files on another you can reinstall Windows and your other partitions and data will remain exactly how they were left (window shows each partition as a separate hard drive).
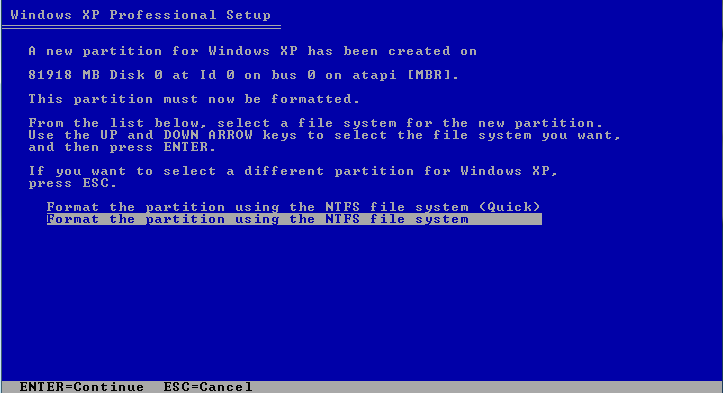
The last question in this stage of installation is how you would like to format the partition which can either be done using a slow or fast formatting process, I generally use the slow method as it guarantees no errors or problems and make it harder to recover the old data. Using the quick method is allot quicker though and depends if you have the patience to wait.
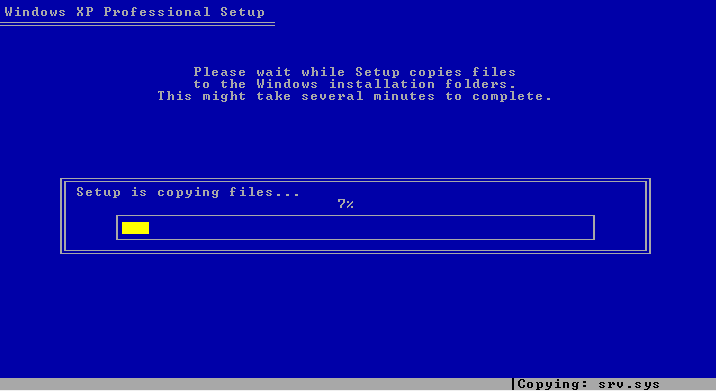
It will now format the hard drive and then go straight on to the coping process which is moving all the installation files from the CD/DVD to the hard drive to help speed up the installation process. Once it has completed it will automatically restart the computer and the installation process will boot up.
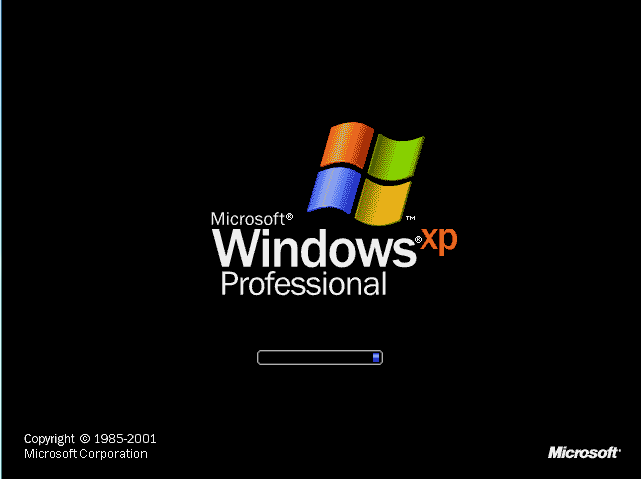
If you receive a screen like below this is correct and it will then go to the installation process.
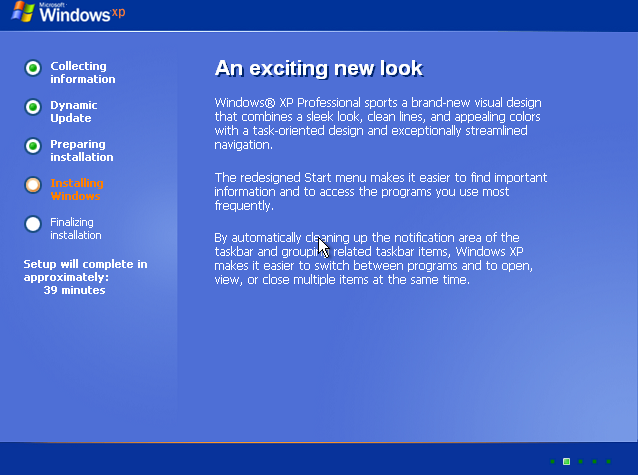
The installation will go through numerous steps installing all the main system files and drivers and you will be prompted 2 or 3 times through the installation process, you can leave it installing and just return every now and again to see if it’s waiting for your response.
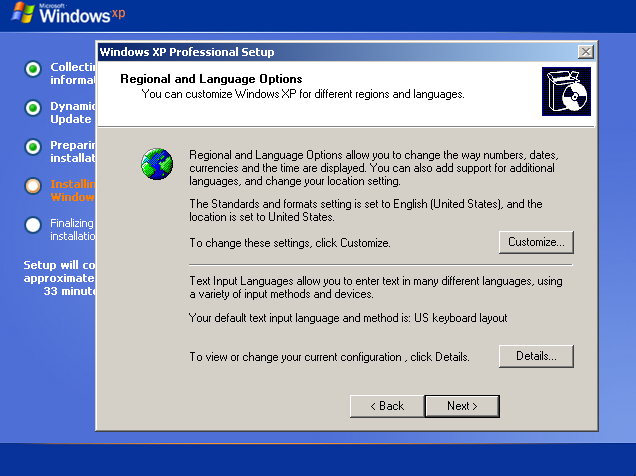
The screenshot below is the first prompt you will receive and all you have to do is specify the language and keyboard layout. Without specifying your correct keyboard layout some of your keys may not work I life in United Kingdom and the default for Windows is United States, if I was to leave it some of my symbol keys would output incorrect symbols for my keyboard.
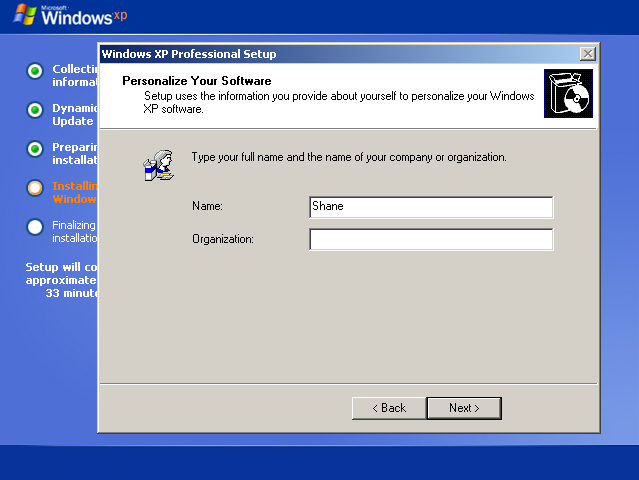
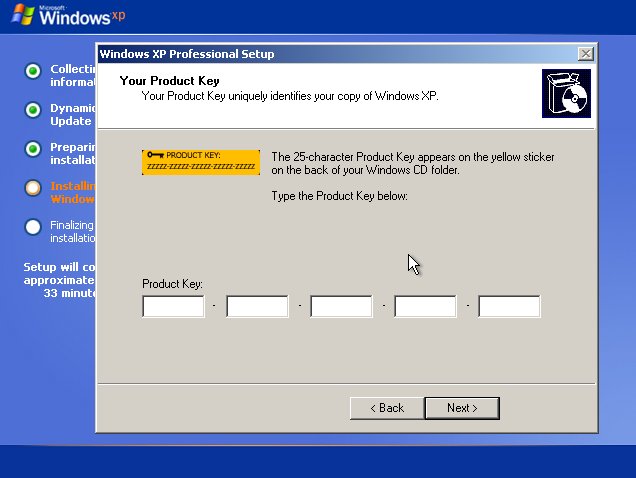
Your next prompt is to enter the name of the system administrator (owner) and the CD key for installation. This process will not activate your CD key but a valid CD key must be provided.
Your CD key can be found in many locations if you purchased your computer with the operating system already pre-installed your CD key will be located on a sticker on the side or back of the computer case, if it’s a laptop it is normally on the bottom of the laptop and if it’s from a shop it will be found inside the box.
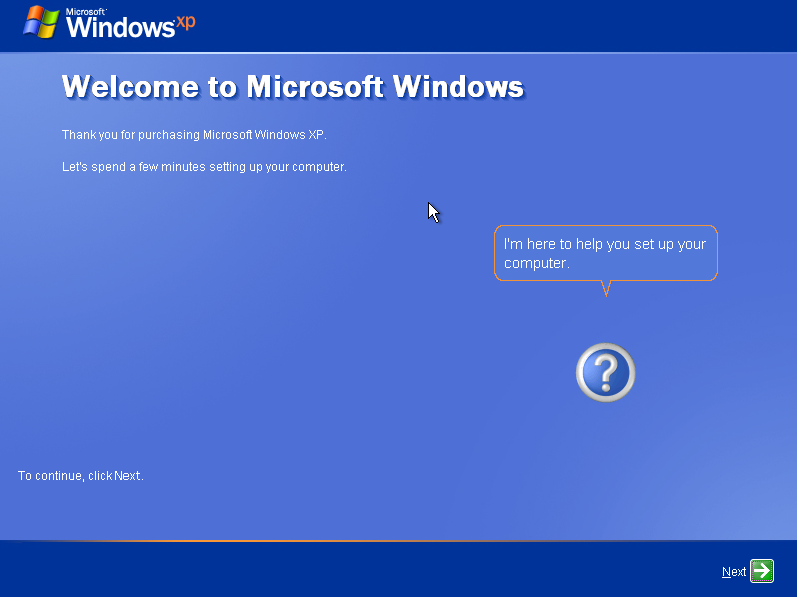
You will receive a couple of other prompts such as selecting a name for the computer (can be anything) and network settings (normally just select Typical Settings). Once the installation is complete it will automatically restart again and this time boot into your Windows operating system. Your installation is now complete and all you need to do is complete the wizard which will load after completion your desktop will show.
